
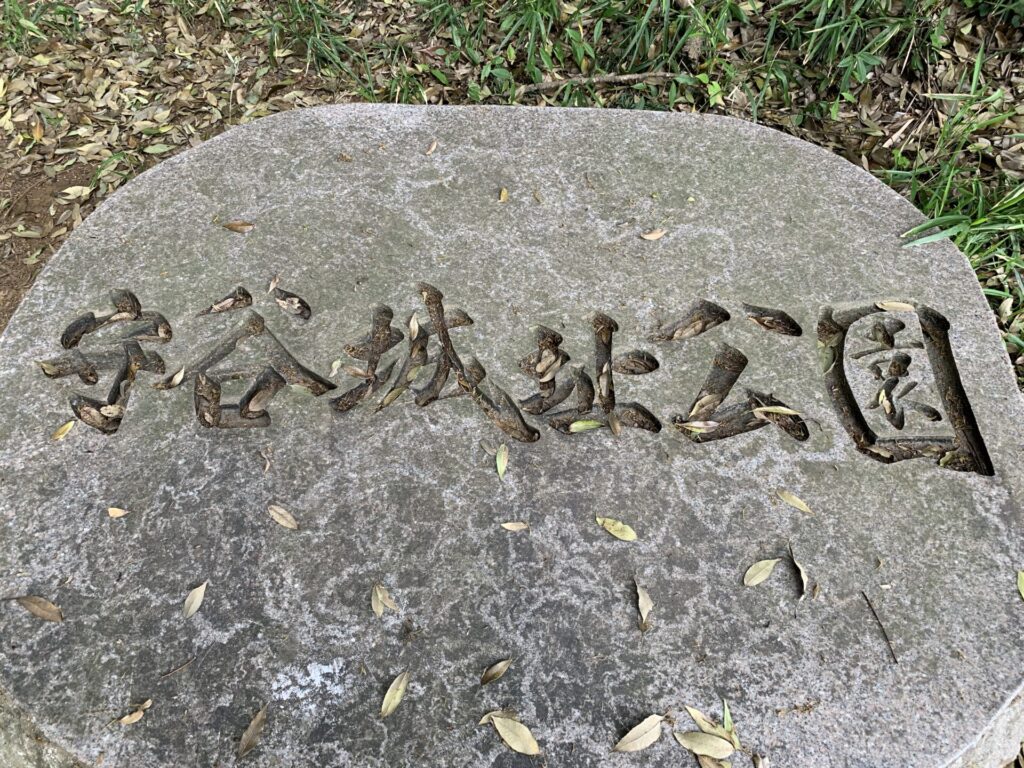
Moriya-jo (Moriya city, Ibaraki)|A full-scale hirayama-style castle where one can vividly imagine the annihilation of enemy forces
- 1. An Enormous Dry Moat That Instantly Took My Breath Away!!
- 2. “Masugata Koguchi" gate designed to slow the advance of enemy troops!
- 3. Unleashing concentrated fire upon the enemy with a dobashi (earthen bridge) and a Tate-kata Enclosure!!
- 4. There was even a shōji-bori (grid-patterned dry moat) between the Second Enclosure and the Main Enclosure!!
An Enormous Dry Moat That Instantly Took My Breath Away!!
Hello, this is Shin.
April 22, 2023 (Saturday).
Today, I visited Moriya-jo in Ibaraki Prefecture 🚙

◉ Castle Type
Hilltop castle ( Hirayamajiro )
◉ Cultural Heritage Highlights
◉ Defensive Features & Fortifications
◉ Exploration Difficulty
🟡 Moderate Castles
◉ Estimated Time to walk around
: about 2 hours
◉ Parking
There is a small parking lot (approximately five spaces) located just before Moriya Castle Ruins Park.
Beginning with Taira no Masakado, who is said to be the ancestor of the Sōma clan,
the castle was later further remodeled by the Hōjō clan, transforming it into a structure designed to more effectively annihilate enemy forces.
From here on, I invite you to fully witness this “enemy-slaying defensive design”.🔥
Let me say this first—
This place is absolutely insane!!
And what makes it so insane?
There are countless, unmistakable mechanisms clearly designed to annihilate enemy forces—again and again, without mercy!!
First, please take a look at this layout plan of the castle grounds.

After parking at the Moriya Castle Ruins Park lot,
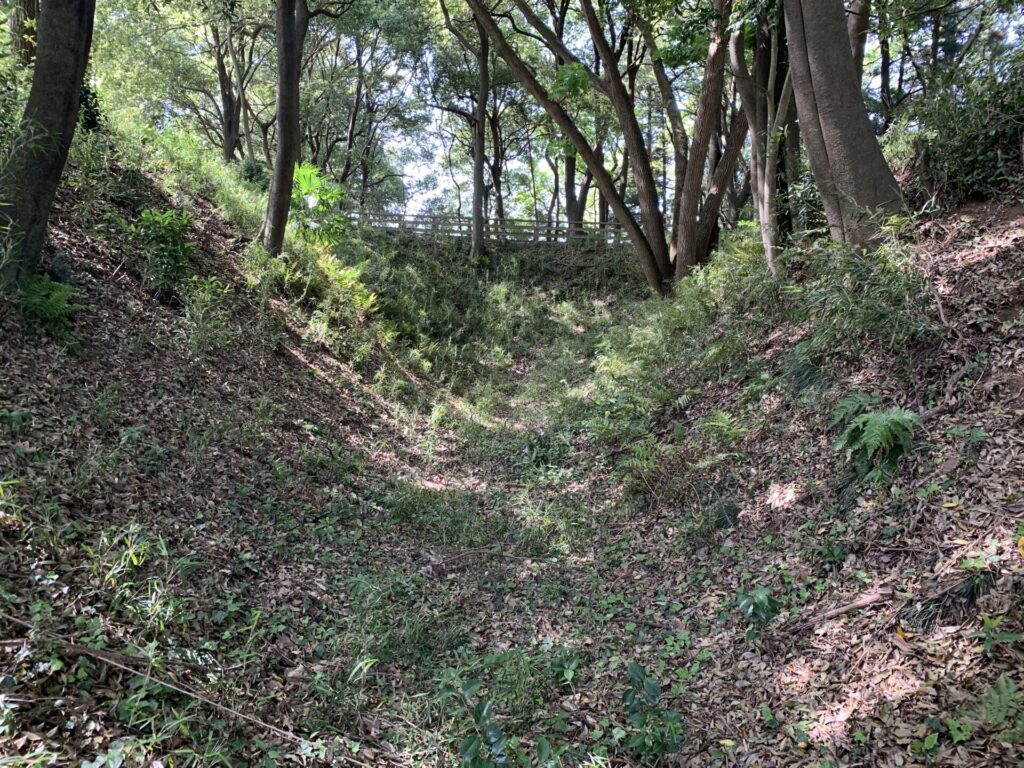
the very first structure I encountered on foot was the massive ō-horikiri ( 大堀切:Ridge-Cut Defensive Trench) shown on the signboard above.
The photo above shows the entrance to the massive ō-horikiri ( 大堀切:Ridge-Cut Defensive Trench),
but I don’t think the depth can truly be conveyed through that image alone.
Please take a look at the video below.
In some sections, the moat reaches a depth of up to 12 meters—this is a classic Yagen-bori (薬研堀:V-shaped dry moat).
A Yagen-bori is a moat dug in a sharp V-shape so that enemy soldiers who fall into it cannot move freely at the bottom.
Today, it has become a gentle and walkable mountain path,
but in its original form, it was likely carved at a much sharper angle.
One can easily imagine trapped enemy soldiers struggling to move, while castle defenders above mockingly rained down arrows upon them.
It was, quite literally, a “deadly kill zone”.
If you continue further into this massive ō-horikiri,
you will eventually reach what is believed to have been a boat landing area.
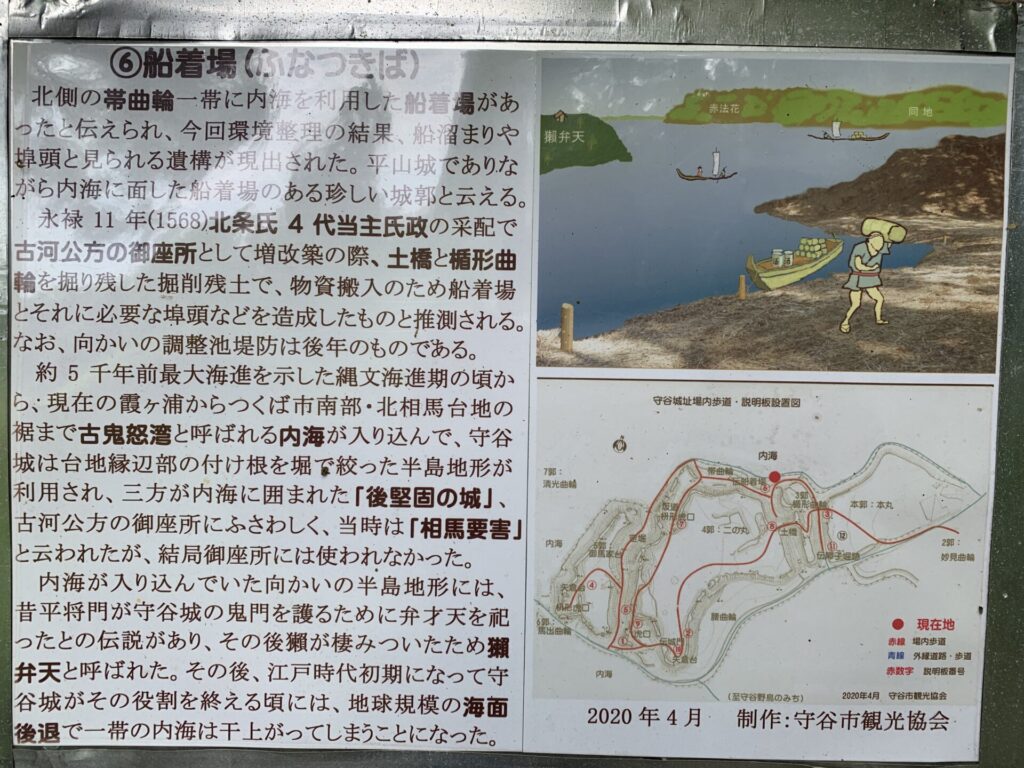
It appears that boats were docked right next to the castle for the transport of supplies.
This must have significantly expanded the range of their strategic options.

This is the site believed to have been the former boat landing.
Today, the surrounding area has been completely filled in, and there is little trace of its original appearance.
However, in those days, various supplies were likely unloaded and carried up from this very spot.
Next, we return from the boat landing and walk back along the great ō-horikiri.
Please enjoy another video showcasing the magnificent scale of this V-shaped Yagen-bori.
It truly is deep.
Or rather—when you look up from the bottom, it feels incredibly high.
“Masugata Koguchi" gate designed to slow the advance of enemy troops!
After fully experiencing the impressive depth of the V-shaped dry moat,
we next ascend from a path midway through the moat,
heading up to a kuruwa (曲輪:enclosure) known as Ōmayadai(御馬家台).
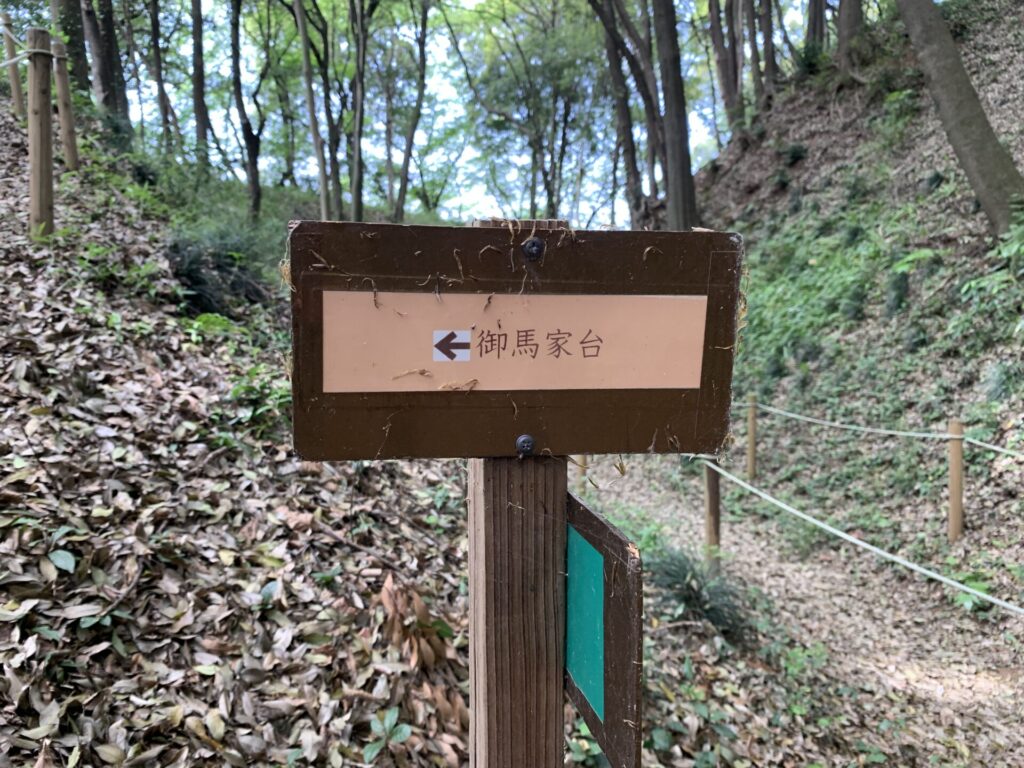
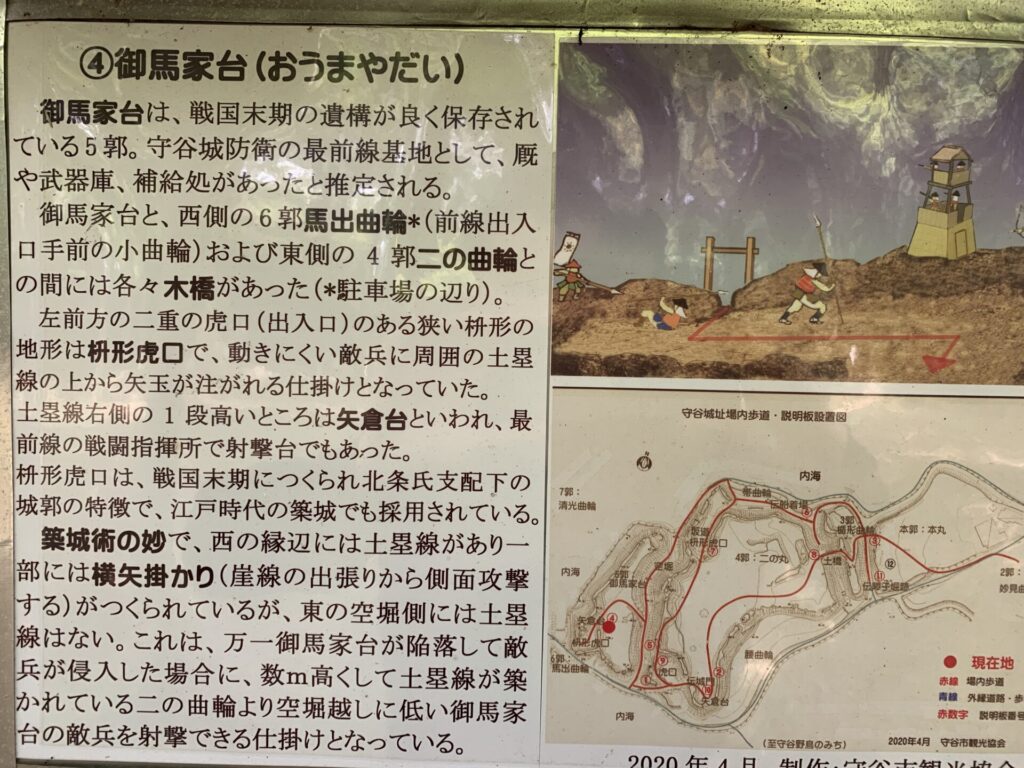
Looking at the layout map in the lower right,
Ōmayadai(御馬家台) appears to have been designated as the Fifth Kuruwa (enclosure),
serving as the front-line stronghold against approaching enemies.
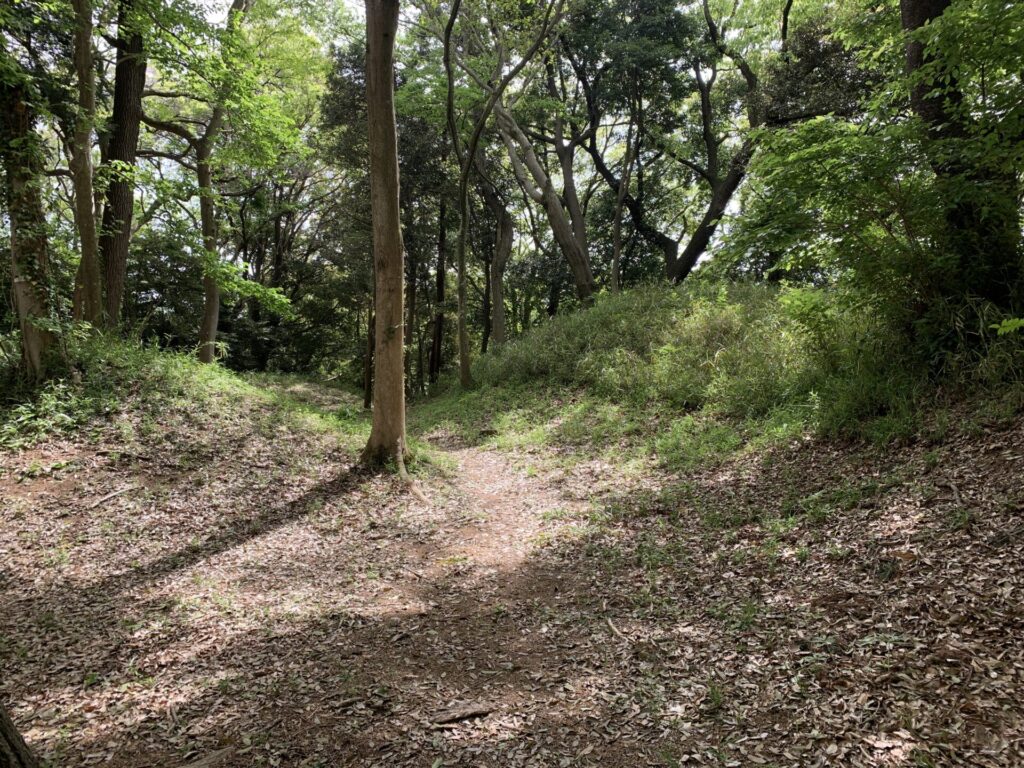
The area shown in this picture is the Masugata Koguchi gate( 枡形虎口:square-typed defensive gate ) described on the information board.
Even if enemy troops were to advance from the far end of the picture and attempt to climb up into Ōmayadai(御馬家台),
the path bends sharply, as you can see, inevitably slowing their advance.
From the earthen ramparts on either side, castle defenders would then be able to target them from above.
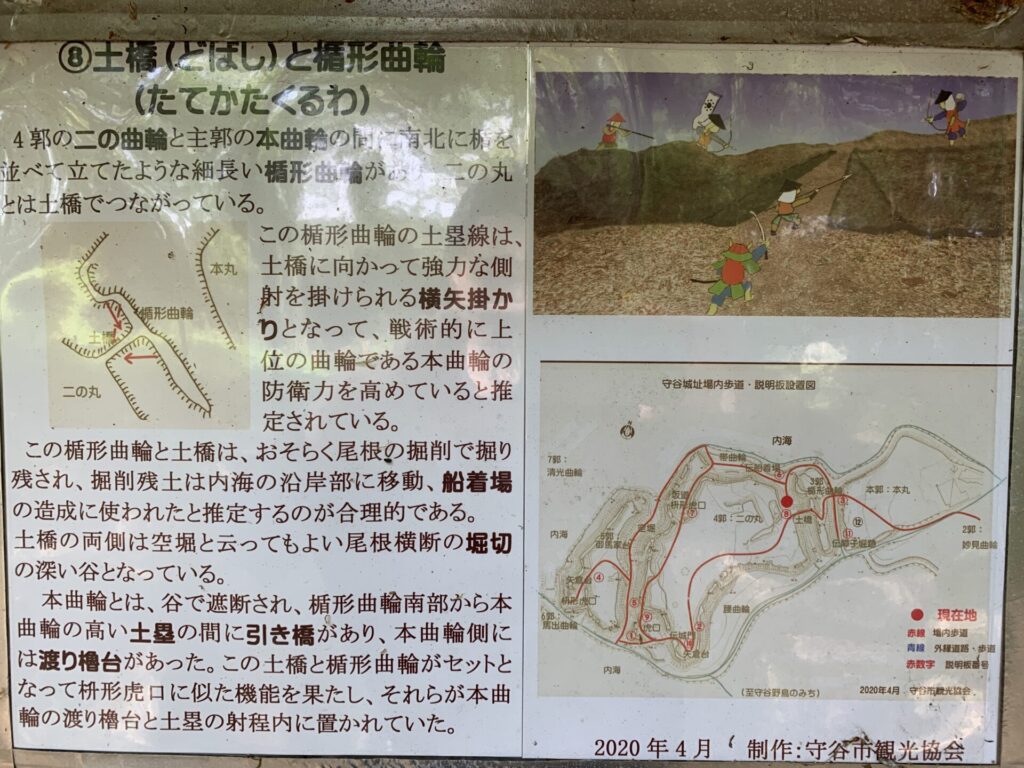
Unleashing concentrated fire upon the enemy with a dobashi (earthen bridge) and a Tate-kata Enclosure!!
After looking down at the V-shaped dry moat from Ōmayadai and closely examining the Masugata Koguchi gate,
we now cross the moat and finally make our way up to the Honmaru ( 本丸:main enclosure ) located opposite Ōmayadai!
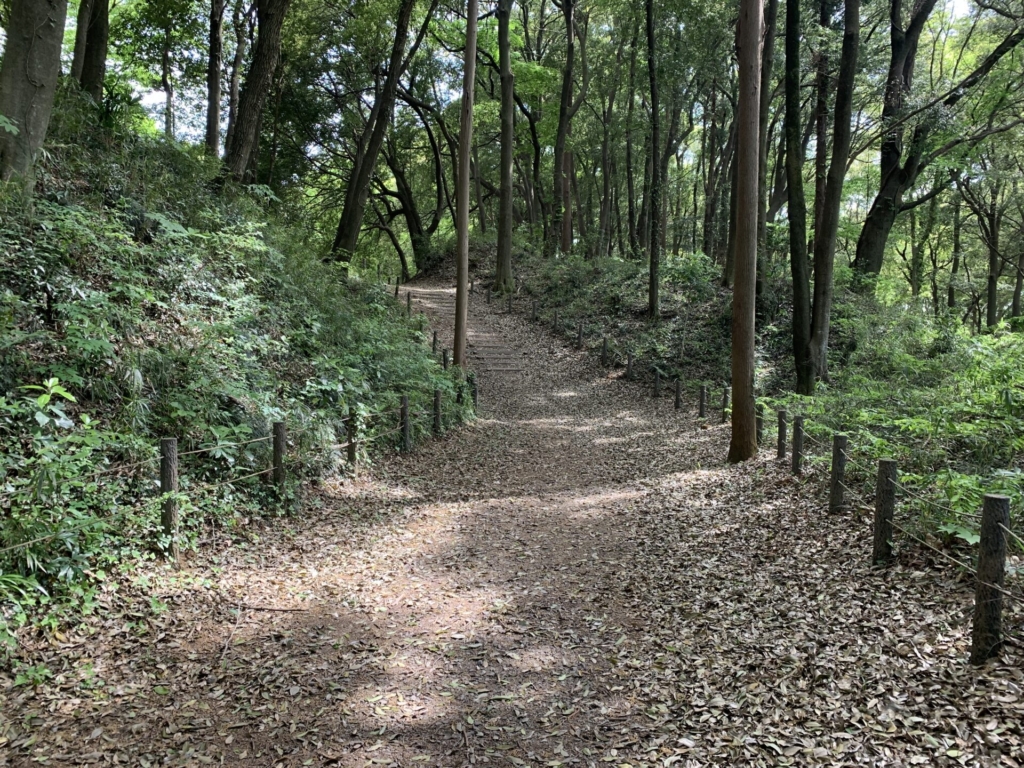
In fact, the sloped path leading up to the enclosure in the photo above was not just an ordinary slope at all !!

As explained on the information board,
when Hōjō Ujimasa expanded and renovated this Moriya-jo,
he strengthened the defenses of the route leading from the boat landing by converting this path into a Sakamichi masugata koguchi ( 坂道枡形虎口:a sloped, box-shaped defensive entrance ).
Even a standard masugata gate forces enemy troops to slow down due to its bent layout,
but by incorporating it into an uphill slope, attackers would have faced an even greater struggle as they attempted to climb.
And that is precisely where they would be targeted from above.
As the signboard itself suggests,
this was truly an “ultimate kill zone”.
Now, at last,
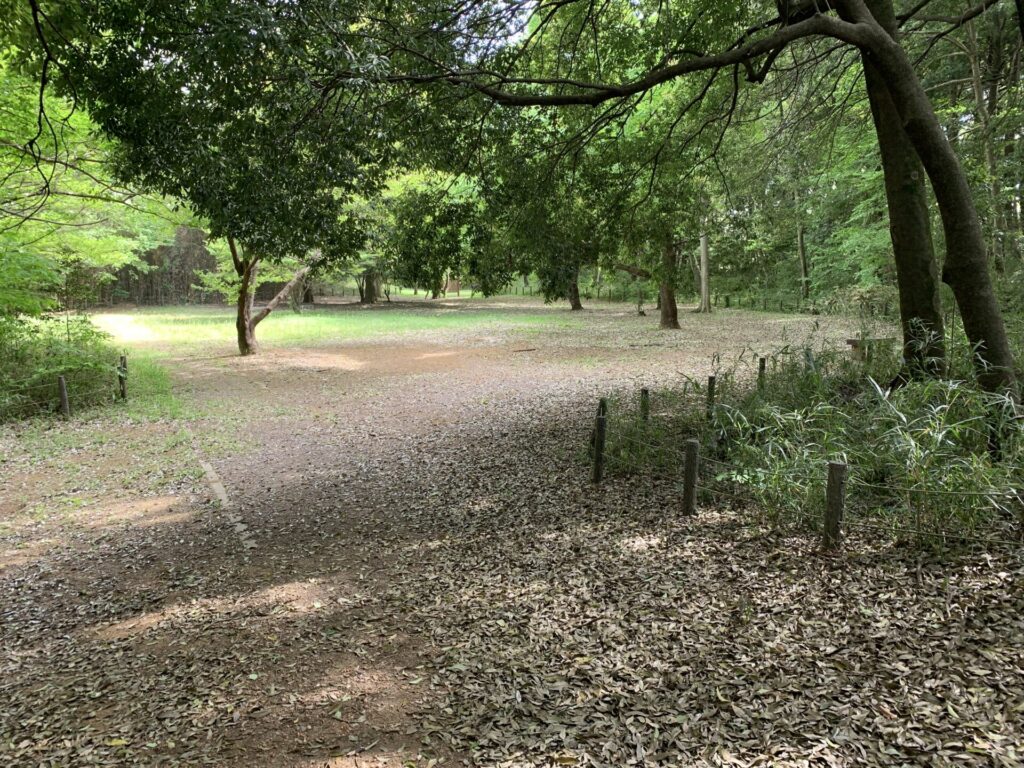
we have arrived at the area known as the Fourth Enclosure—also referred to as the Ninomaru ( 二の丸:Second Enclosure ).
Compared to the Fifth Enclosure, Ōmayadai, this area is considerably more spacious.
This can truly be called the greatest defensive line of Moriya-jo!!
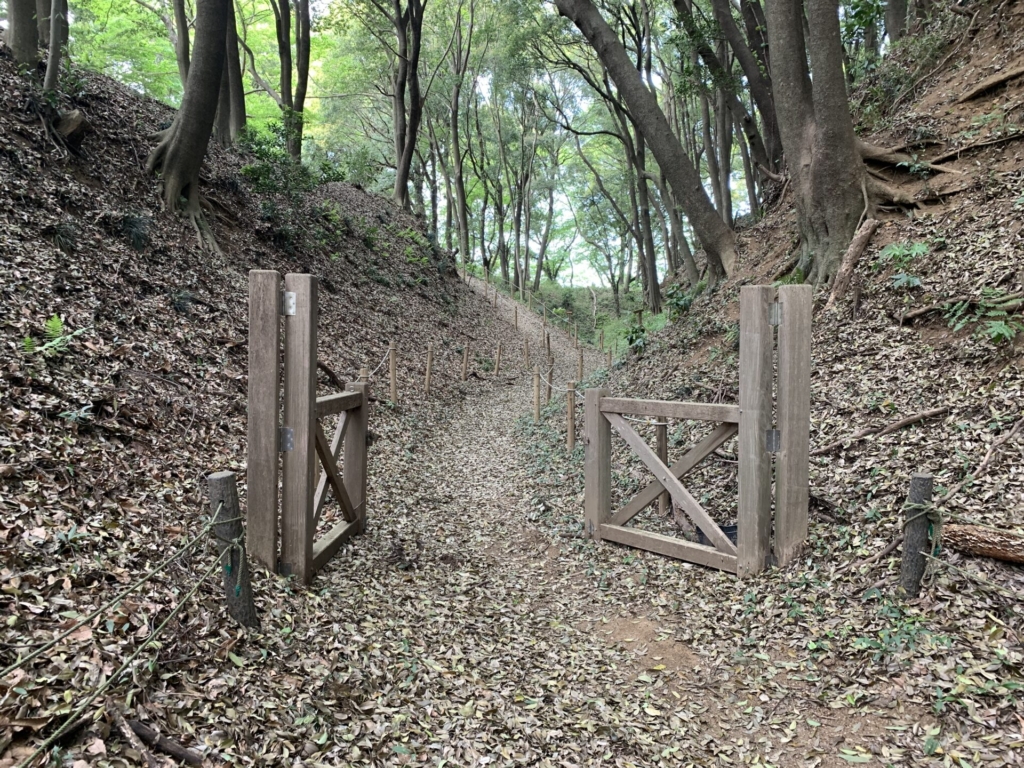
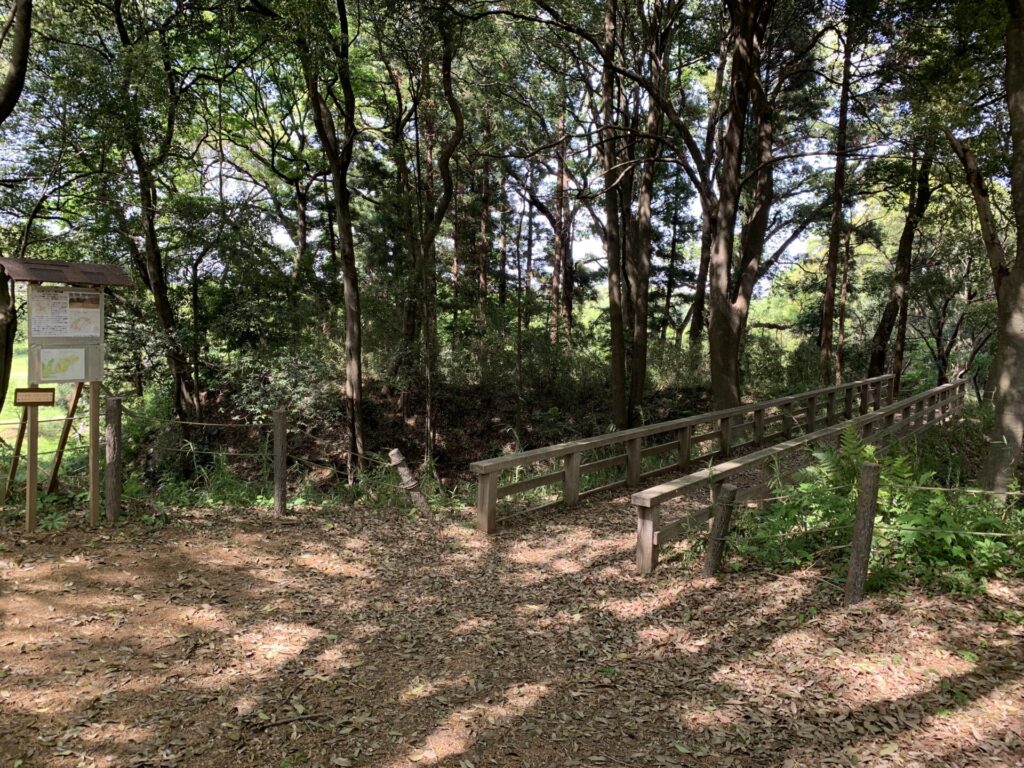
For enemy troops to advance from the Second Enclosure into the Main Enclosure (Honmaru),
they would first have to cross a narrow Dobashi ( 土橋:earthen bridge).
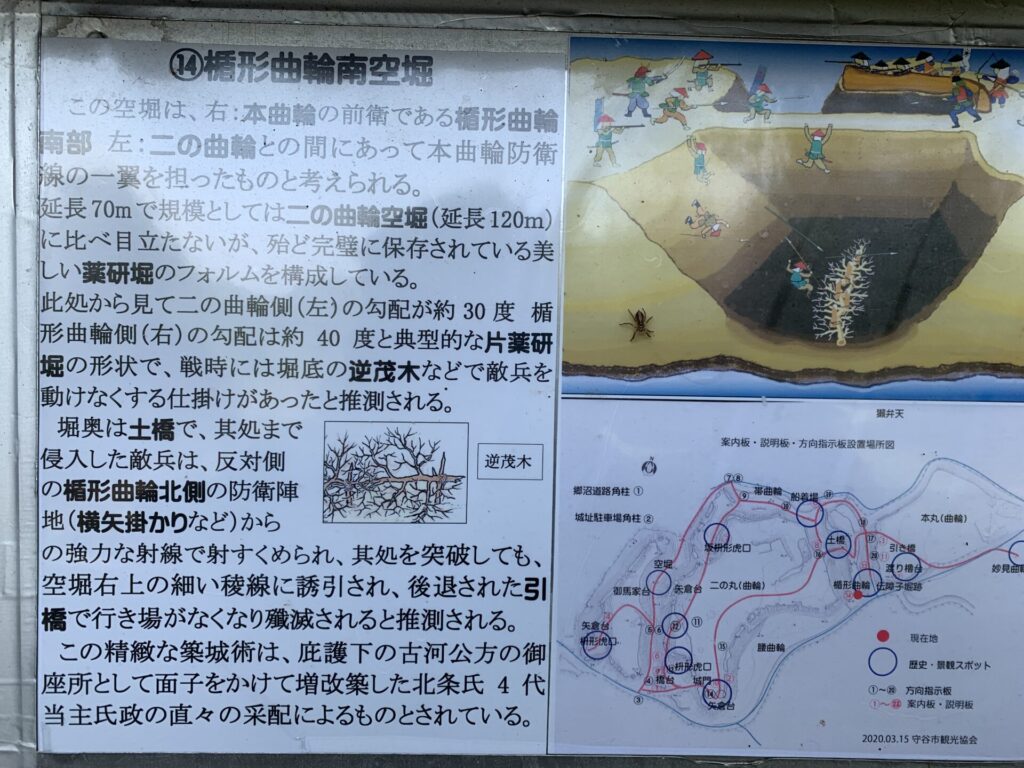
And waiting at the end of that bridge is a long, horizontally extended Tate-kata Kuruwa ( 楯形曲輪:shield shaped enclosure )!
As noted on the information board,
castle defenders positioned within this Tate-kata Kuruwa would unleash what is known as yokoya-gakari—a devastating flanking fire—upon enemy soldiers attempting to cross the bridge.
This area can be considered the final “kill zone” of Moriya-jo.
Even if enemy troops somehow managed to advance as far as the Second Enclosure…
to storm the Main Enclosure, they would still have no choice but to cross this narrow earthen bridge.
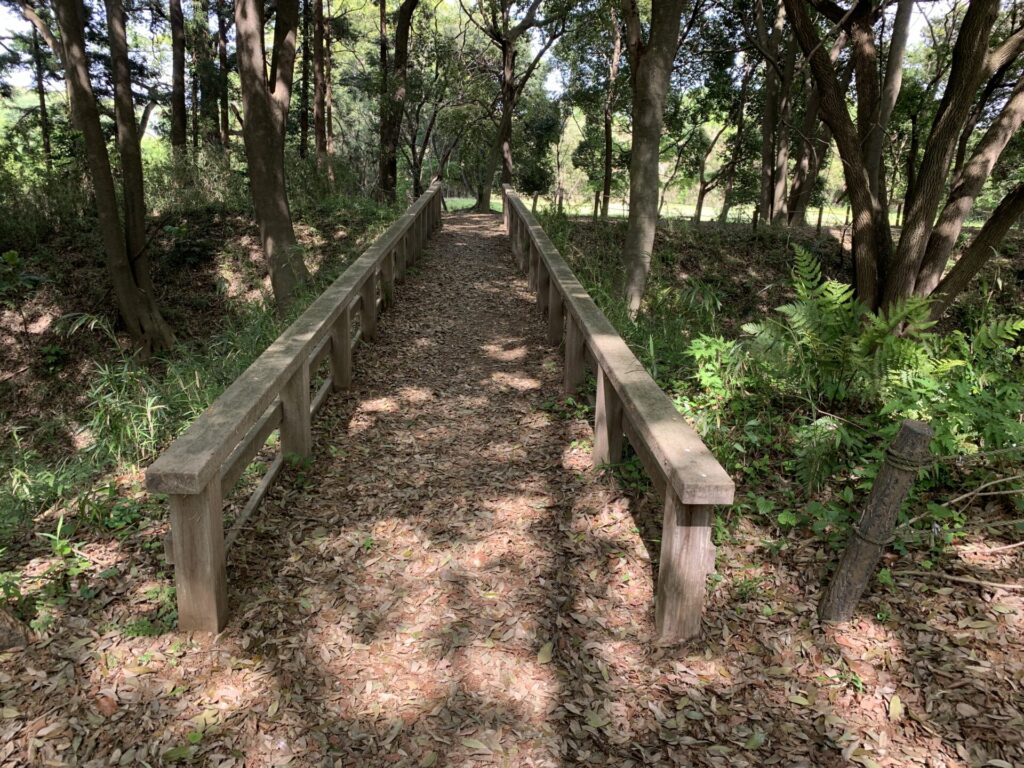
Just look at how narrow it is.
With deep moats on both sides,
the attacking forces would have no choice but to attempt crossing this Dobashi ( 土橋:earthen bridge).
And from the Tate-kata Kuruwa on the far side of the bridge,
castle defenders would unleash flanking fire—known as yokoya-gakari ( 横矢掛 )—upon them.
Please take a look at the video below showing the earthen bridge and Tate-kata Kuruwa connecting the Second Enclosure to the Main Enclosure.
The sheer size of this Second Enclosure is impressive in itself,
but with a bridge this narrow, enemy soldiers would have no choice but to cross one at a time.
Meanwhile, defenders lying in wait within the Tate-kata Kuruwa would deliver flanking fire upon them—one by one.
The attacking troops would fall in succession under a hail of arrows…
This may well have been the most devastating kill zone within Moriya-jo.
There was even a shōji-bori (grid-patterned dry moat) between the Second Enclosure and the Main Enclosure!!
Now, after passing through the Tate-kata Kuruwa,
we finally make our way to the last stronghold—the Honmaru ( 本丸:Main Enclosure ).
From here, we descend and proceed toward the Honmaru ( 本丸:Main Enclosure ), which can be seen beyond the fence.
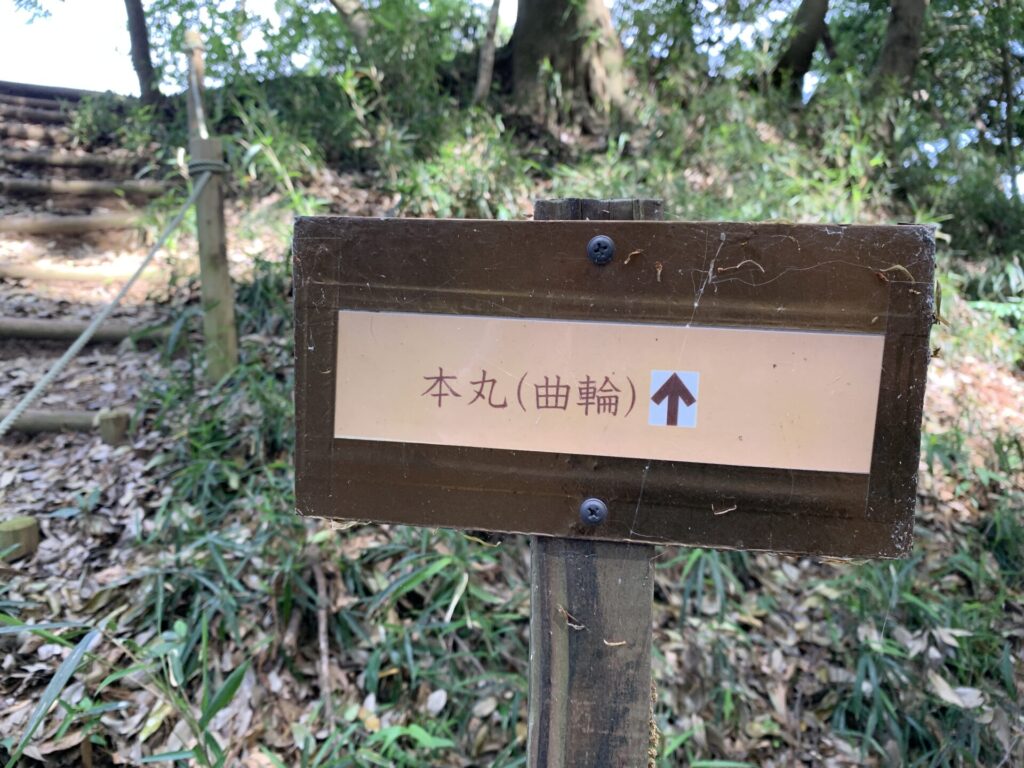
Up ahead lies the Honmaru ( 本丸:Main Enclosure ).
But before we go there…!!
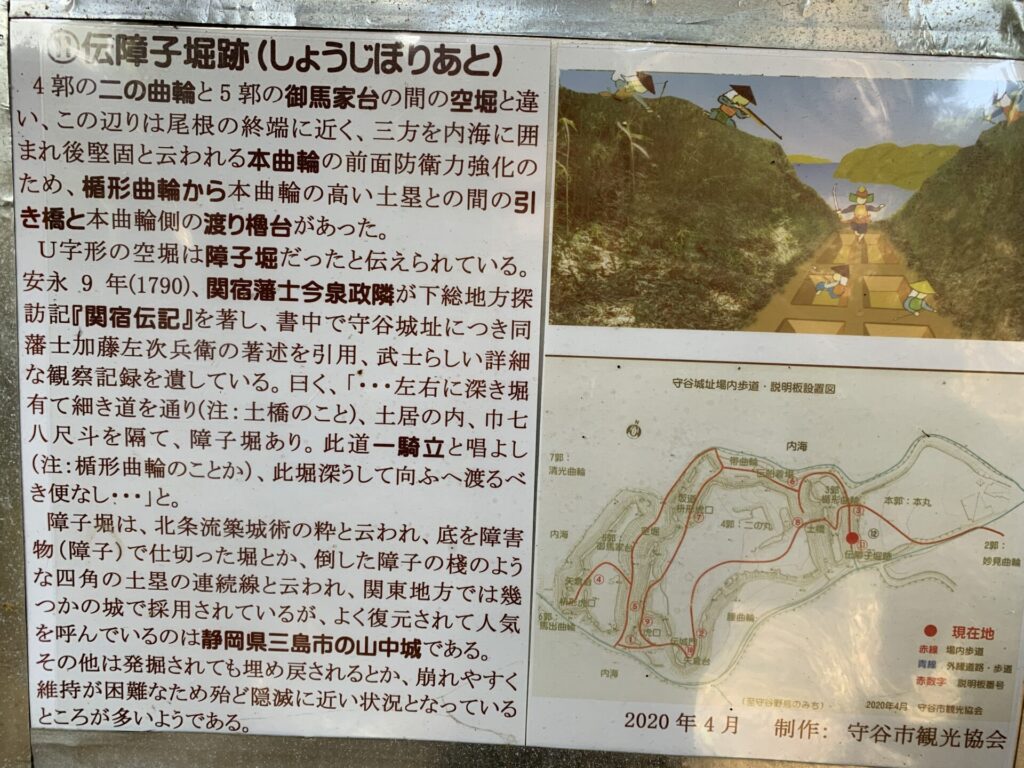
Astonishingly,
as described on the information board, there was once a Shōji-bori ( 障子堀:a grid-patterned dry moat )—between the Second Enclosure and the Main Enclosure.
This type of moat, resembling the pattern of a waffle, was designed to make it extremely difficult for enemy soldiers to walk or advance smoothly.
If you look at the diagram in the upper right of the signboard,
can you imagine just how troublesome this shōji-bori must have been for attacking forces?

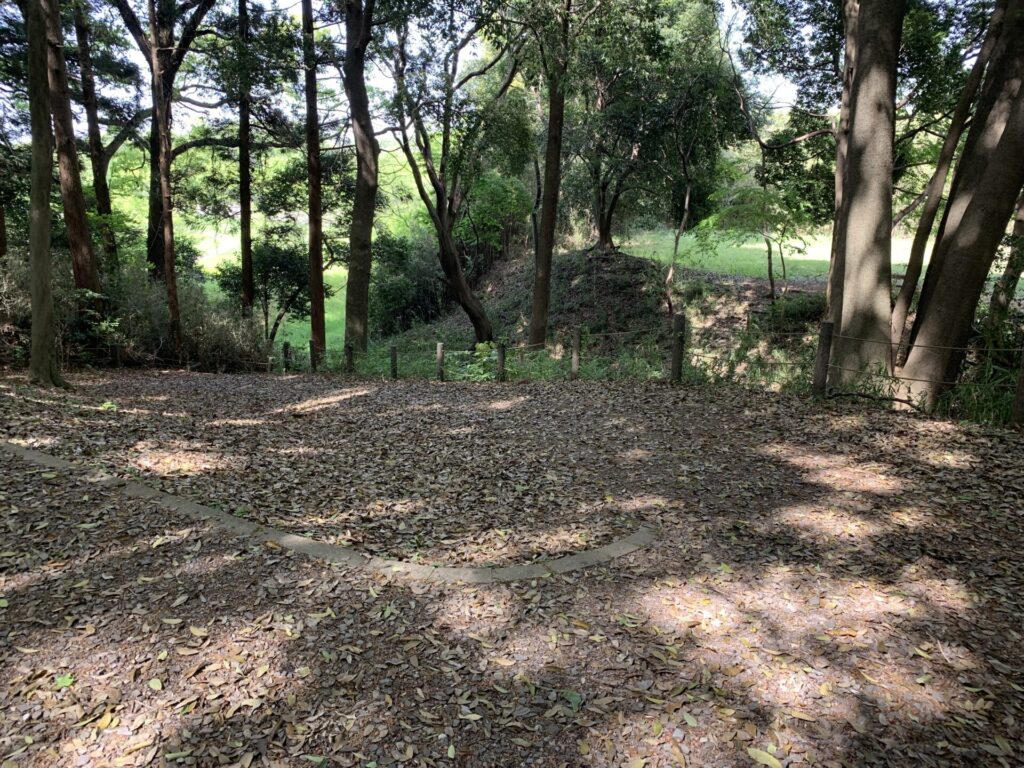
This area is believed to have been the site of the Shōji-bori ( 障子堀:a grid-patterned dry moat ).
Today, the moat has been filled in, and little trace of it remains.
But in its original form, many enemy soldiers must have lost their footing here,
only to become easy targets for defenders positioned on the elevated ground above.
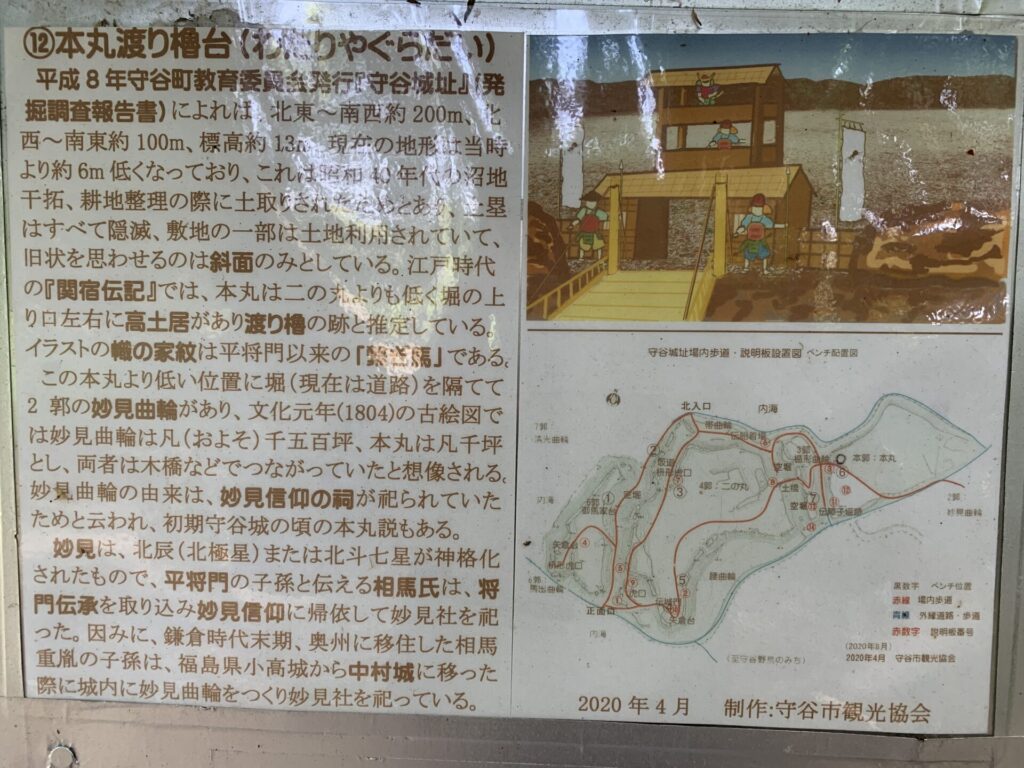
Furthermore, at the entrance to the Main Enclosure,
it appears that a watari-yagura-dai ( 渡り櫓台:a foundation for a connecting turret ) was also constructed here.
Indeed…
When you look over the Main Enclosure,
you can see that only the ground on both sides of this entrance appears slightly raised.
Most likely, a turret platform once stood between these elevated sections.
Now, please take a look at the video below showing the Honmaru ( 本丸:Main Enclosure ).
As you can see,
this area is not as spacious as the Ninomaru ( 二の丸:Second Enclosure ).
Just as I had reached the Main Enclosure and was thinking it might be time to head back—
I was stunned to discover that another V-shaped dry moat ( 薬研堀 ) existed between the Second Enclosure and the Tate-kata Kuruwa!!
At the bottom of the moat, Sakamogi ( 逆茂木:defensive wooden obstacles) were reportedly placed,
designed to hinder any enemy soldiers who fell into it from moving freely.
Imagine attackers hesitating to cross the narrow earthen bridge—
or being struck by defensive fire and tumbling down into the moat—
only to be met by these jagged wooden barriers waiting below…
Could there possibly be a more brutal kill zone than this ?!
This is the V-shaped dry moat dug between the Second Enclosure and the Tate-kata Kuruwa.
You can immediately see how sharply it forms a V shape.
And beyond it, you can spot the narrow earthen bridge.
And yet…
the exploration of Moriya-jo was still not over.
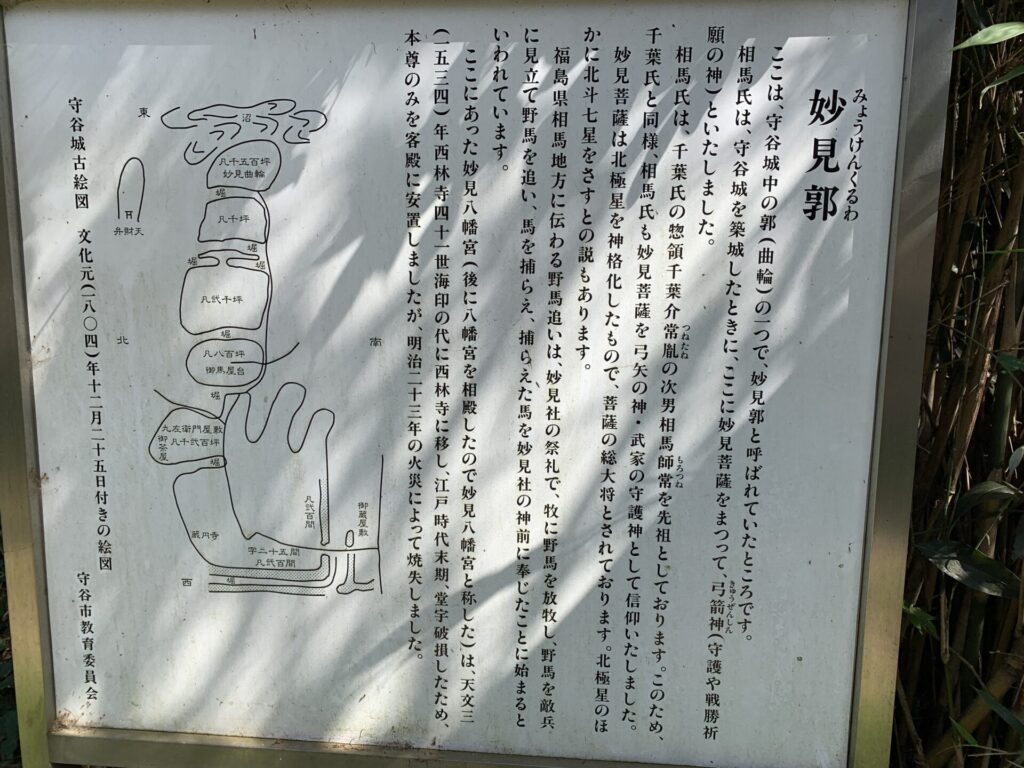
A short descent from the Main Enclosure on the opposite side led to another enclosure known as the Myōken Kuruwa ( 妙見郭 ).
Here, one can truly feel the historical connection to Taira no Masakado and the Sōma clan.
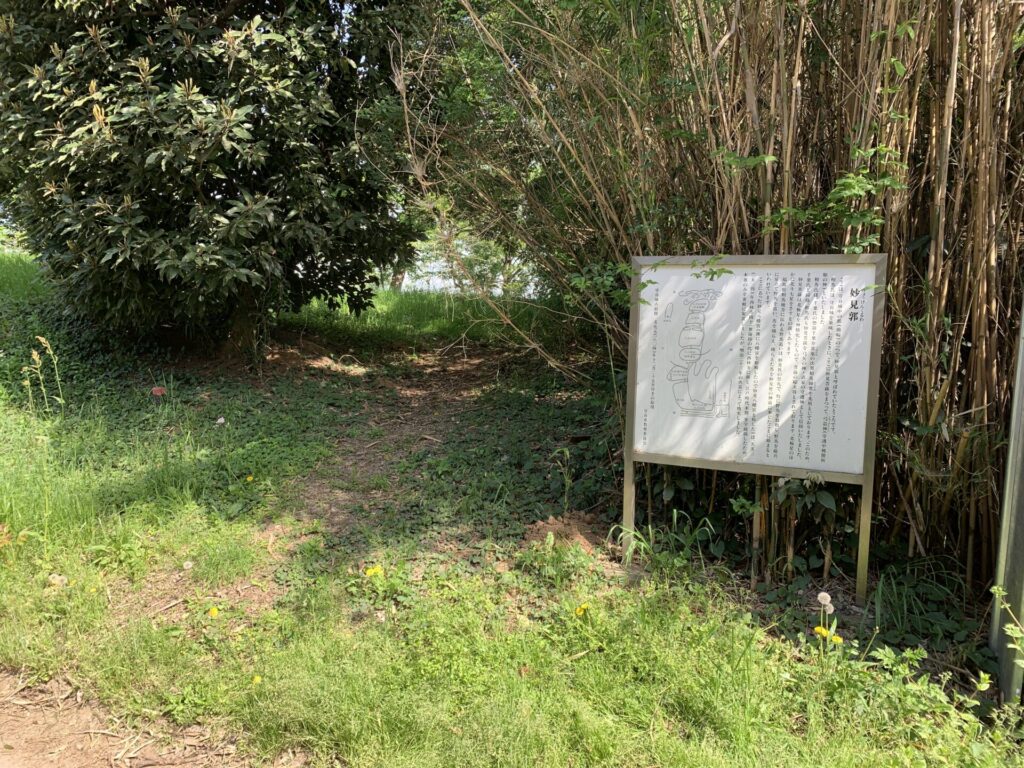
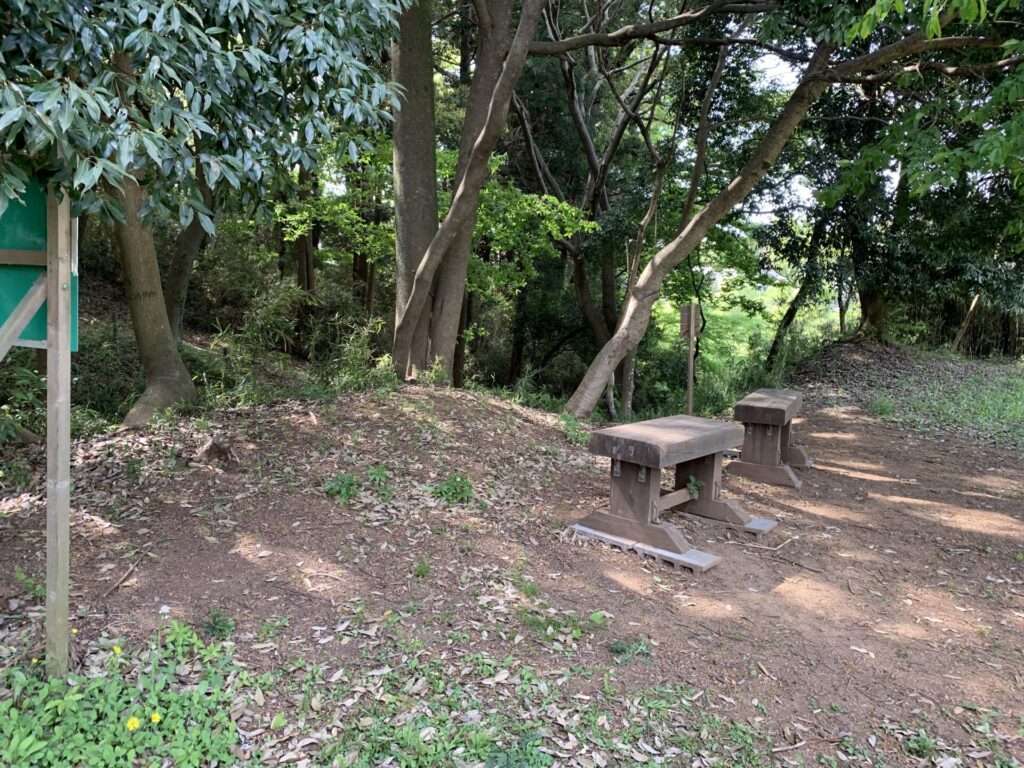
This is the entrance to the Myōken Kuruwa.
Inside, it looks like this…
It is not particularly spacious.
What do you think?
By finally looking over the entire castle layout as shown in the photo above,
it becomes much easier to understand how each defensive structure was positioned in relation to the others.
The V-shaped dry moats, the Ōmayadai Bailey,
the narrow earthen bridge leading from the Second Enclosure to the Main Enclosure,
the Tate-kata Kuruwa, and even the grid-patterned shōji-bori…
All of these “deadly defensive mechanisms” designed to trap enemy forces can be grasped at once.
Moriya-jo is truly a place where you can experience the Sengoku period firsthand.
If this article inspires even more people to become fans of Sengoku history and Japanese castles, I would be delighted !!