
Takiyama-jo (Hachioji city, Tokyo)|A formidable castle renovated by the military genius Hōjō Ujiteru
- 1. The shapes are not perfectly preserved, but the defensive structures are remarkably solid!
- 2. First, let’s examine the Masugata Koguchi (box-shaped gate) and the Sannomaru (third enclosure)!
- 3. Yamanokami Kuruwa, which was used as a refuge for the local villagers.
- 4. Cross the earthen bridge to Senjojiki, the Umadashi, and then to the Ninomaru!
- 5. Shinano Kuruwa, also known as the “dead-end kuruwa”
- 6. Next, on to the Nakanomaru and then the Honmaru!!
The shapes are not perfectly preserved, but the defensive structures are remarkably solid!
Hello, this is Shin.
May 25, 2023 (Thursday).
I have come to Takiyama-jo (Musashi Province) in Hachioji City, Tokyo.
During the Sengoku period, Hōjō Ujiteru—who had been adopted into the Ōishi clan—greatly renovated this castle,
turning it into a strong fortress equipped with formidable defensive structures.
Let’s take a look at them one by one below.
◉ Castle Type
Hilltop castle ( Hirayamajiro:平山城 )
◉ Cultural Heritage Highlights
◉ Defensive Features & Fortifications
◉ Exploration Difficulty
🟡 Moderate Castles
◉ Estimated Time to walk around
: about 2 hours
◉ Parking
There is a dedicated parking lot with space for about 10 cars.
About 15 minutes by taxi from Haijima Station on the JR Ome Line.🚃
There are several parking areas around the Takiyama Castle ruins,
and I actually got quite lost myself.
I ended up driving down a narrow road that led to a dead end and had to hurriedly back up… 💦
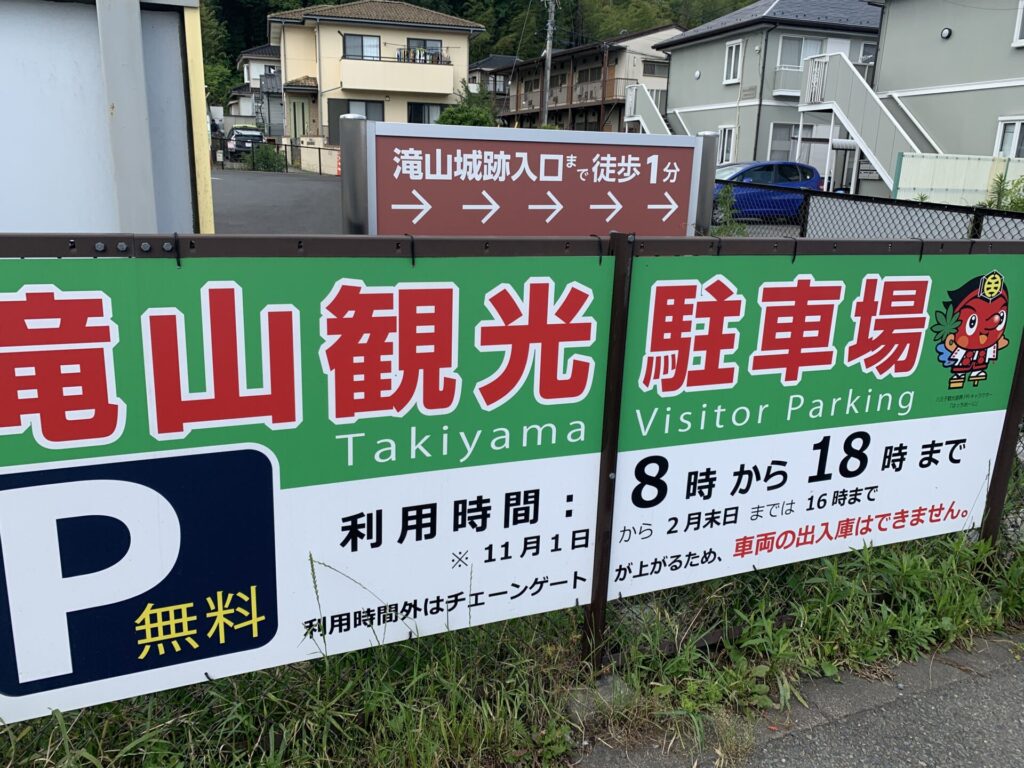
This parking lot is the closest to the castle ruins,
and it’s also easy to park, so I recommend using this one.
It’s located very close to an intersection and can be easy to miss, so please be careful.
I actually drove past it once myself. 😅
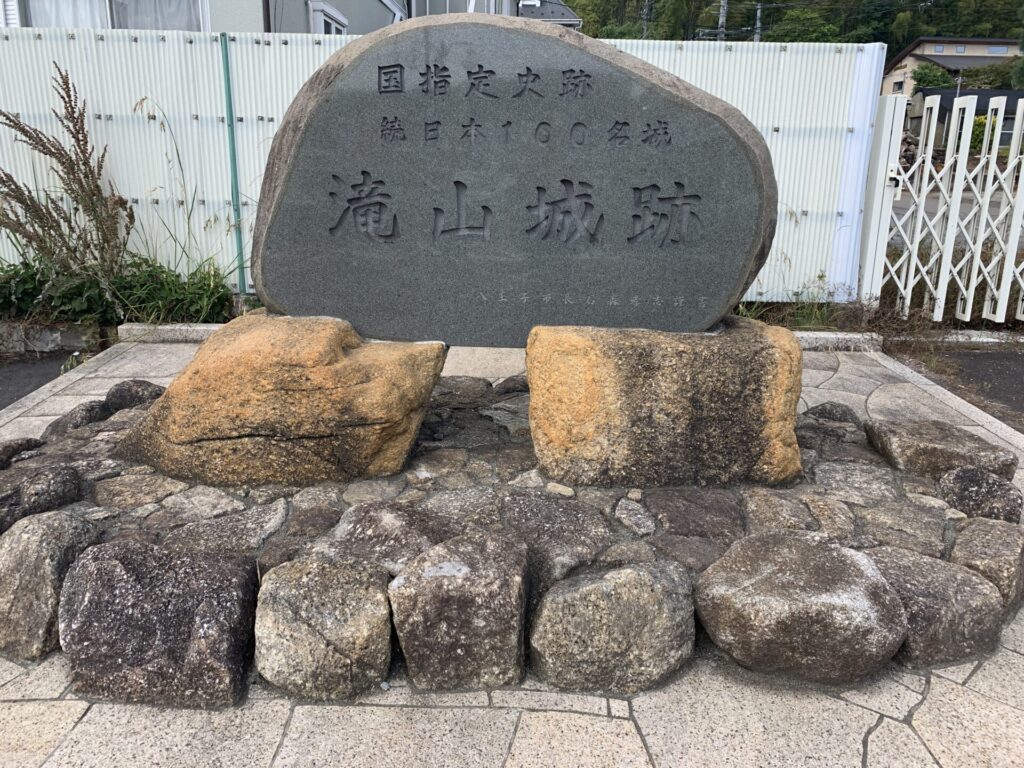
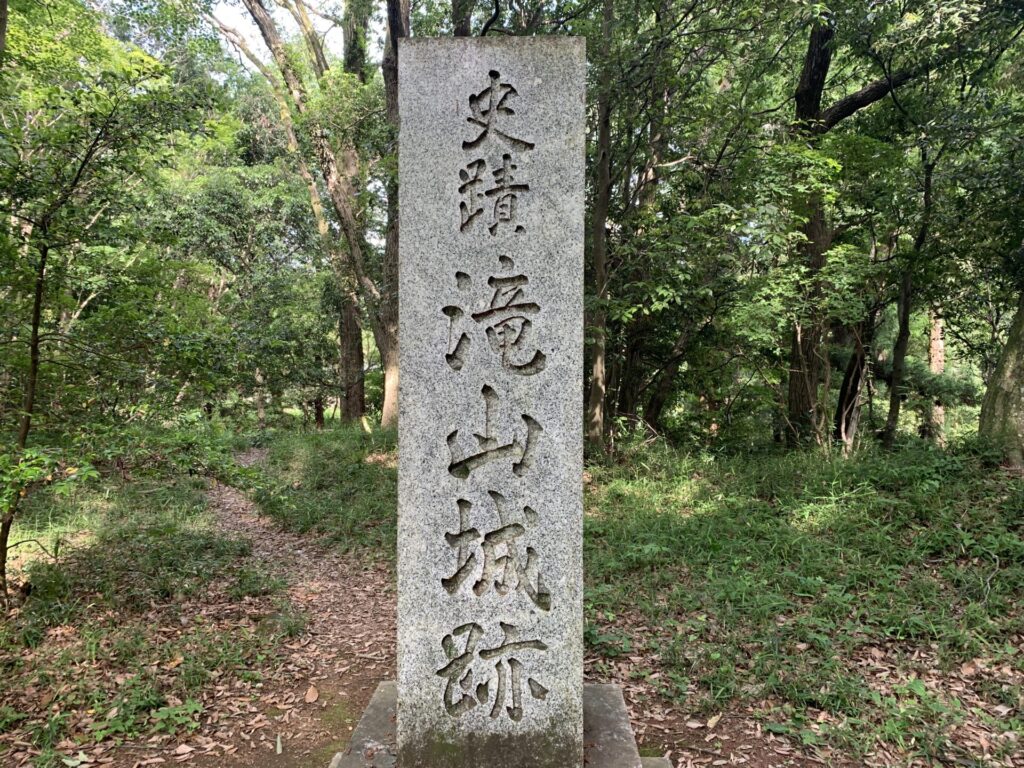
Near the parking lot there are private houses,
and in front of them stands a stone monument like this.
Takiyama-jo is one of the “Top 100 Continued Castles of Japan”.
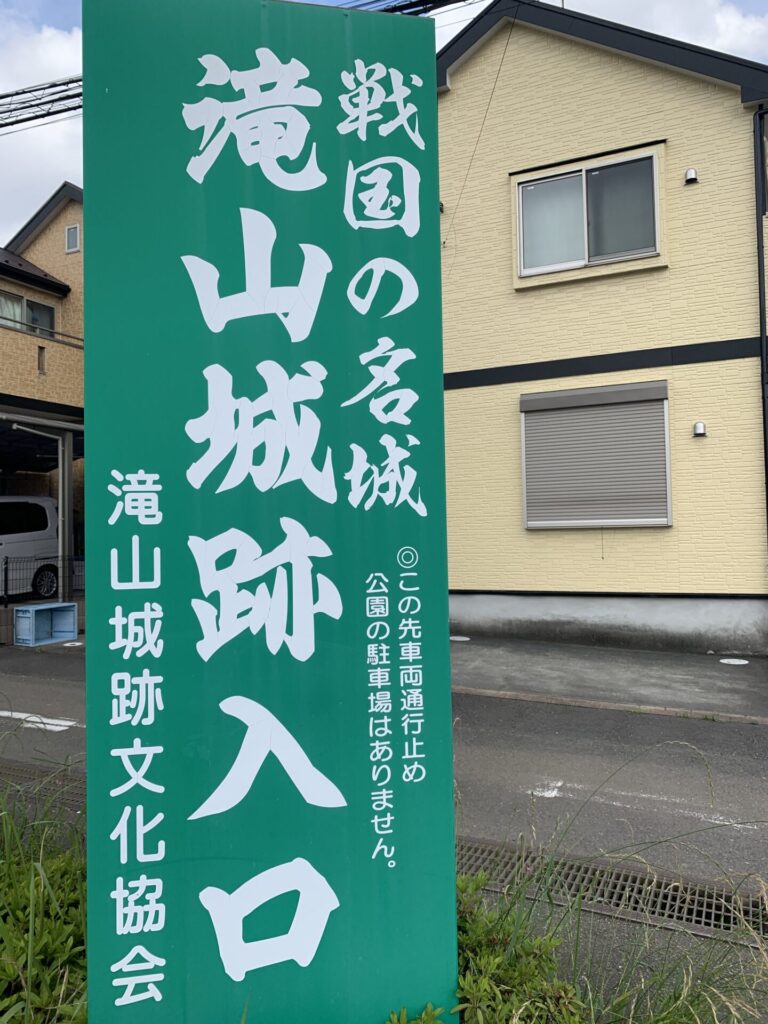
There is also this sign,
so I don’t think you’ll have trouble finding the entrance.
Well then, let’s head in!!
First, let’s examine the Masugata Koguchi (box-shaped gate) and the Sannomaru (third enclosure)!
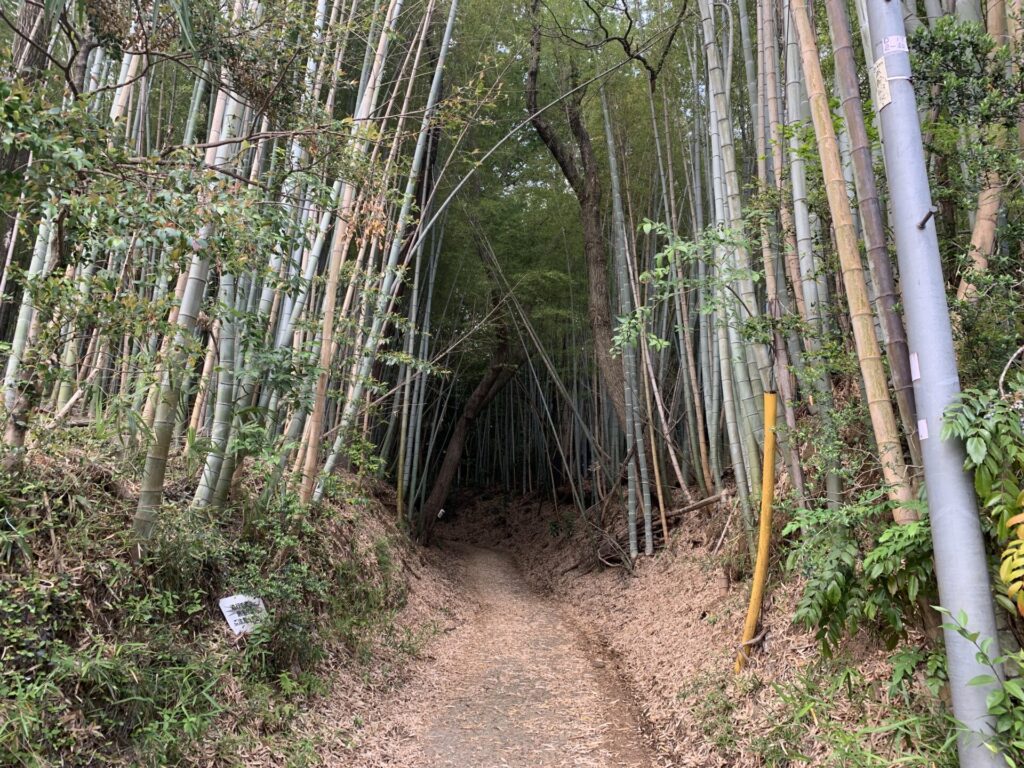
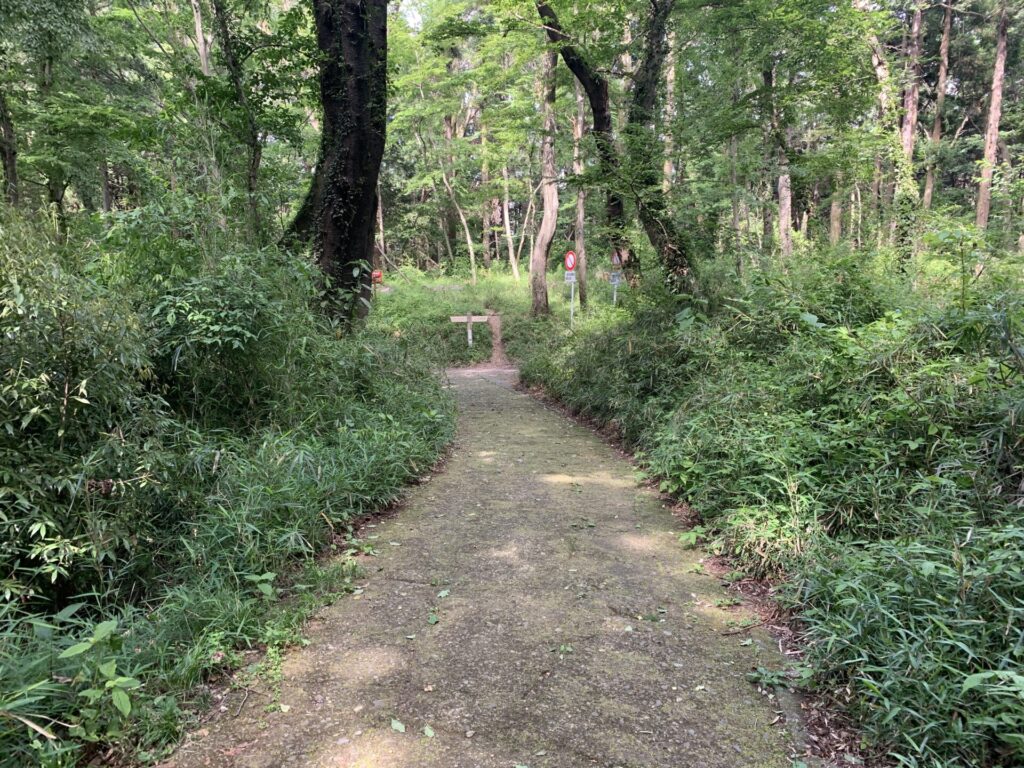
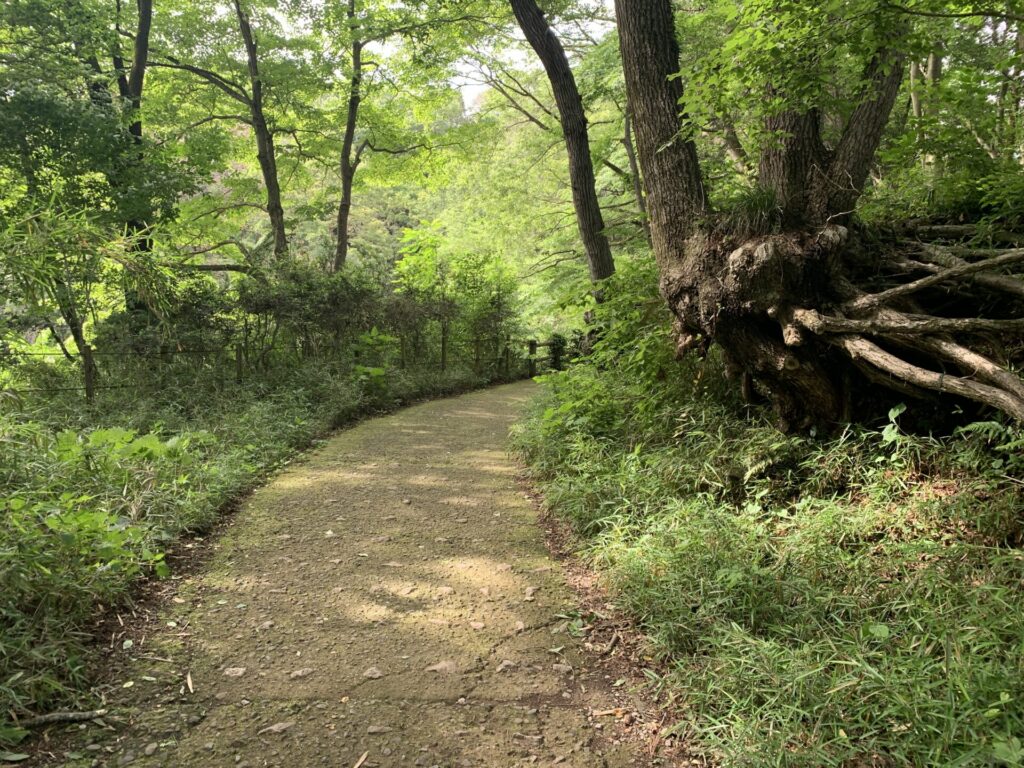
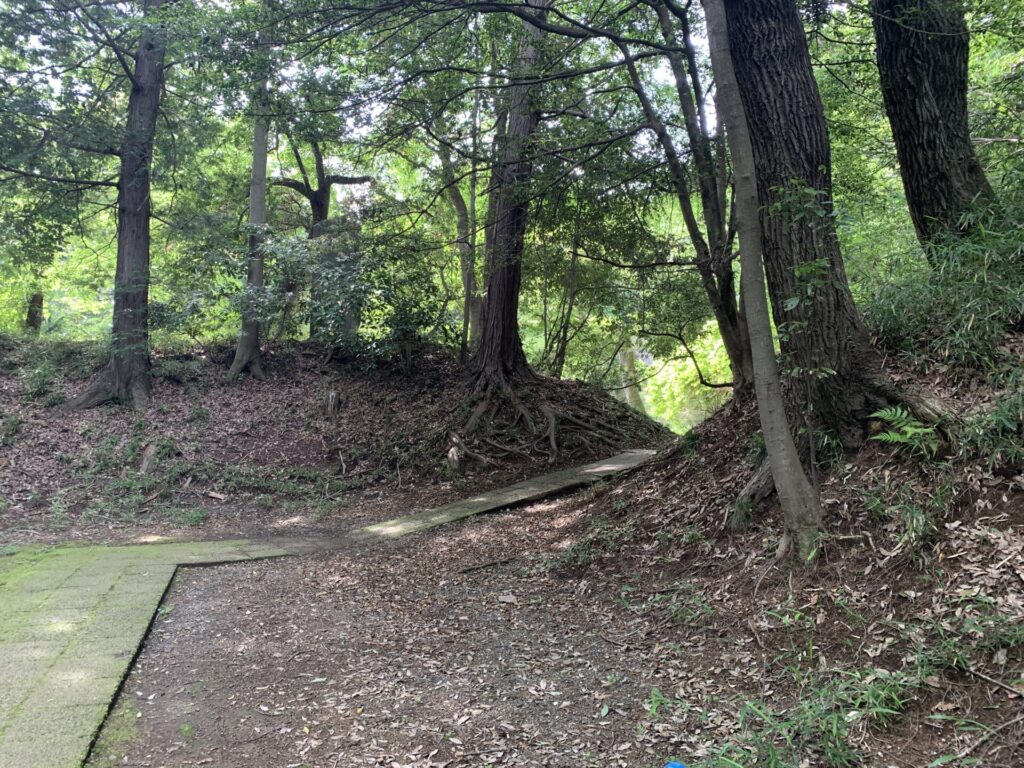
If you go straight ahead from the entrance with the sign,
the path soon turns into a mountain trail covered with bamboo.
From here, the slope gradually becomes steeper.
Takiyama-jo is a Hirayamajiro (平山城:hilltop castle).
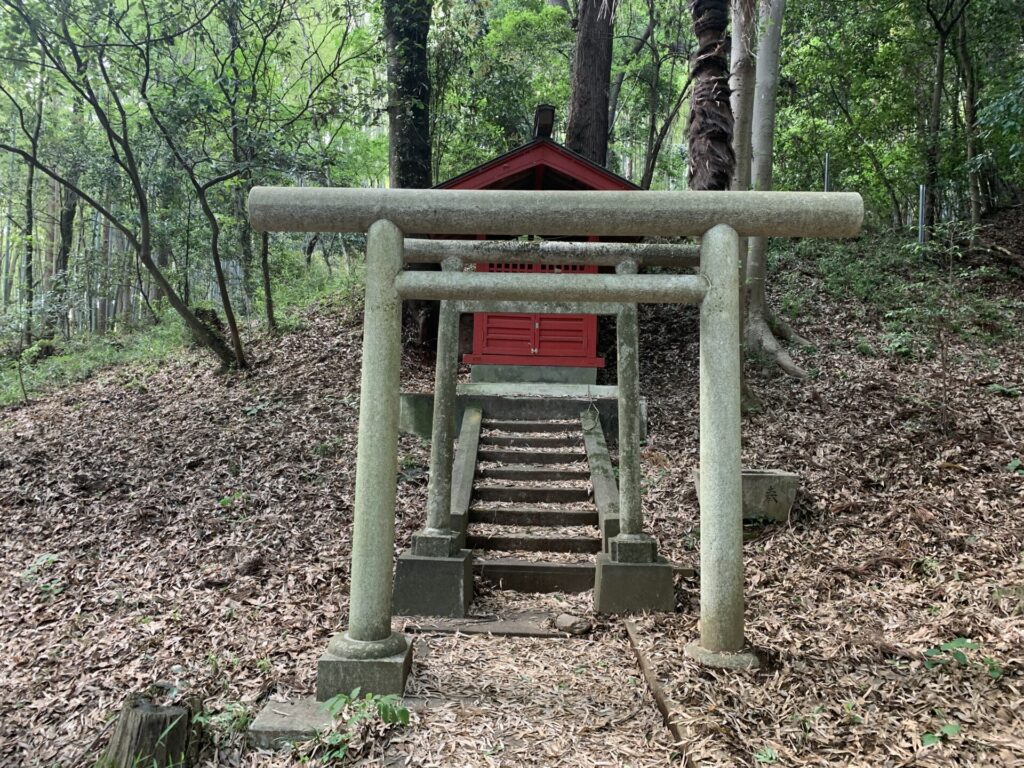
A little way up the slope,
there is also a small shrine.
Let’s continue climbing further up.

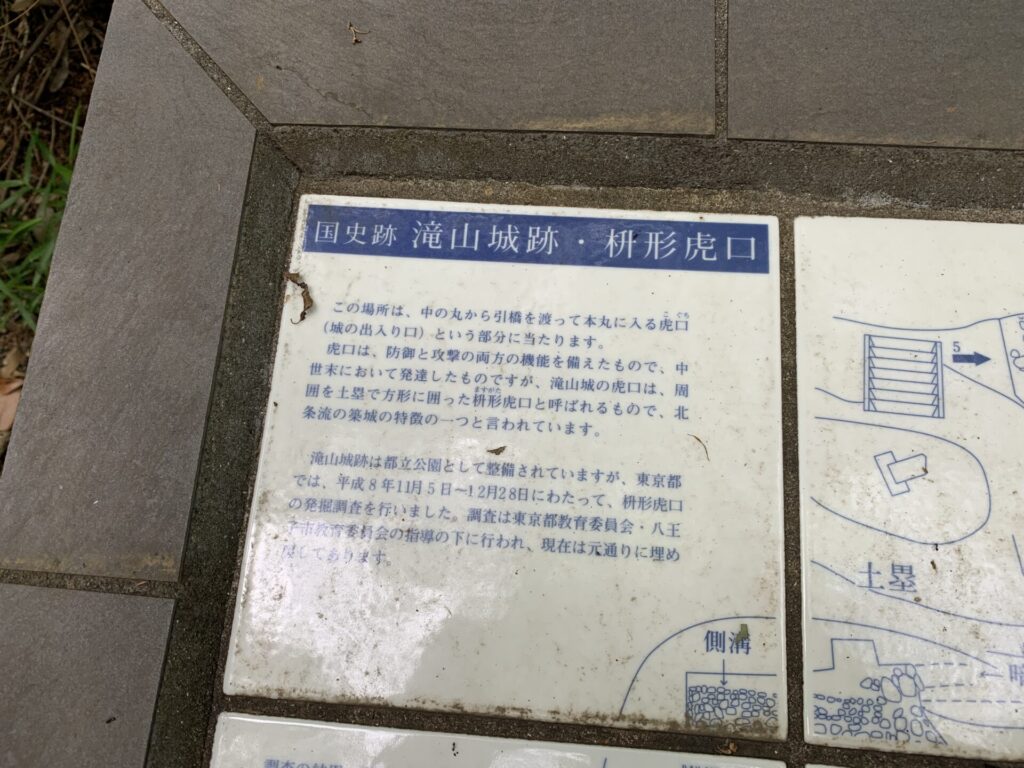
The first defensive structure I encountered at the castle was this Masugata Koguchi (枡形虎口:box-shaped gate)!!
At Takiyama-jo, detailed explanations of the defensive structures are displayed like this, which makes them very easy to understand.
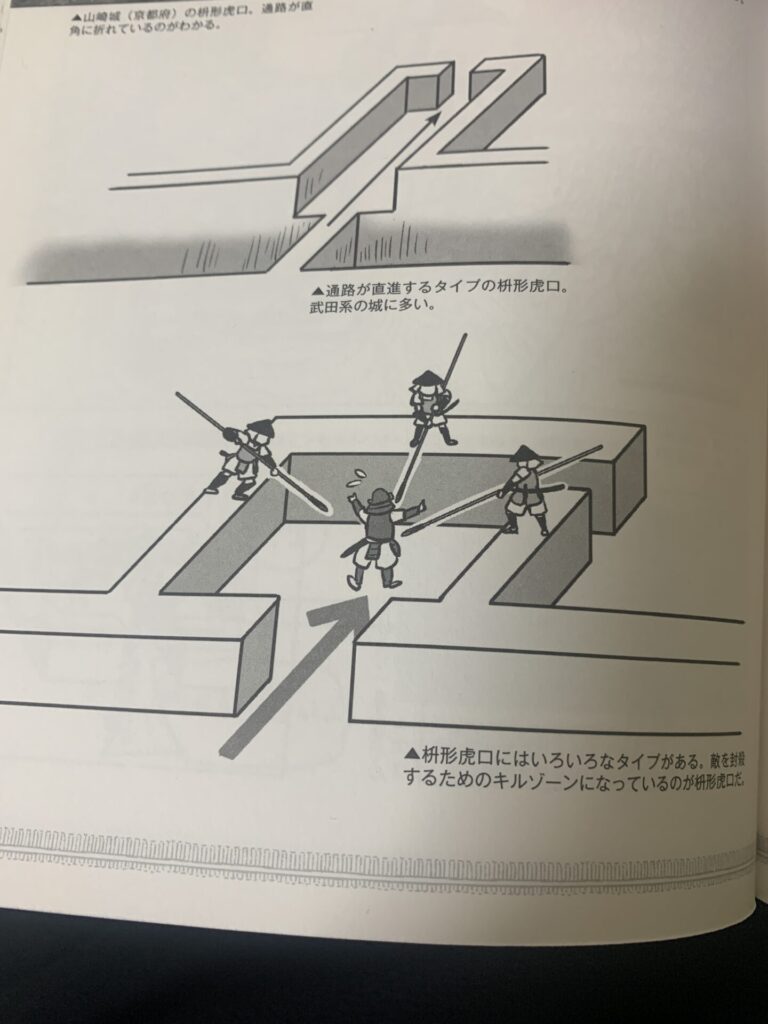
For the Masugata Koguchi (枡形虎口:box-shaped gate), please refer to the illustration below.
Enemy soldiers who enter the square-shaped gate space would be targeted and attacked by the defenders waiting inside the castle.
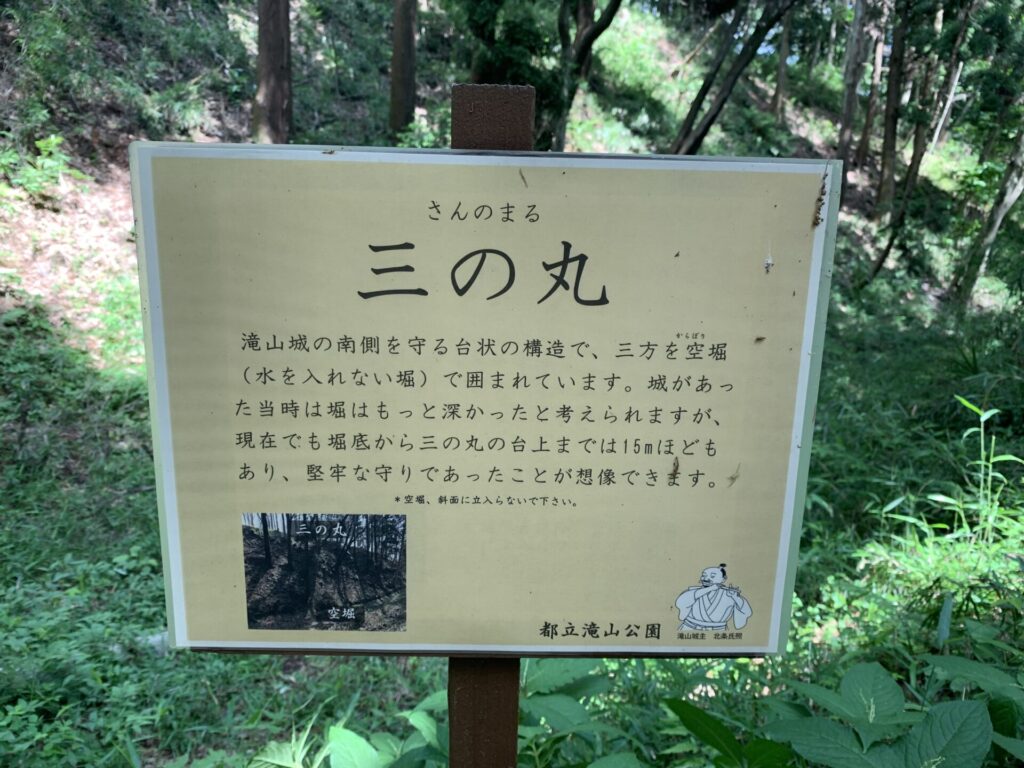
I have arrived at the Sannomaru (三の丸:third enclosure).
It is just a short distance from the masugata koguchi we saw earlier.
Please take a look at the surroundings here in the video.
It is a little difficult to clearly distinguish the exact boundaries of the Sannomaru (三の丸:third enclosure),
but from here we will move on to the next defensive structure.
Yamanokami Kuruwa, which was used as a refuge for the local villagers.
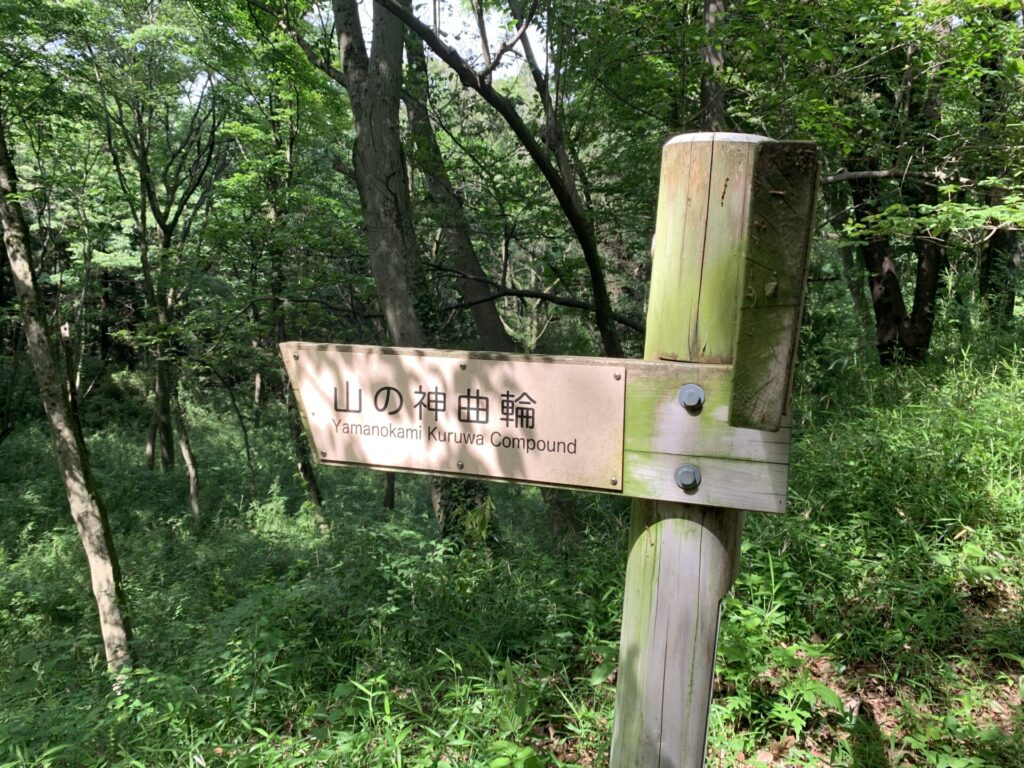
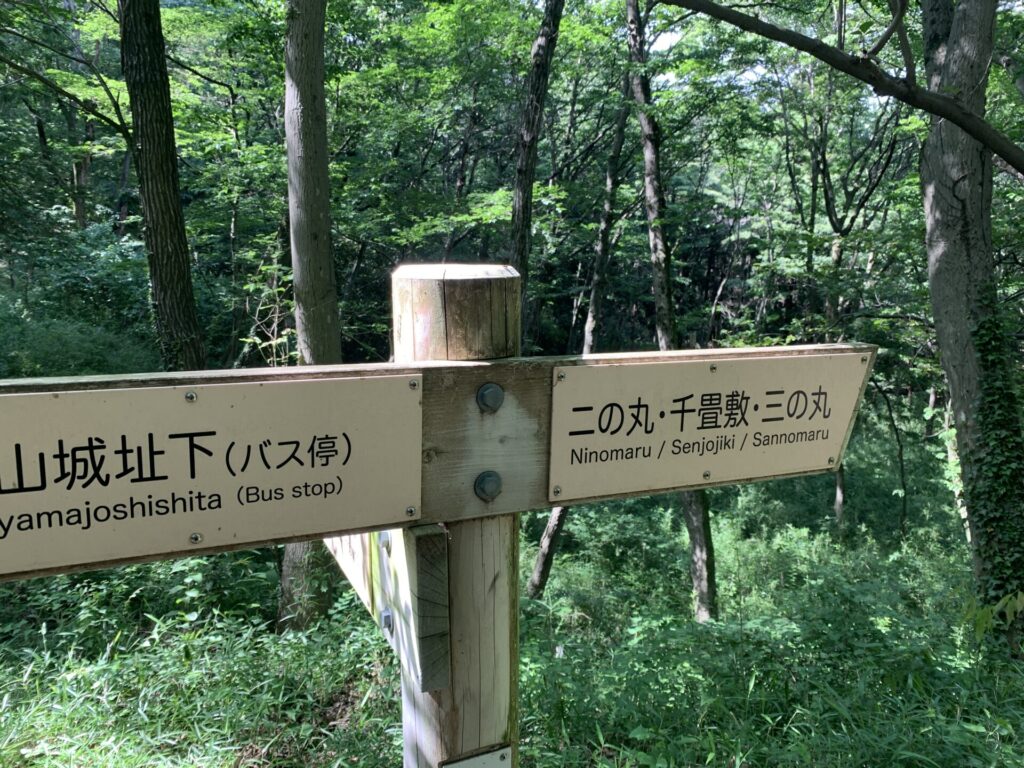
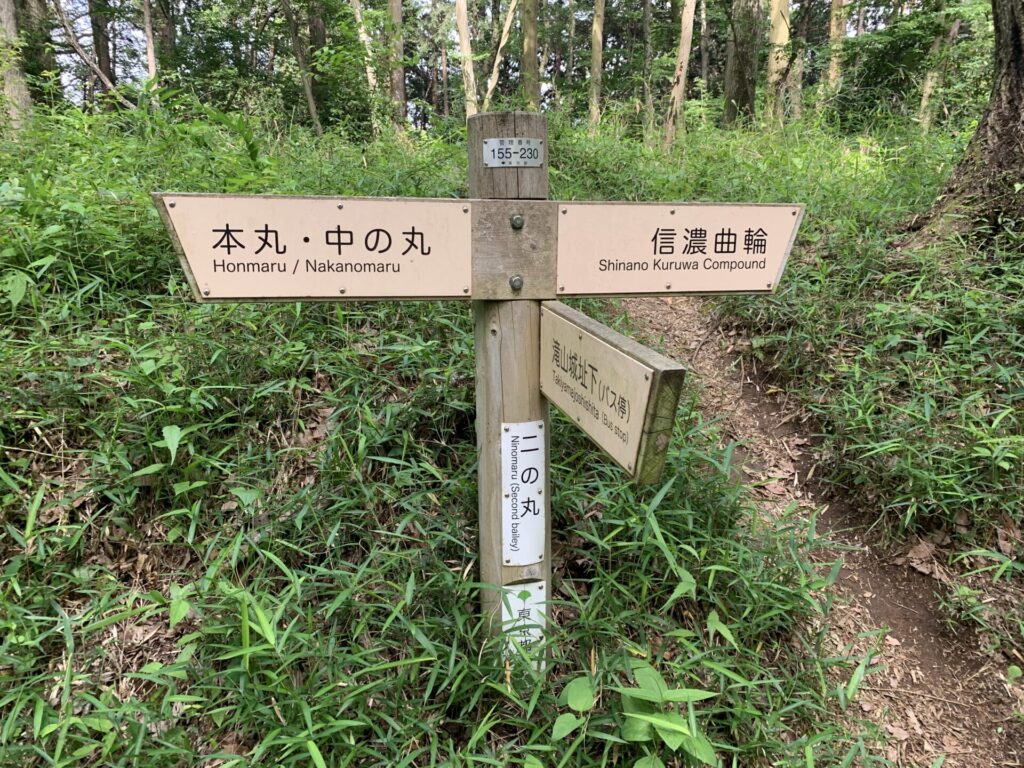
As you can see, there are information boards like this placed throughout the site,
so it should not be too difficult to find your way.
Next, we will head to Yamanokami Kuruwa (山の神曲輪)!
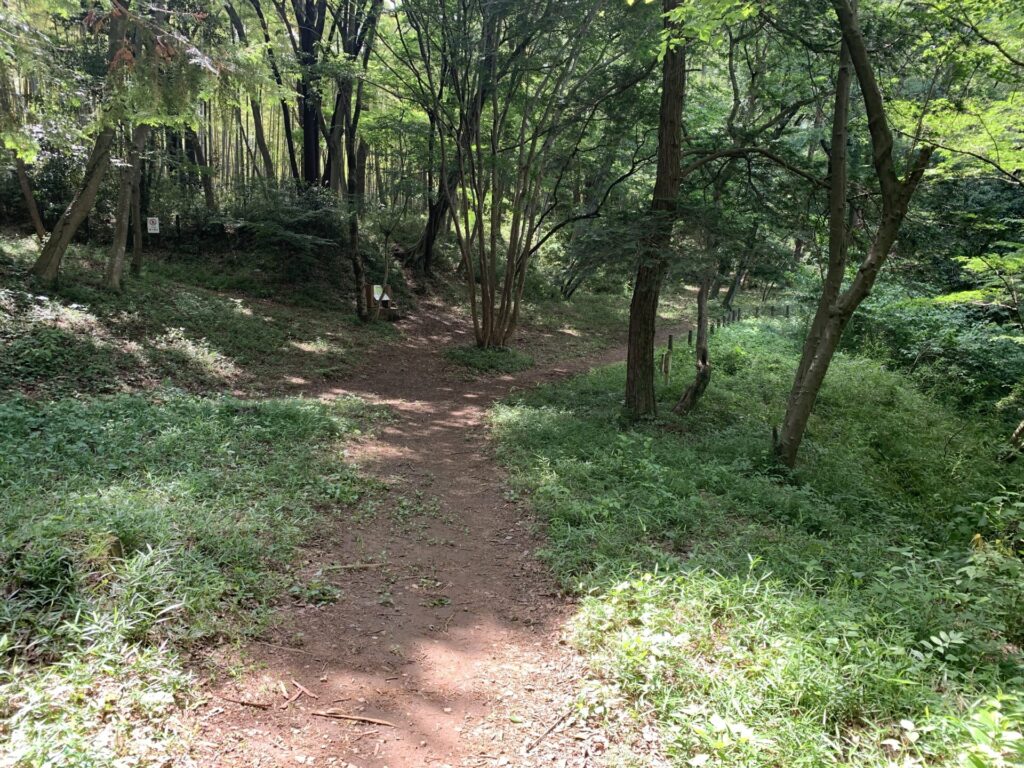
I continued climbing along a mountain path like this.
Along the way there are some fairly steep slopes, and I walked for about five minutes or so.
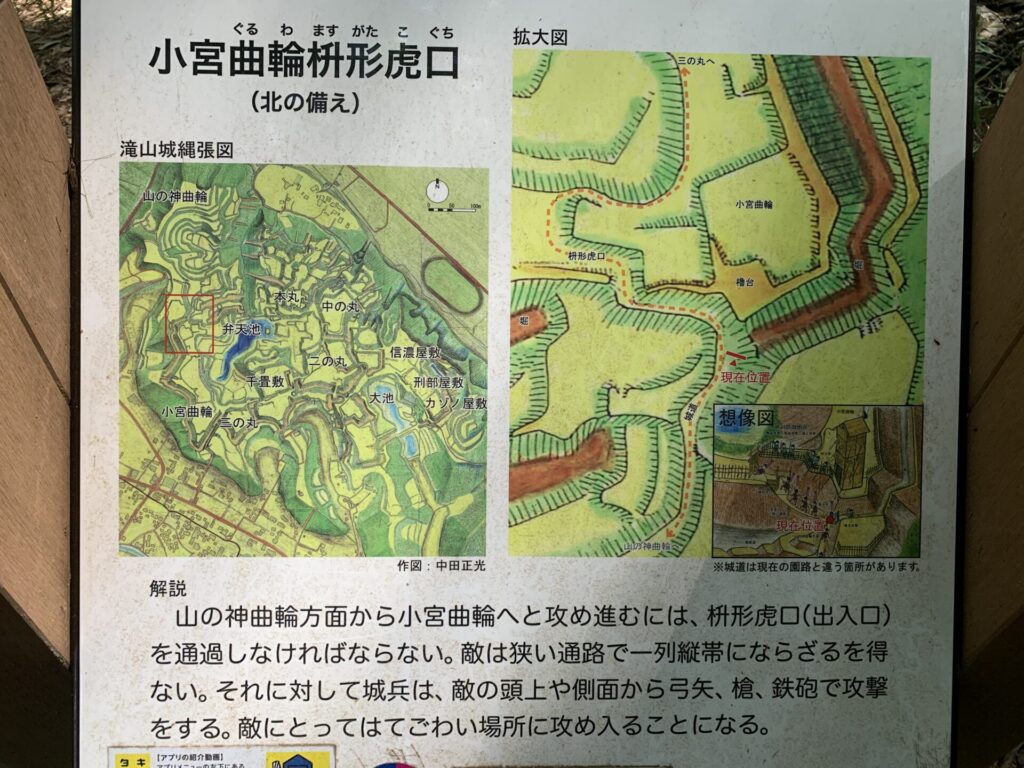
Along the way, there is also a place called Komiya Kuruwa (小宮曲輪).
Enemy soldiers attacking from Yamanokami Kuruwa (山の神曲輪) would inevitably have to pass through the Masugata Koguchi (枡形虎口).
“Enemies would be forced to move in single column through the narrow passage, while the castle’s defenders could attack them from above and from the sides with arrows, matchlock guns, and spears.”
As described on this information board, you can imagine how the koguchi played a crucial role in stopping enemy troops,
and how troublesome a place it must have been for attackers trying to break in.
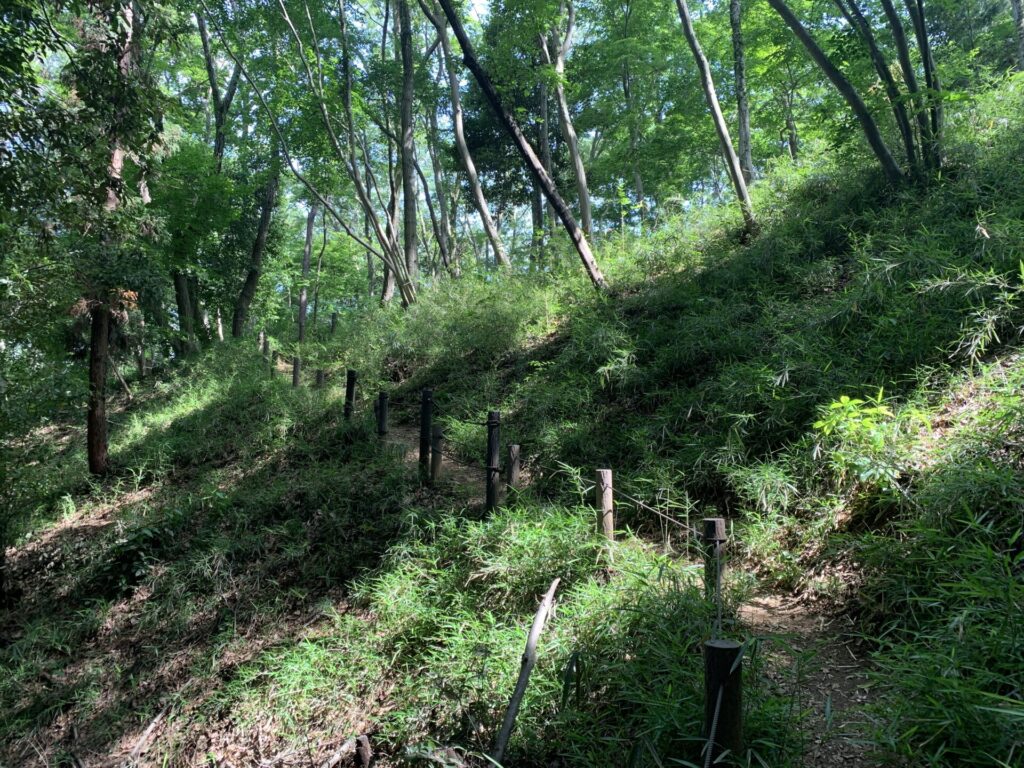
This is probably the Masugata Koguchi (枡形虎口).
It is a steep uphill path where the road bends along the way.
In other words, enemy troops would slow down as they advanced, making them easy targets for defenders attacking from above.
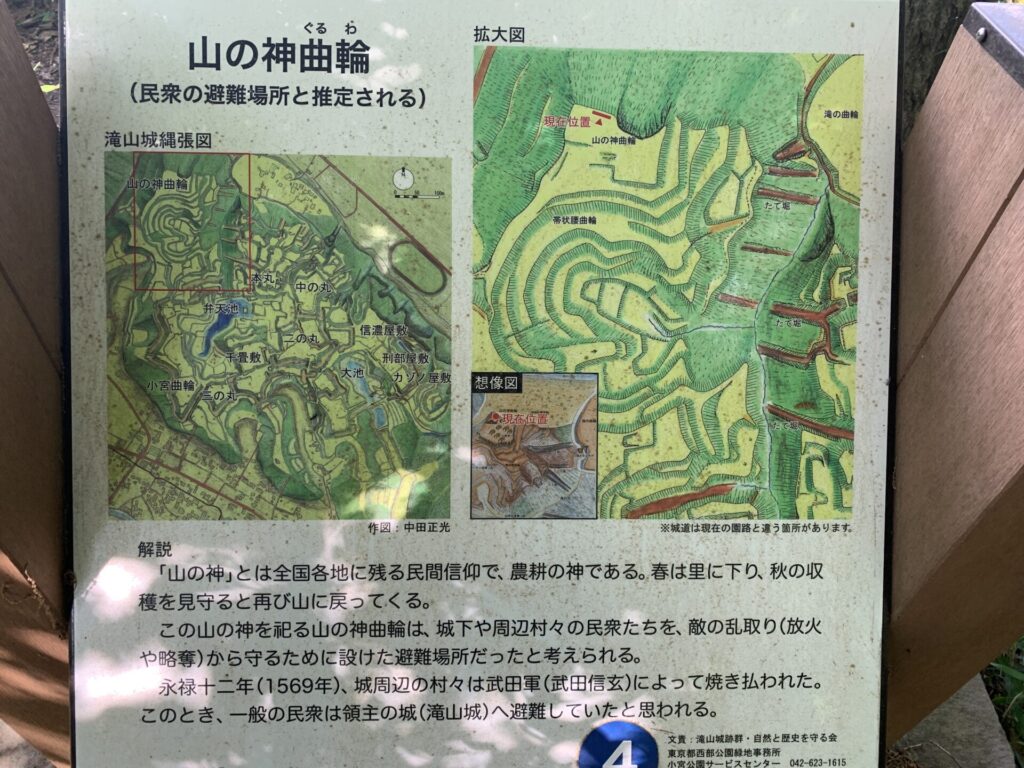
After walking for about five minutes, I arrived at Yamanokami Kuruwa (山の神曲輪)!
This kuruwa seems to have served as a refuge to protect the villagers from enemy troops advancing toward the castle town.
Now, please take a look at this area in the video below.
It is located at a fairly high position,
so at the time it must have provided a view overlooking the surrounding villages.
Cross the earthen bridge to Senjojiki, the Umadashi, and then to the Ninomaru!
From Yamanokami Kuruwa, we head back down the path we came from,
and then continue toward the Ninomaru (二の丸:second enclosure) and the Senjojiki (千畳敷) area.
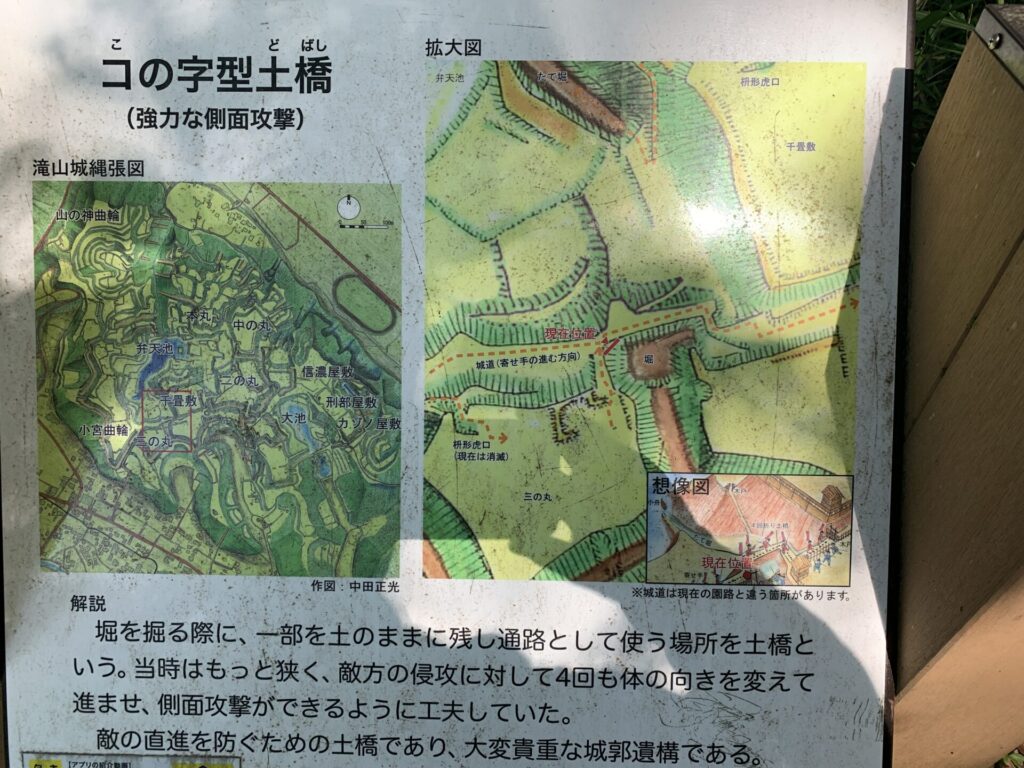
Here we found Dobashi (土橋:earthen bridge) designed to launch side attacks on enemy troops.
“An earthen bridge is a section intentionally left as solid ground when digging a moat, allowing it to be used as a passage. In those days it was much narrower, and it forced invading enemies to change their direction four times as they advanced, making it possible for defenders to attack from the sides.”
In this way, deadly defensive structures are waiting for enemy troops at every turn.
By the way, these explanation boards are really easy to understand.
They are written clearly enough even for beginners in castle exploration, which makes them very appealing.
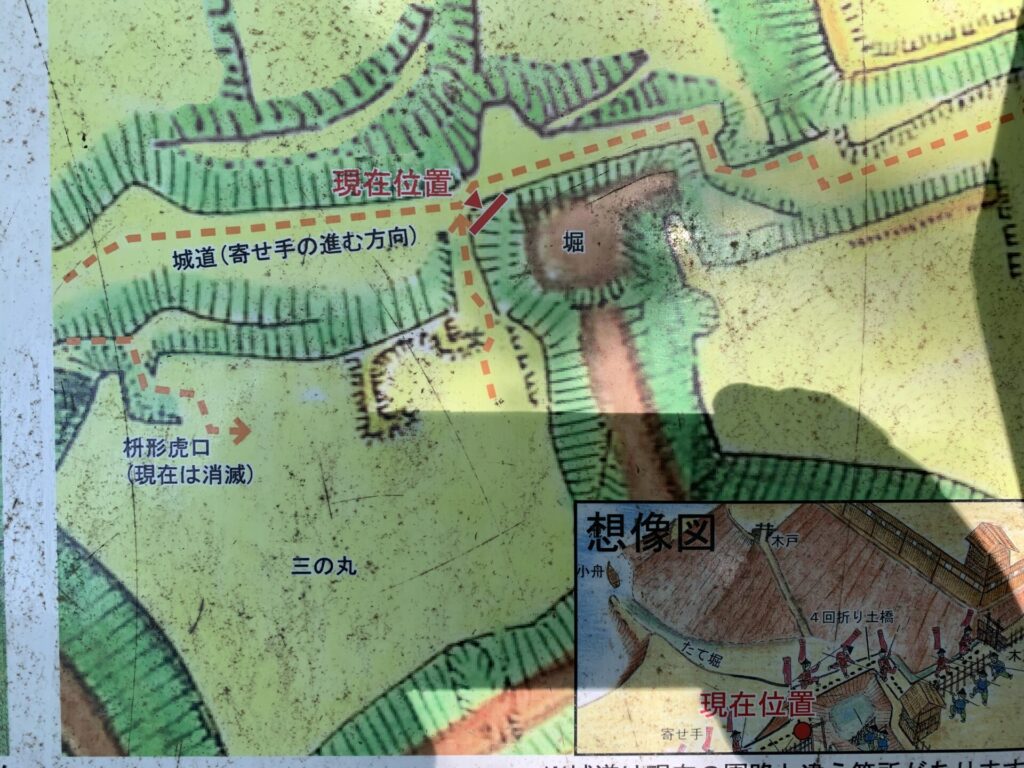
The orange dotted line shows the route of the enemy troops’ advance.
Can you see how they would have to change direction several times around the earthen bridge on the right?
Attacking soldiers would have to cross this U-shaped earthen bridge,
which meant they had to change the direction of their bodies four times.
Each time they turned, they would expose their sides to the defenders.
As a result, their advance would slow down, and they would be targeted from the sides and rear.
Terrifying… As expected, this was the castle of Hōjō Ujiteru, known in the Hōjō clan as a master castle builder and a man well versed in military strategy.
Please take a look at the earthen bridge in the video below.
With moats on both sides,
you can see that enemy troops would have no easy way forward unless they crossed this earthen bridge.
They would also be forced to advance while turning several times along the path,
making them easy targets for the defenders.
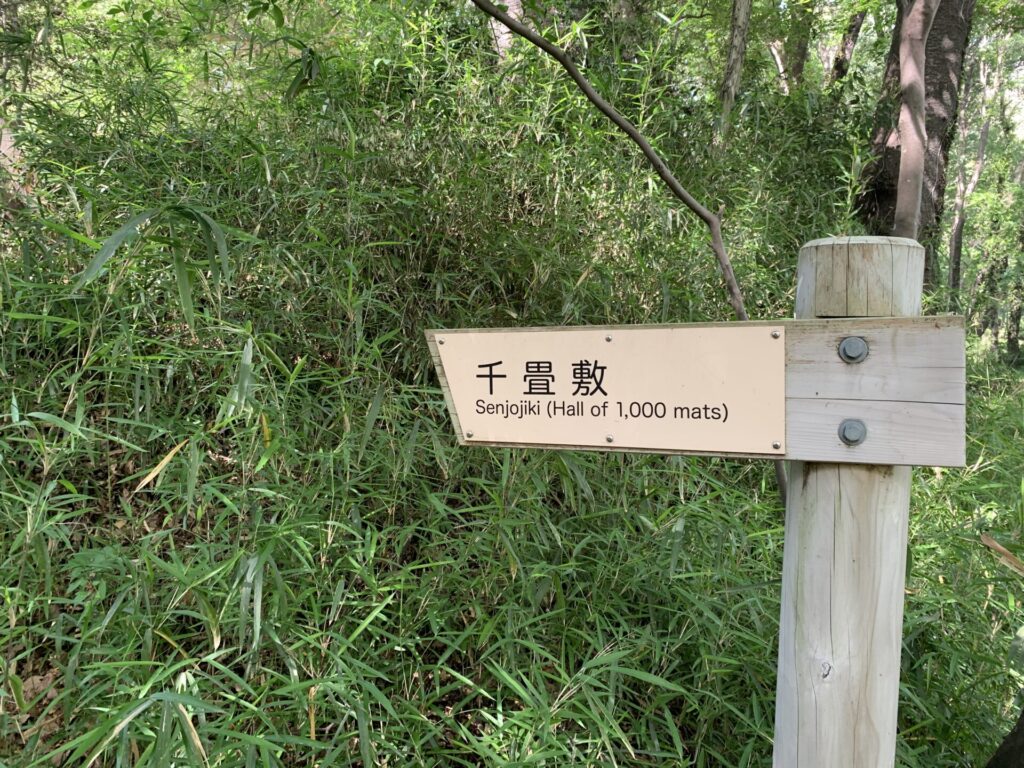
After crossing the earthen bridge, we arrived at Senjojiki (千畳敷:Hall of 1,000 mats).
As the name suggests, it has an area said to be large enough to fit a thousand tatami mats.
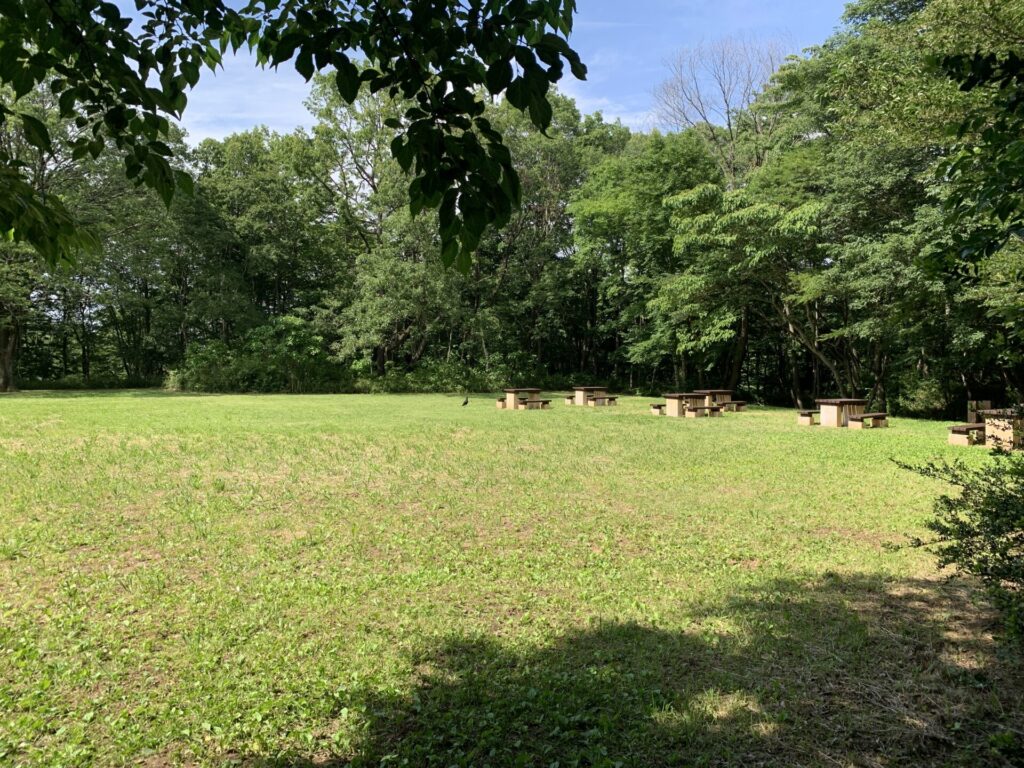
Yes, it is certainly spacious.
Aside from the obvious defensive structures, I’ll move through the rest fairly quickly.

Beside this Senjojiki area, there is an Umadashi (馬出し),
and in this case it is a square umadashi that served as a defensive structure for the castle’s defenders.
The Square Umadashi (角馬出し) can be considered one of the Hōjō clan’s signature features, and several examples can be found at castles associated with the Hōjō.
👇Please also take a look at the article below for reference.
Now, please take a look at this Square Umadashi (角馬出し) in the video as well.
As you can see, it is surrounded by moats,
creating a structure where defenders could wait for the enemy in this narrow space and then launch a counterattack.
It was difficult for enemy troops to attack into, while also making it easy for the defenders to strike back.
A truly impressive design!
Next, we head toward the Ninomaru (二の丸:second enclosure).
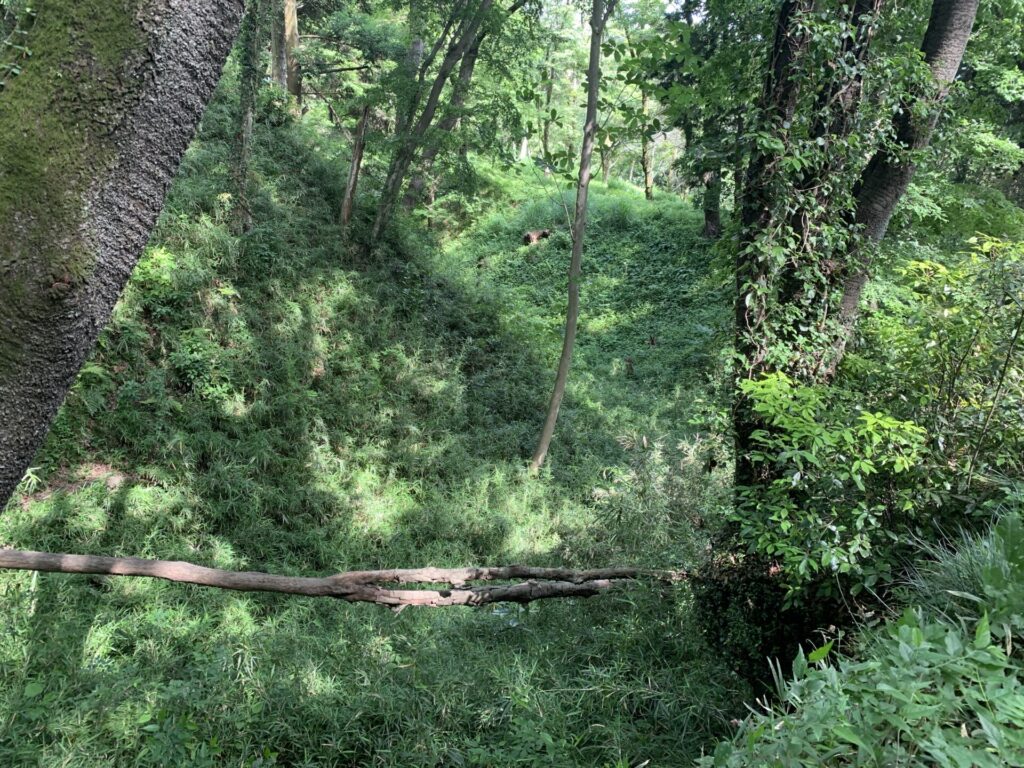
When I happened to glance to the side of the path,
I could see a deep and large moat.
It may be a little difficult to see clearly in the photo,
but even this alone shows how strongly fortified Takiyama-jo once was.
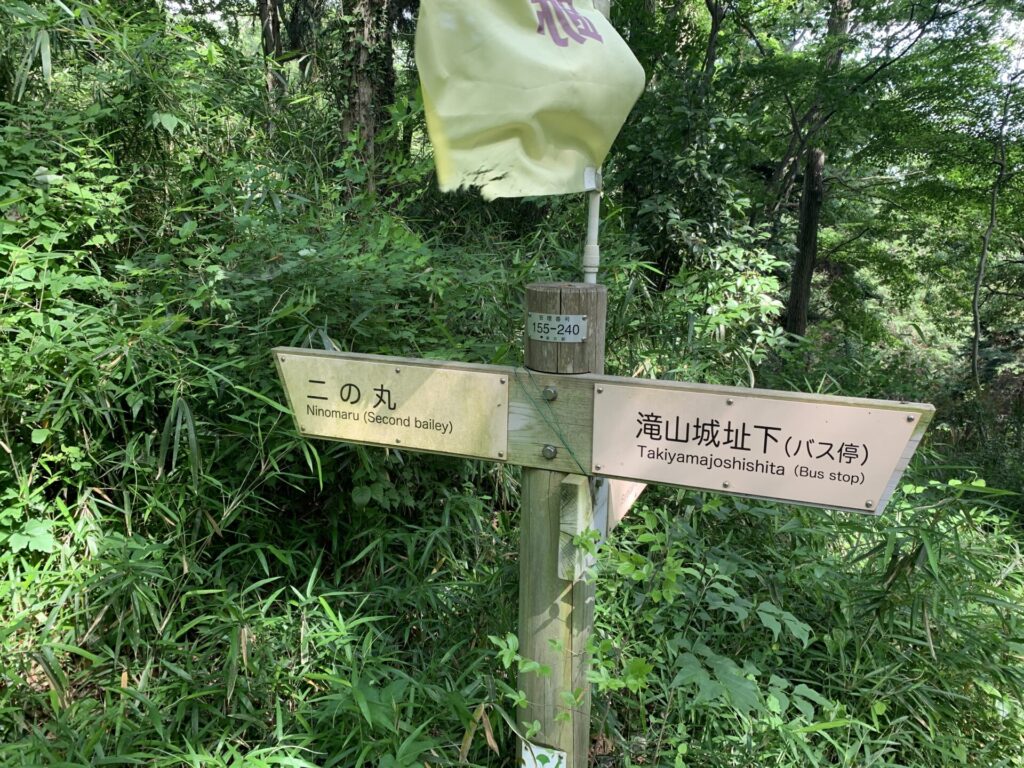
Following the information board, we continue along the path,
and soon it comes into view ahead again.
This area appears to have been the Ninomaru (二の丸:second enclosure).
After examining this area, we will head next to Shinano Kuruwa (信濃曲輪).
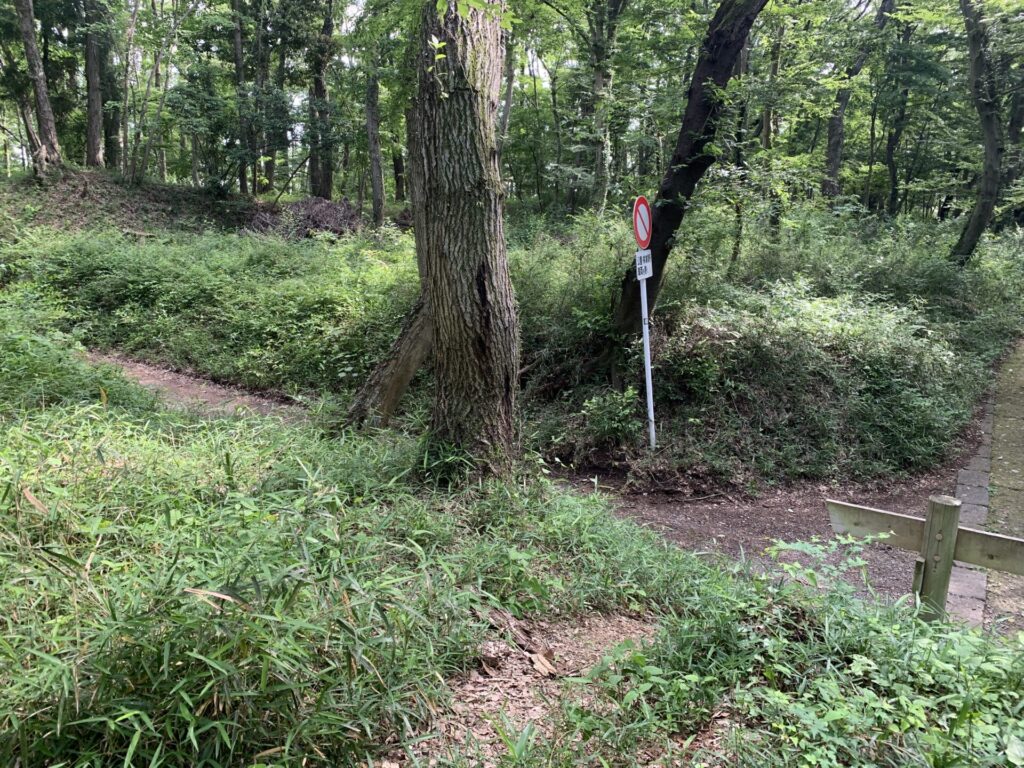
The area where I am standing,
and the section visible ahead, were probably part of the Ninomaru.
Shinano Kuruwa, also known as the “dead-end kuruwa”
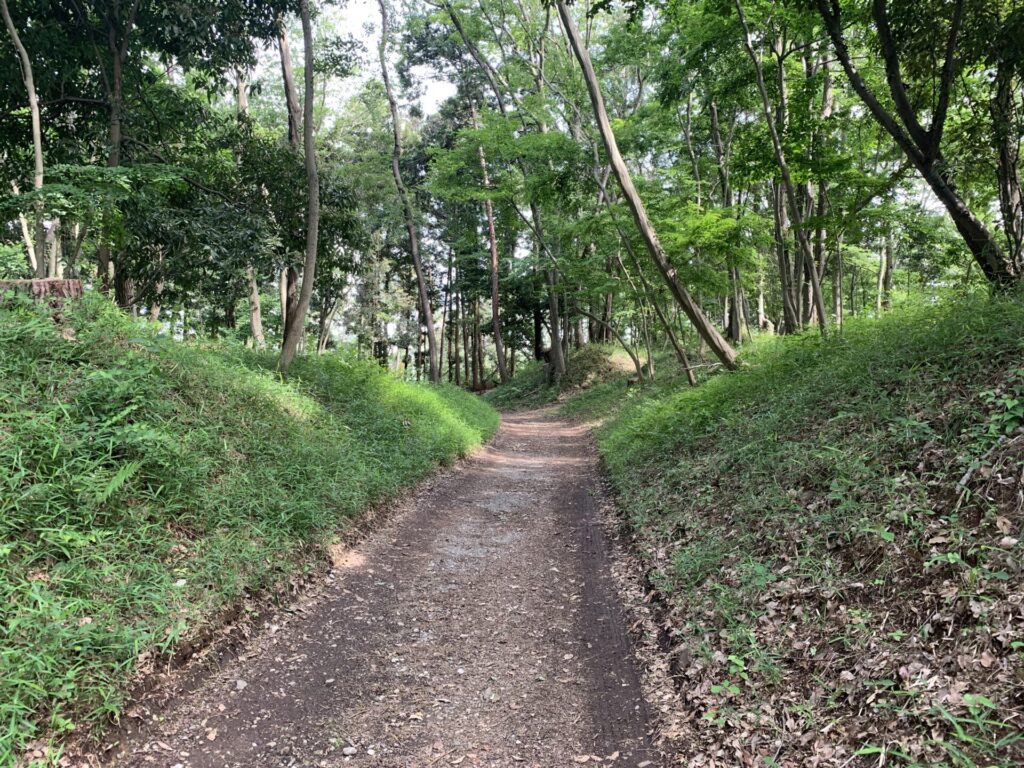
After finishing the inspection of the Ninomaru,
I follow the arrow sign from earlier and head toward Shinano Kuruwa (信濃曲輪).
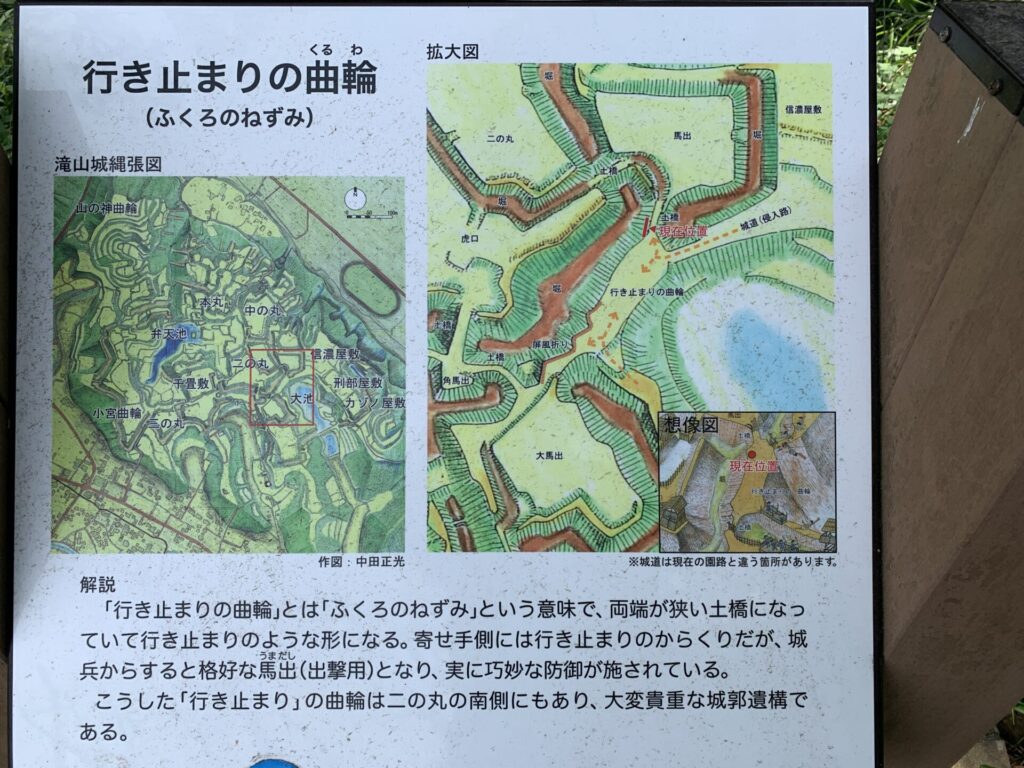
Shinano Kuruwa (信濃曲輪) was apparently known as a “dead-end kuruwa” (a trap with no escape).
Enemy troops would be forced to stop on the narrow earthen bridge, where they would become stuck, and then the castle’s defenders would launch a counterattack from the umadashi.
It is yet another cleverly designed defensive structure.
Hmm… Takiyama-jo is far more difficult to attack than I had expected.
Truly impressive!
It is said that Hōjō Ujiteru, who later became the lord of the castle, carried out major renovations here,
which makes it easy to understand why he was regarded within the Hōjō clan as someone with great talent for military architecture.
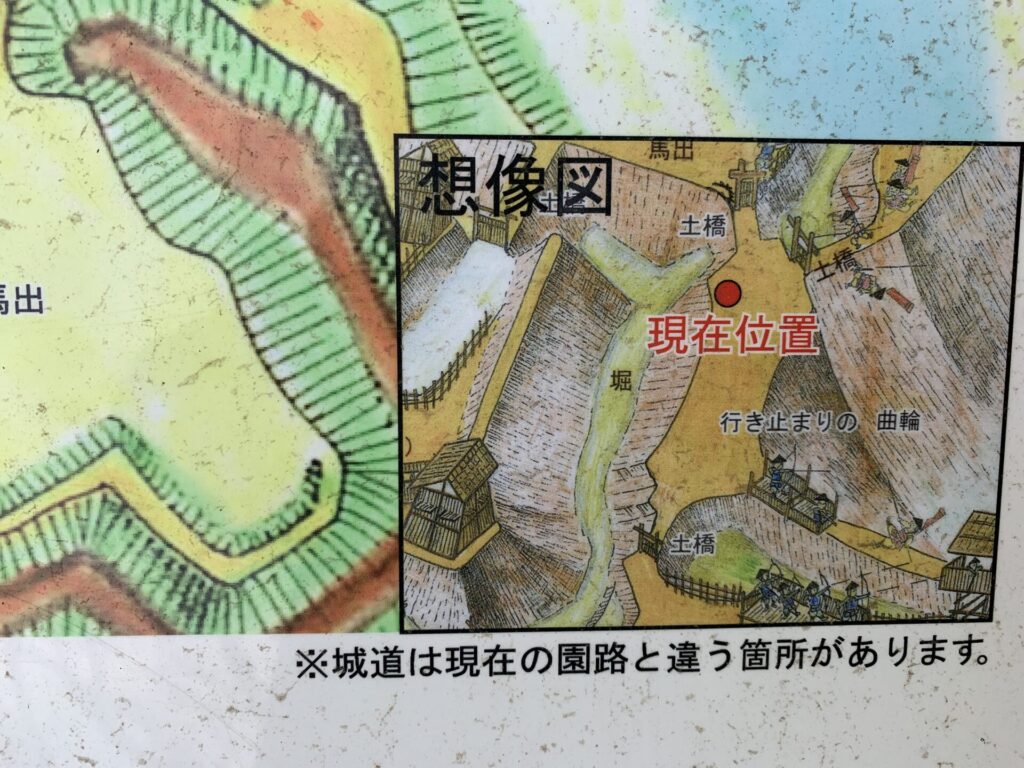
In this way, as enemy troops crossed the narrow earthen bridge,
the defenders would target them with arrows from the watchtowers above.
Now, please take a look at this “dead-end kuruwa” in the video as well.
You can see how narrow the earthen bridge is.
And in this space, the castle’s defenders would confront and fight off the attackers.
Next, on to the Nakanomaru and then the Honmaru!!

Now we head back along the path we came from,
and at last make our way toward the Nakanomaru (中の丸) and then the Honmaru (本丸:main enclosure)!
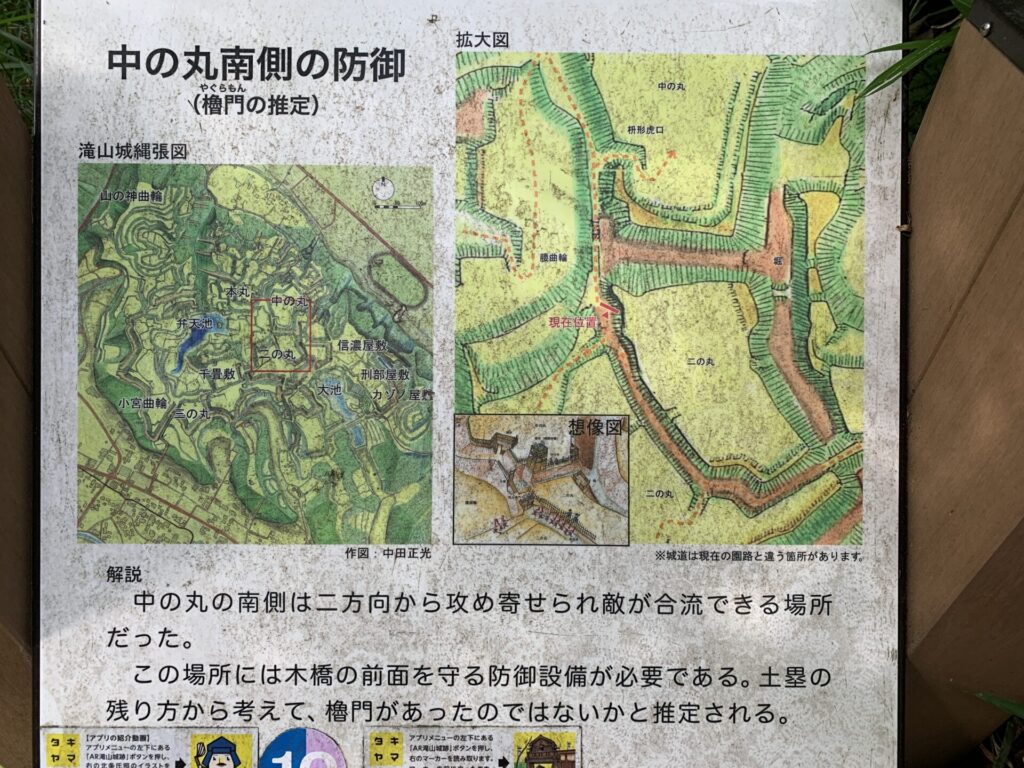
It is believed that there may once have been a yagura gate in the Nakanomaru (中の丸), though this is only an estimate.
This was probably somewhere around here.
I’m not entirely certain,
but judging from the surrounding terrain, it’s hard to imagine it being anywhere else.
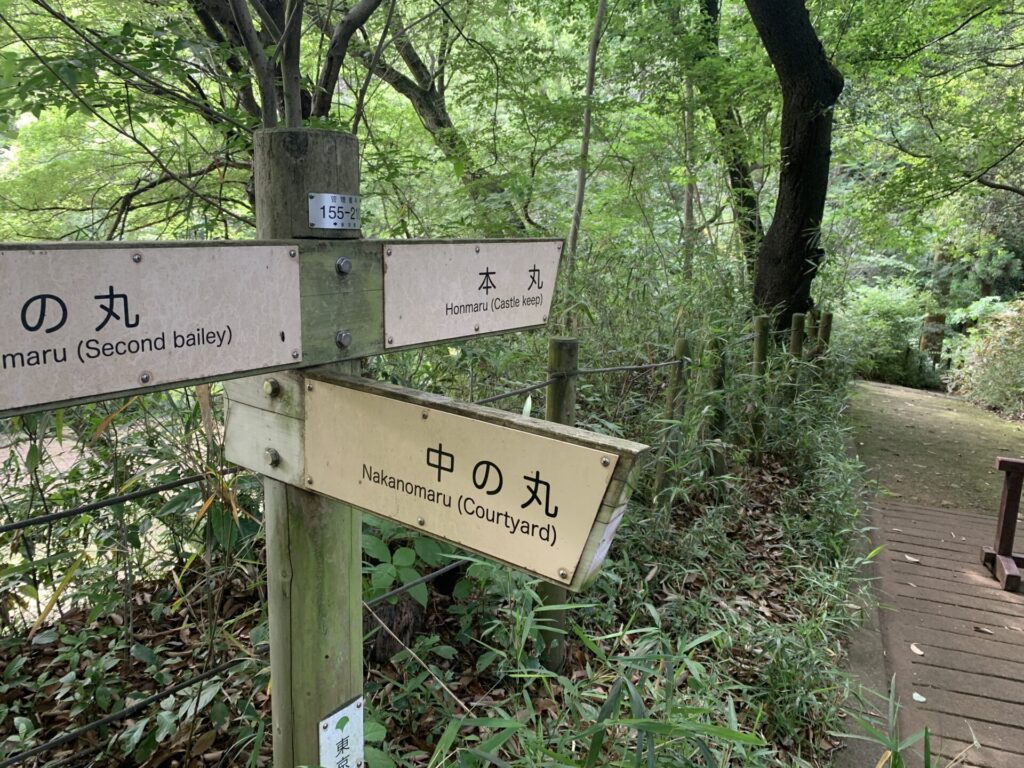
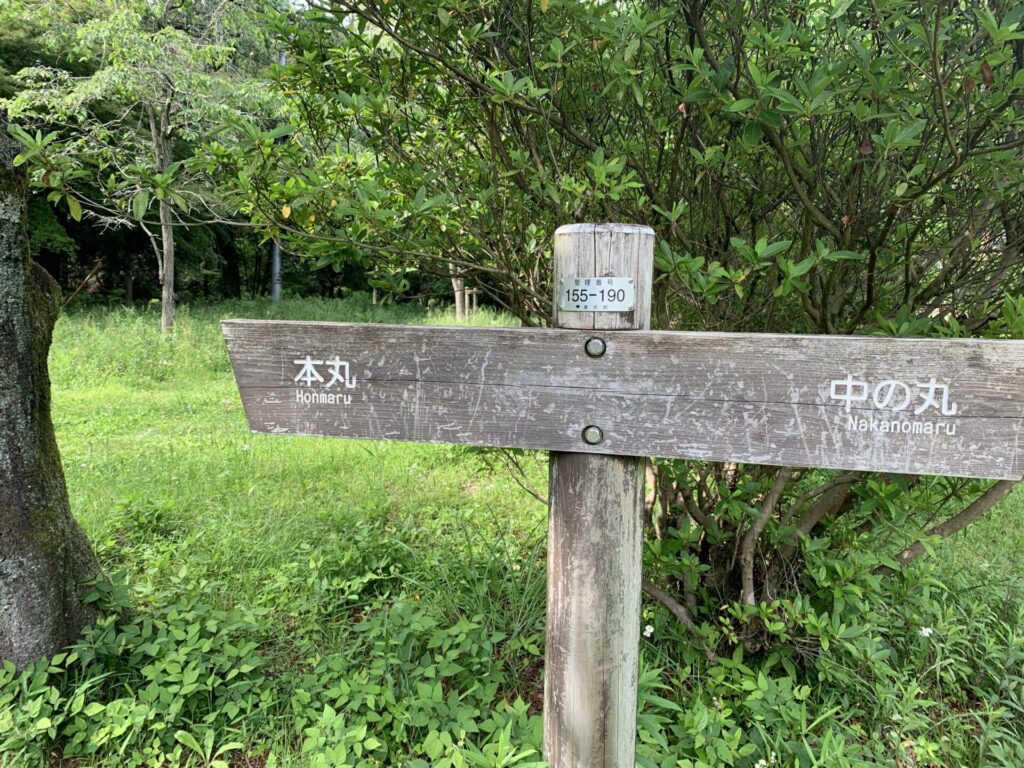
And now we have reached the junction between the Nakanomaru and the Honmaru.
First, we will inspect the Nakanomaru.
The Nakanomaru (中の丸) is just up here.
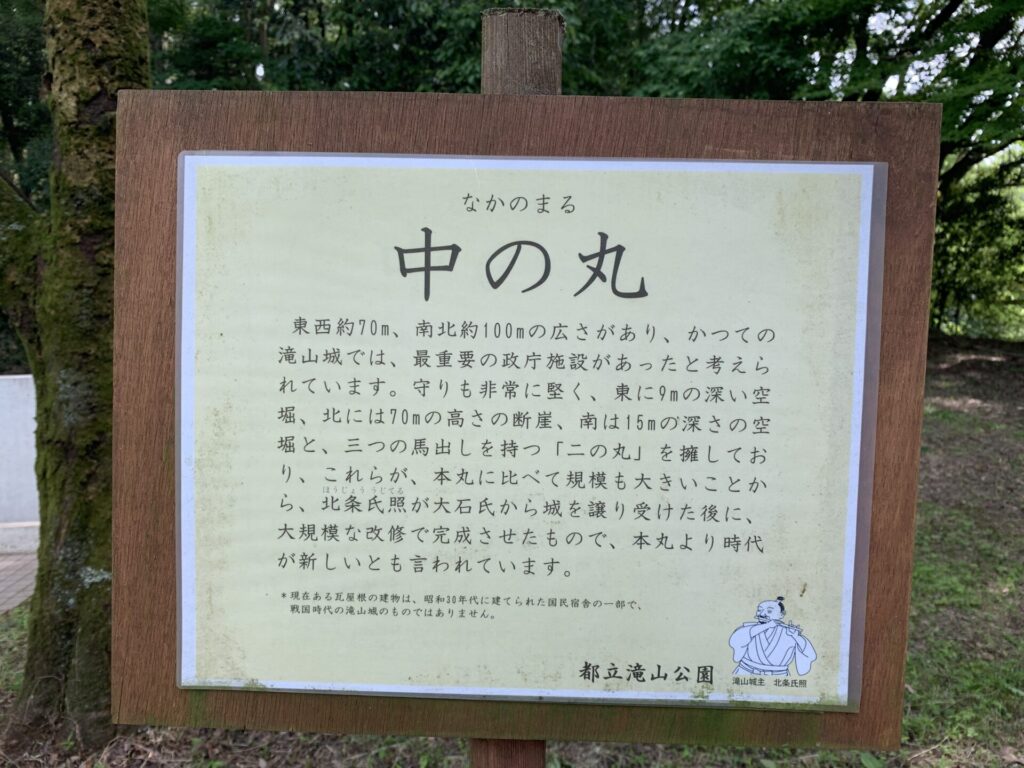
Nakanomaru (Middle Bailey)
This area measures about 70 meters from east to west and about 100 meters from north to south. It is believed that the most important administrative facilities of Takiyama Castle were once located here.
The defenses were also extremely strong. To the east lies a dry moat about 9 meters deep, to the north a cliff about 70 meters high, and to the south a dry moat about 15 meters deep. In addition, it was supported by the “Ninomaru,” which had three umadashi (defensive outworks).
Because these features are larger in scale than those of the Honmaru, it is said that after Hōjō Ujiteru inherited the castle from the Ōishi clan, he completed this area through large-scale renovations. For this reason, it is also believed to be newer than the Honmaru.
The tile-roofed building that currently stands here was constructed in the 1950s as part of a national lodging facility and is not related to Takiyama Castle from the Sengoku period.
Tokyo Metropolitan Takiyama Park
Even from this explanation alone,
you can see how Hōjō Ujiteru devised various defensive measures to make the castle even more strongly fortified.
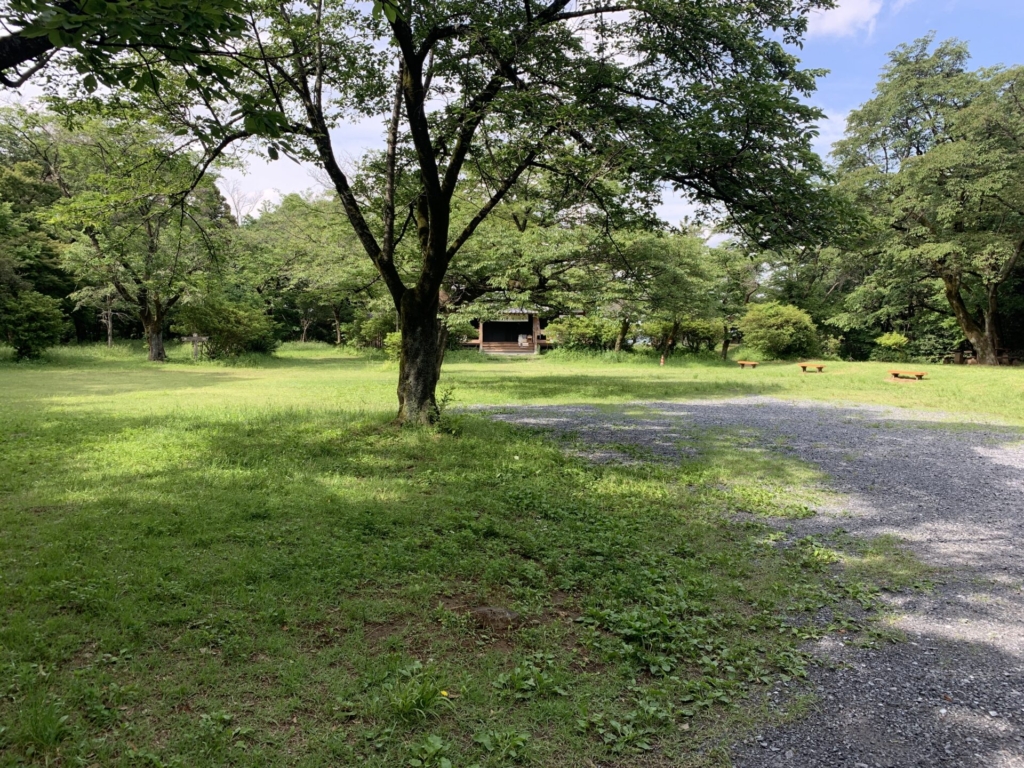
This is what the Nakanomaru (中の丸) looks like.
It seems to be about the same size as the Senjojiki we saw earlier.

At the far end, there is also a small hall like this,
where pamphlets and informational materials are available,
allowing you to learn more about Takiyama-jo.
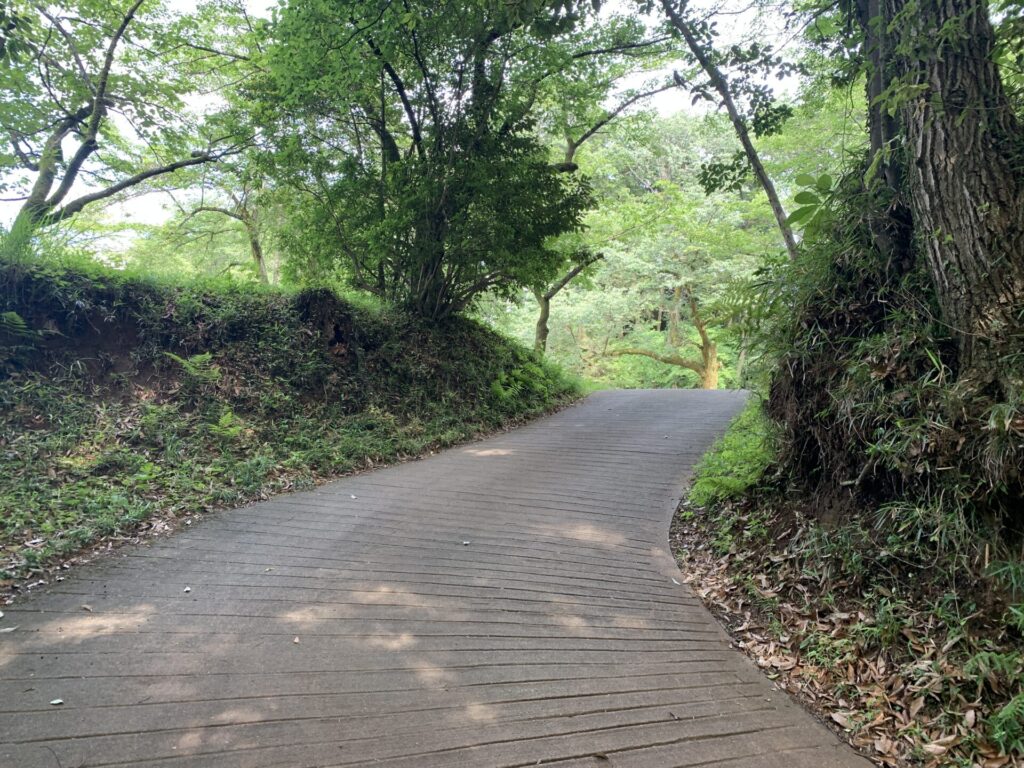
Now, from here we will move on to the Honmaru (本丸:main enclosure).
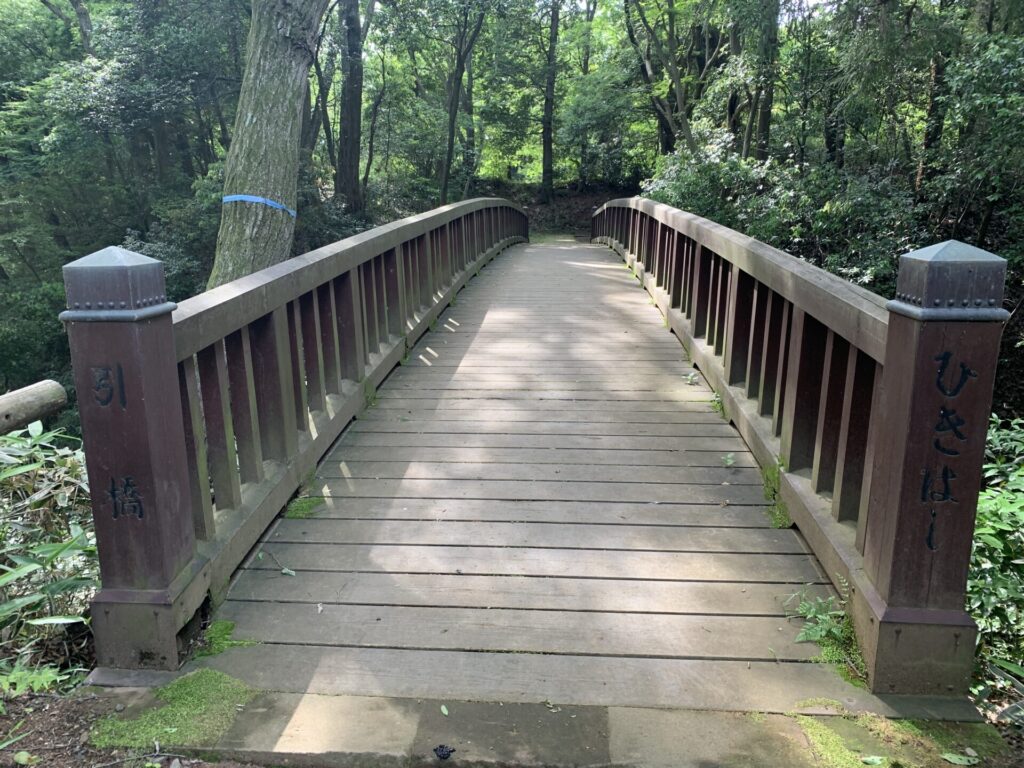
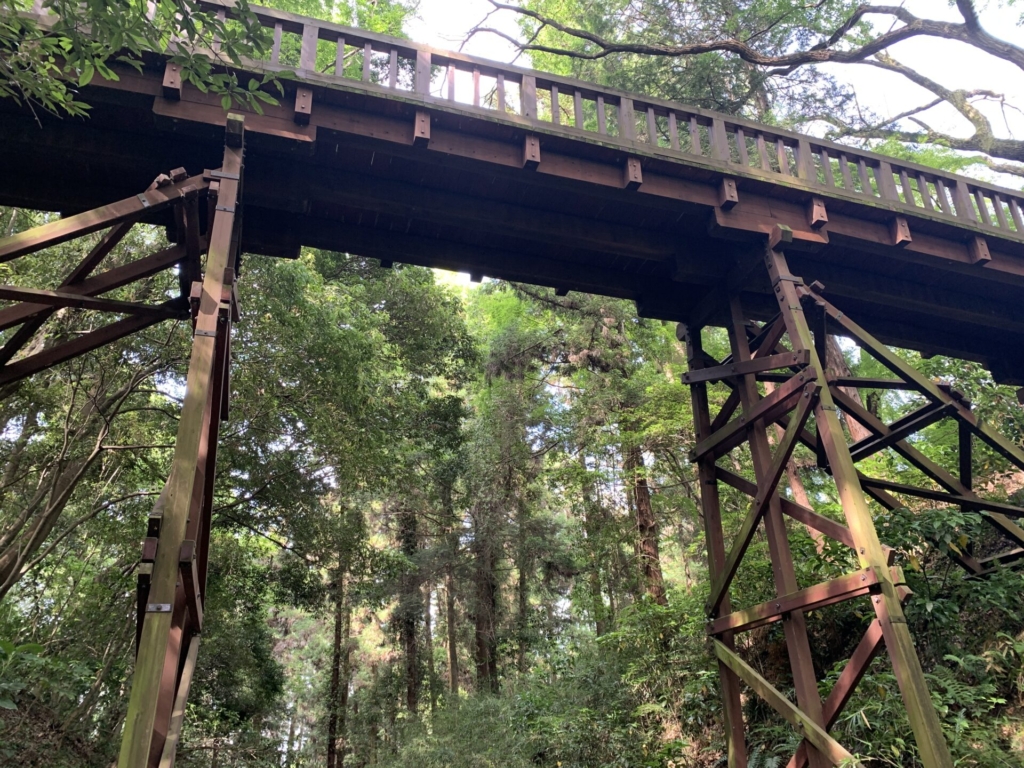
Just across this hiki-bashi (drawbridge)…
Once again, a Masugata Koguchi (枡形虎口:square defensive gate) awaits here!!
This is the Masugata Koguchi (枡形虎口:square defensive gate) that must be passed in order to reach the Honmaru (本丸:main enclosure).
Truly, castles with strong defenses are designed with multiple kill zones between each kuruwa.
Now, please take a look at the video showing the path from the drawbridge, through the masugata koguchi, and on to the Honmaru.
The Honmaru (本丸:main enclosure) is also fairly spacious inside.
Let’s take a closer look around here as well.
There was also a stone monument marking the Takiyama Castle Ruins.
When exploring castle ruins, there is almost always something like a shrine near the Honmaru.
That is the case here as well.
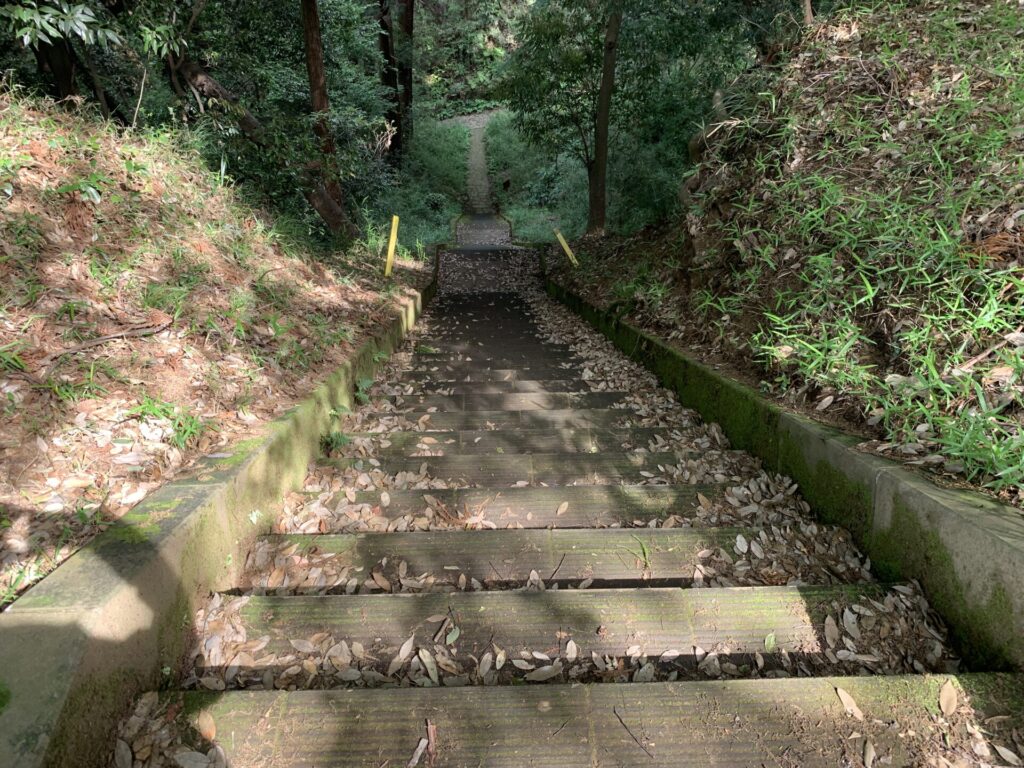
From the shrine, we head down these stone steps.
After going down and walking a little further,
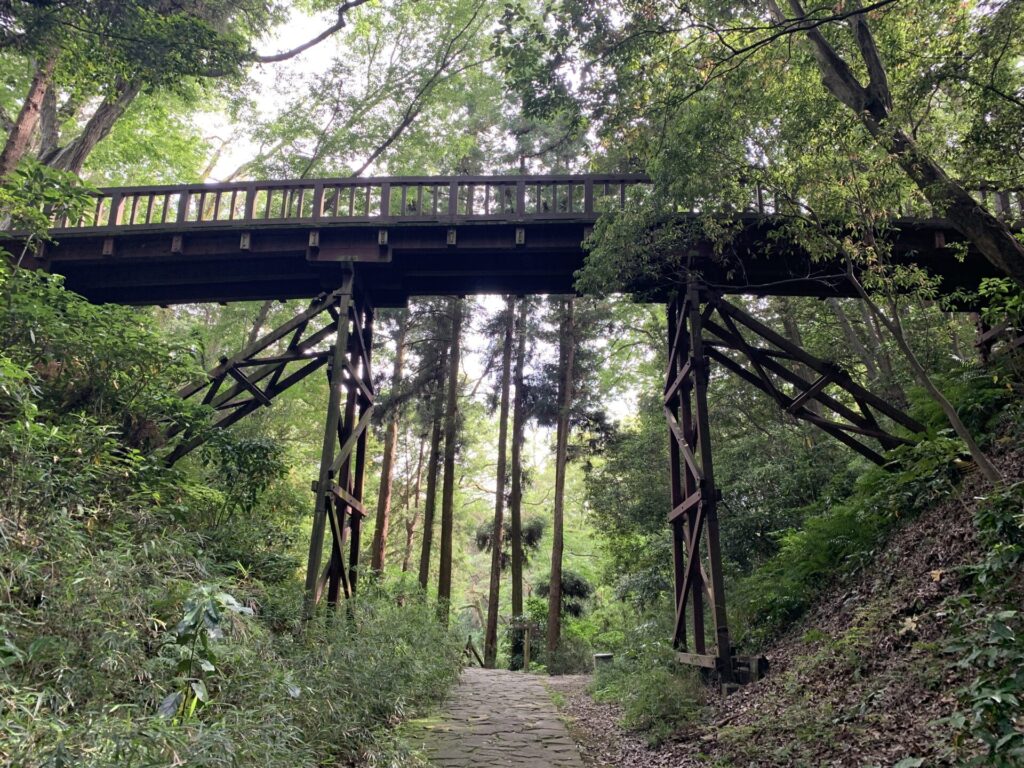
you can look up at the drawbridge we crossed earlier from below.
It’s quite an impressive angle.
I moved even closer and took this shot from almost directly below.
Can you feel the sense of scale?
With that, I will finish exploring Takiyama-jo and head back down the mountain path.

One more look at the bamboo grove near the entrance.
Takiyama-jo also turned out to have defensive structures far beyond what I had expected.
Each of these defensive features is well worth examining carefully.
Since it is located in Hachioji City, Tokyo, please consider visiting if it sparks your interest.
See you next time!!🏯