Karasawayama-jo (Sano city, Tochigi)|One of the “Seven Famous Castles of Kantō,” Featuring Dry Moats, Koguchi Gates, and Overwhelming Stone Walls
- 1. A “Staggered Koguchi Gate” and Drawbridge Welcome You Right from the Start
- 2. Driving Back Enemy Soldiers from the Obikuruwa !
- 3. Overwhelmed by the Towering Stone Walls!!
- 4. The Solemn Atmosphere of Karasawayama Shrine (Main Enclosure)
- 5. Dry Moats and Koguchi Gates Await on the Eastern Enclosures as Well!!
A “Staggered Koguchi Gate” and Drawbridge Welcome You Right from the Start
Hello, Shin here!
Saturday, June 17, 2023.
On a beautiful early summer day, I visited Karasawayama-jo in Sano City, Tochigi Prefecture. 🚙
During the Sengoku period, this castle served as the stronghold of the Sano clan,
and it was famous for successfully repelling repeated invasions by Uesugi Kenshin.
It is also counted among the “Seven Famous Castles of Kantō(関東七名城)”.
◉ Castle Type
Mountain Castle ( Yamajiro:山城 )
◉ Cultural Heritage Highlights
◉ Defensive Features & Fortifications
◉ Exploration Difficulty
🔴 Advanced Castles
◉ Estimated Time to walk around
: over 3 hours
◉ Parking
The Karasawayama-jo Ruins parking area has space for around 30 vehicles.
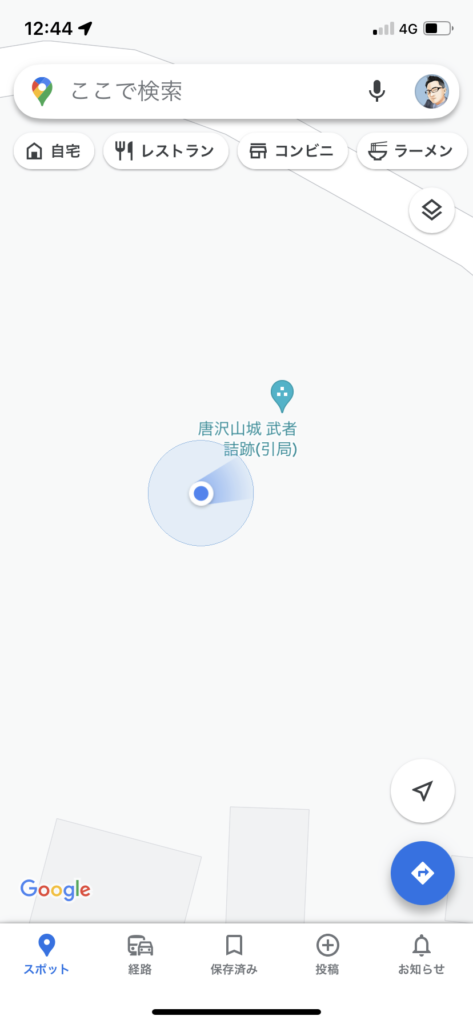
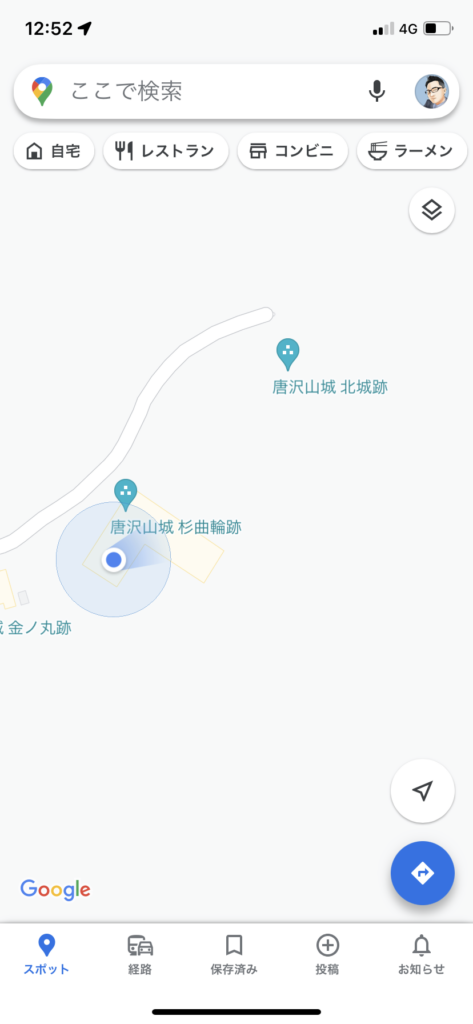
As you can probably tell from the Google Map above…
the parking area is located at the mountaintop, reached by climbing a series of winding hairpin curves.
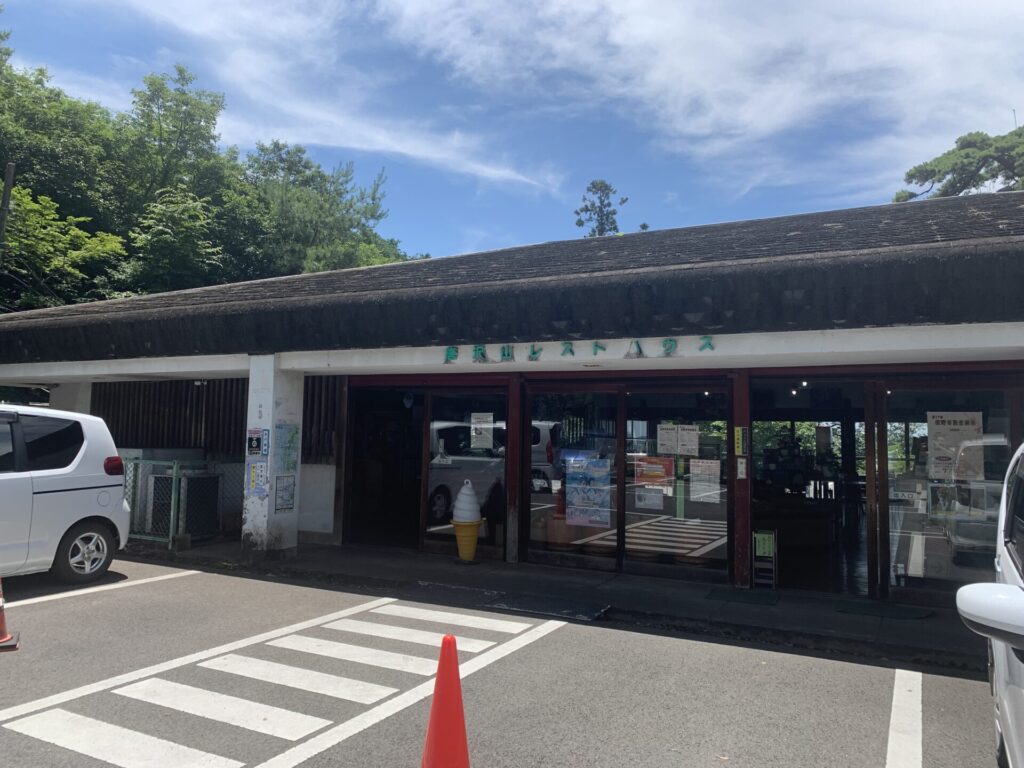
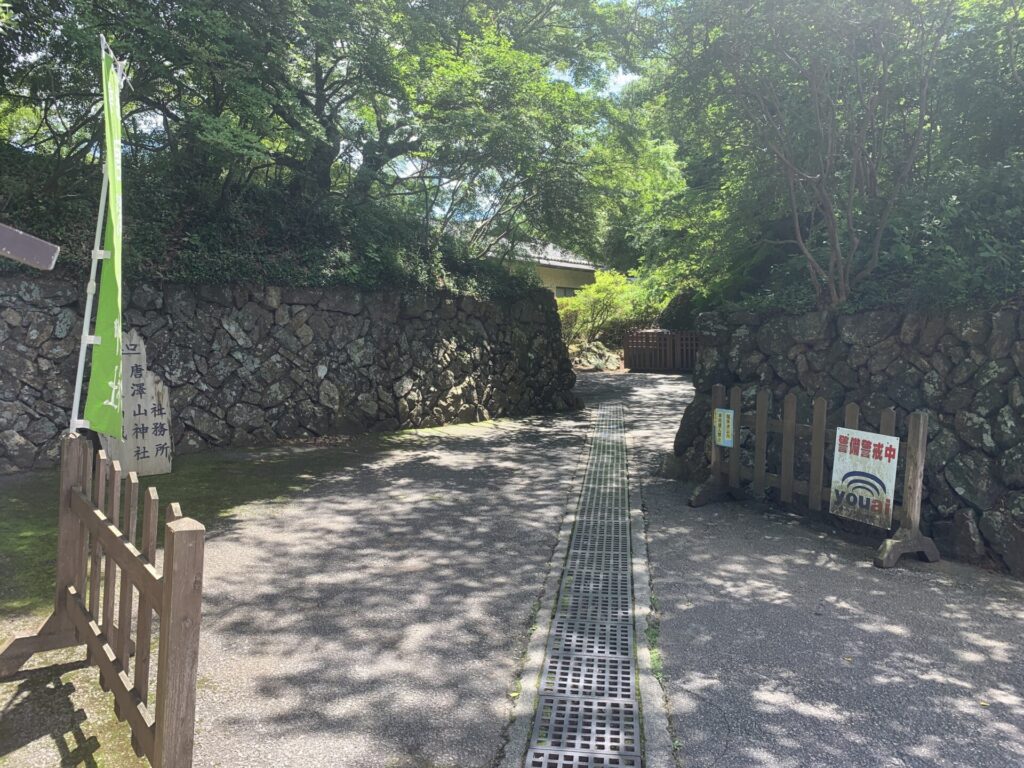
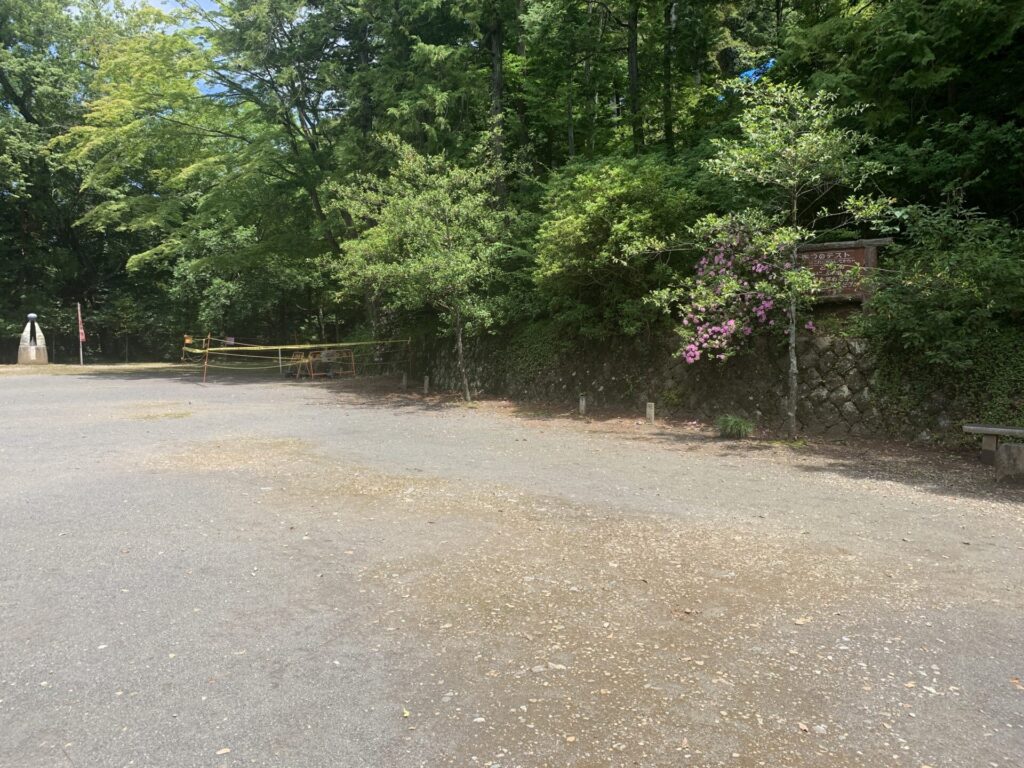
Right in front of the parking area at the summit,
there is a restaurant-like building called “Karasawayama Rest House”.
It looked quite old and weathered.
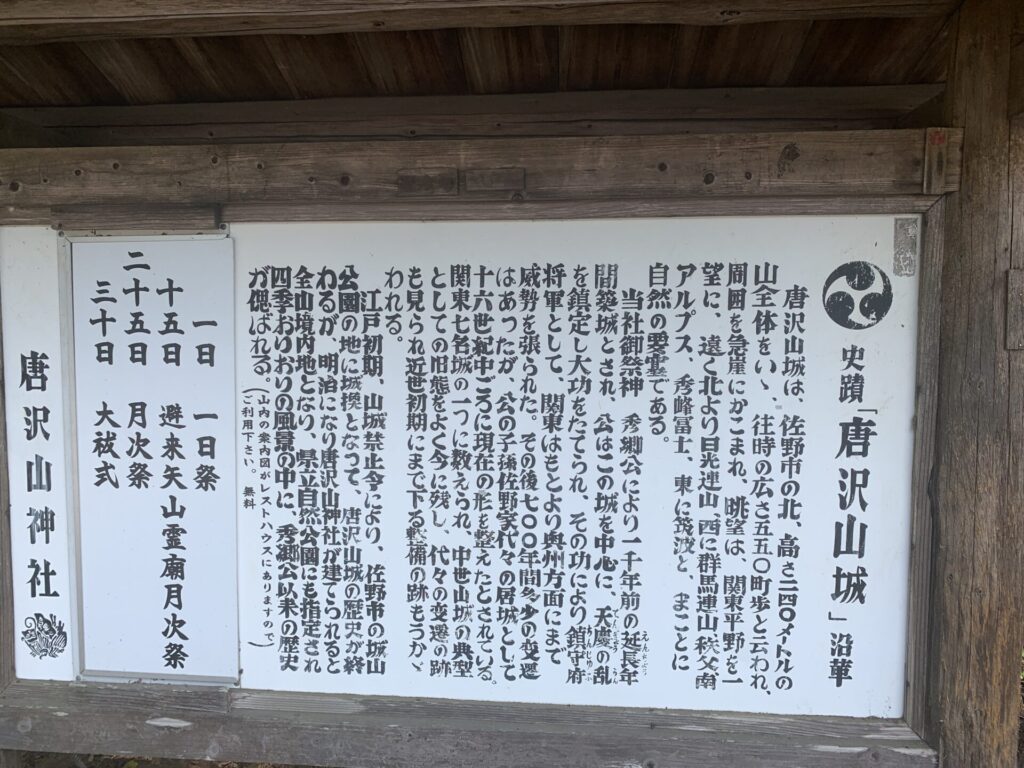
There was also an information board like this in the parking area.
It enshrines Fujiwara no Hidesato, the warrior who defeated Taira no Masakado and helped suppress the Tengyō Rebellion.
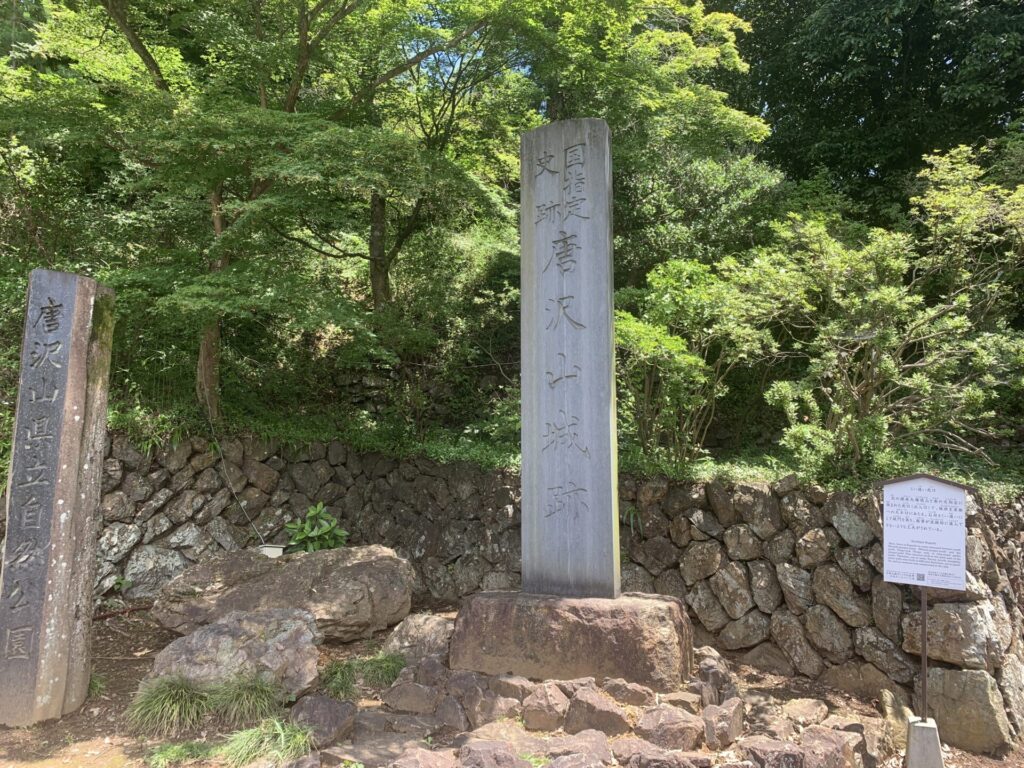
Next to it stood a stone monument marking the “Karasawayama-jo Ruins”.
The stone walls are impressive as well.
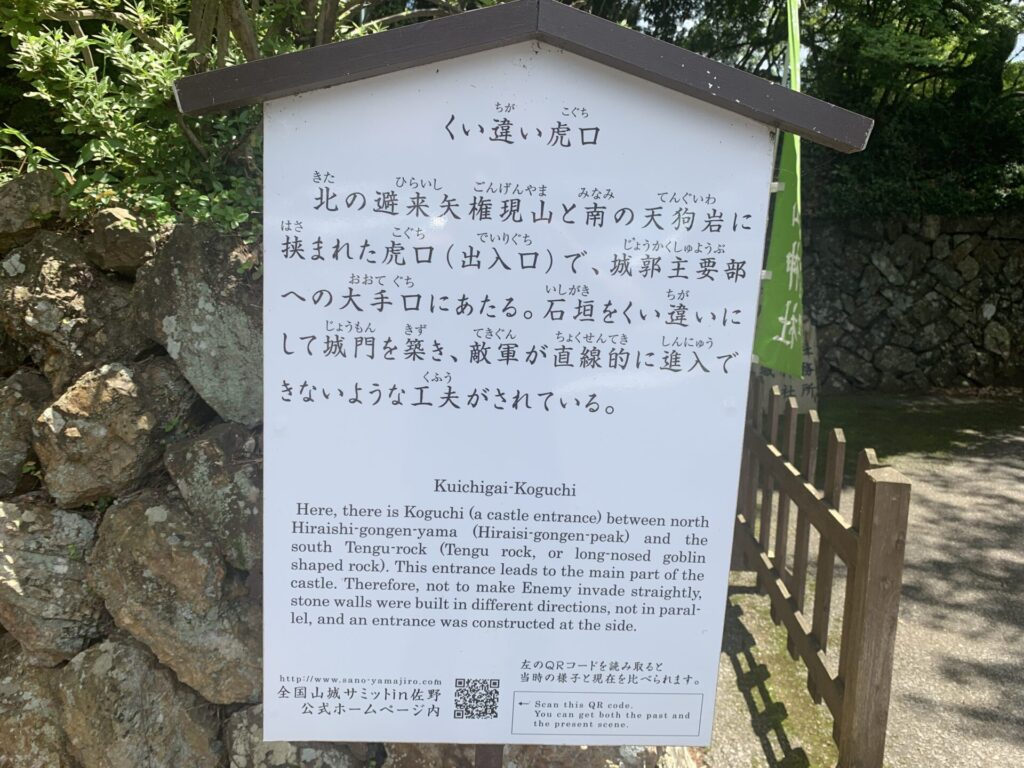
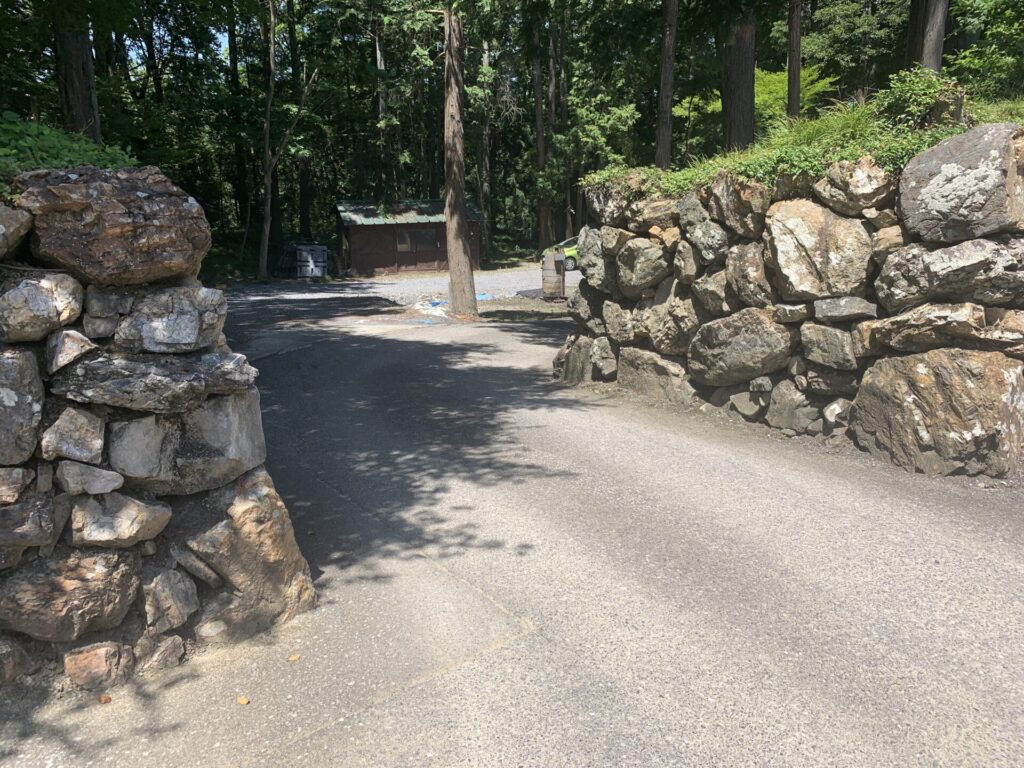
And right from the start,
you’re greeted by a “Kuichigai Koguchi(くい違い虎口:staggered defensive gate)”.
The explanation here is very easy to understand as well.
Can you see how “staggered” the layout is here?
When enemy soldiers tried to enter from this point, they would have been forced to turn right, then left, before advancing further inside.
This design helped slow down the enemy’s advance.
The stone walls here are magnificent as well.
Stones of all different sizes have been skillfully fitted together and stacked beautifully.
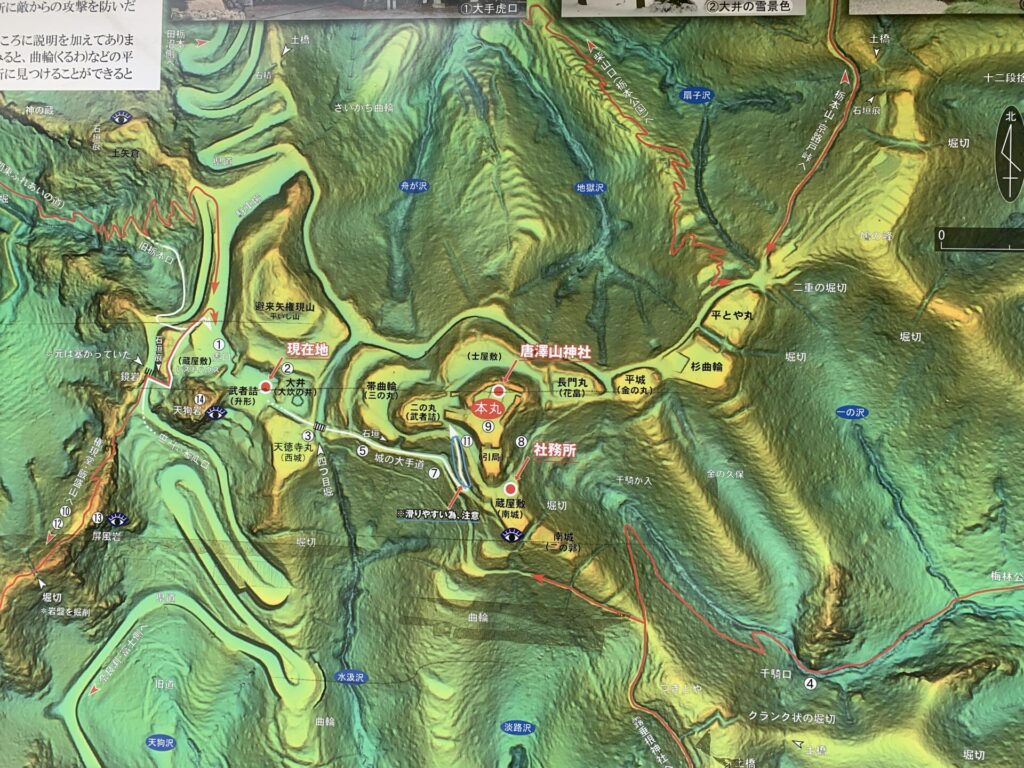
This is the layout map of Karasawayama-jo.
Centered around the main enclosure, the various kuruwa (enclosures) extend east and west across the mountain.
Just by looking at this 3D map, even a beginner can get a sense of how elevated and formidable this mountain castle was.
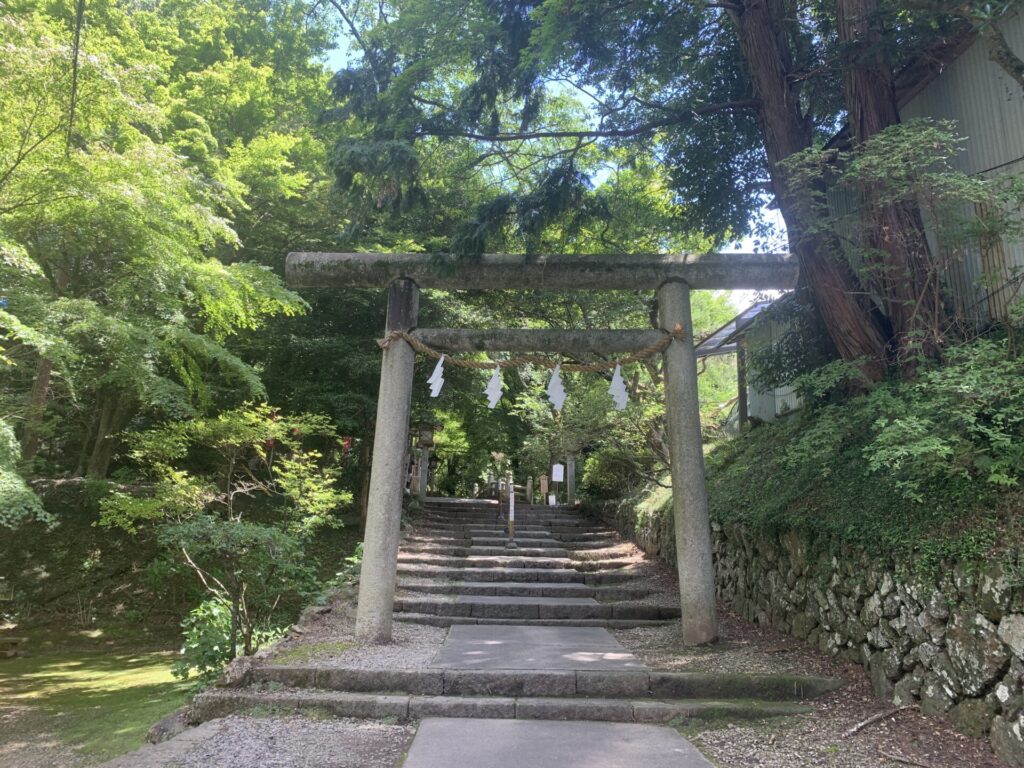
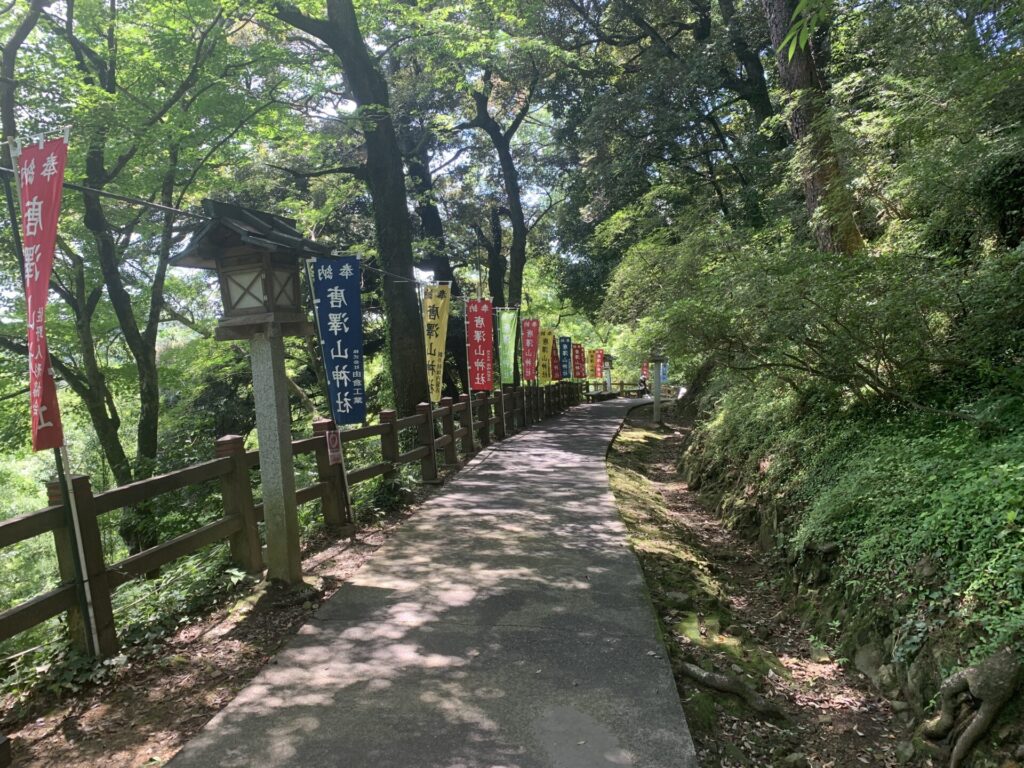
Passing through this torii gate, I continued deeper into the castle grounds 🚶
The weather was beautiful, making for a very pleasant mountain walk 😀
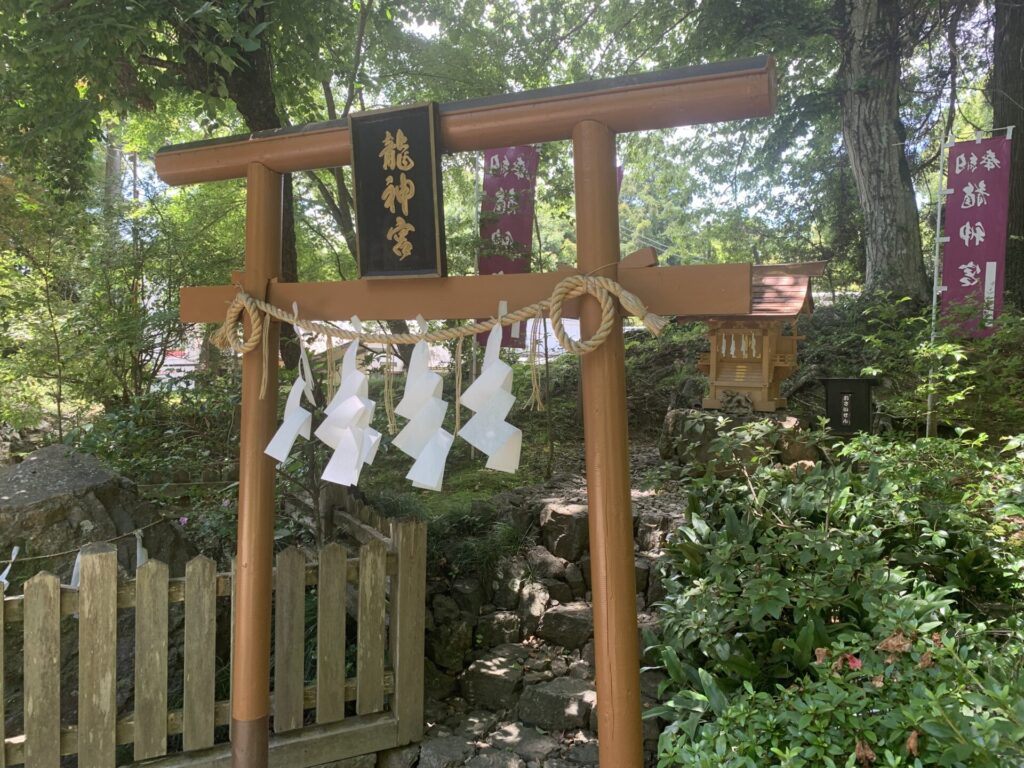
There was also a shrine called “Ryūjingū”.🐉
It really feels like almost every castle site has some kind of shrine within it.⛩️

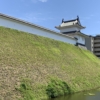
The Hikihashi(引き橋:drawbridge)was also an important defensive feature of the castle.
Its purpose was to prevent enemy soldiers from easily entering the inner grounds.
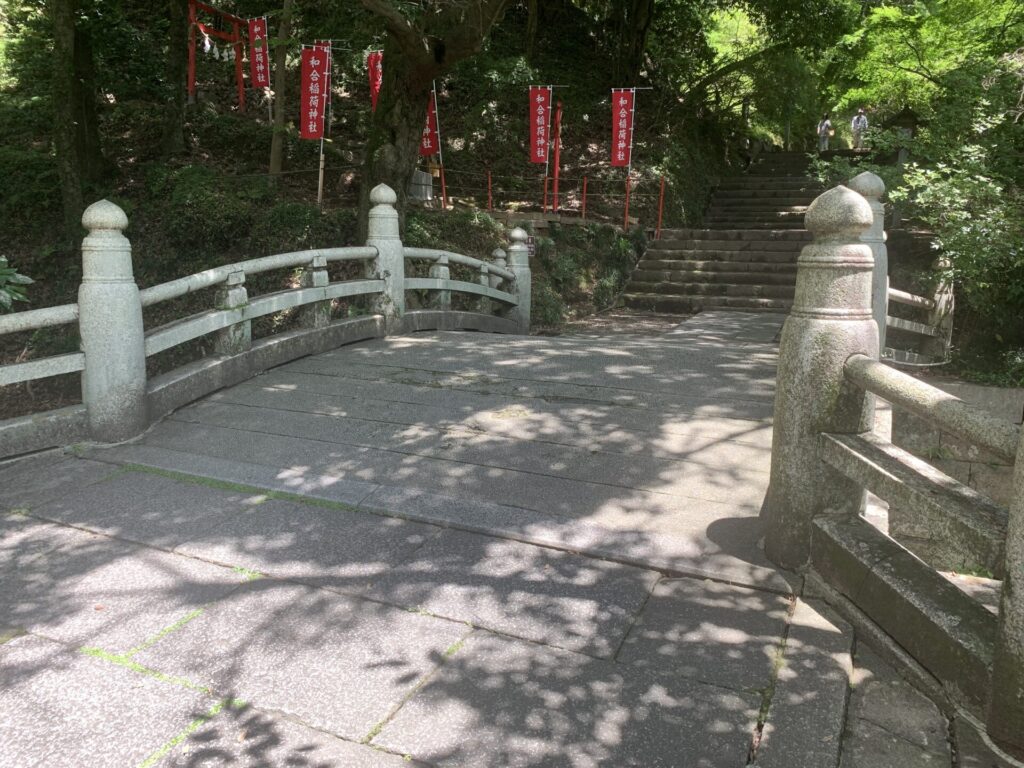
It’s built in a very impressive way today,
but I imagine the original bridge was probably much simpler and easier to remove quickly in times of danger.
Please take a look at the bridge and moat in the video below.
Beneath the bridge is a moat like this.
It may not be extremely deep,
but if the bridge were removed, crossing here would become far more difficult for attackers.
Driving Back Enemy Soldiers from the Obikuruwa !
Crossing this Hikihashi(引き橋:drawbridge),
I continued even deeper into the castle grounds.
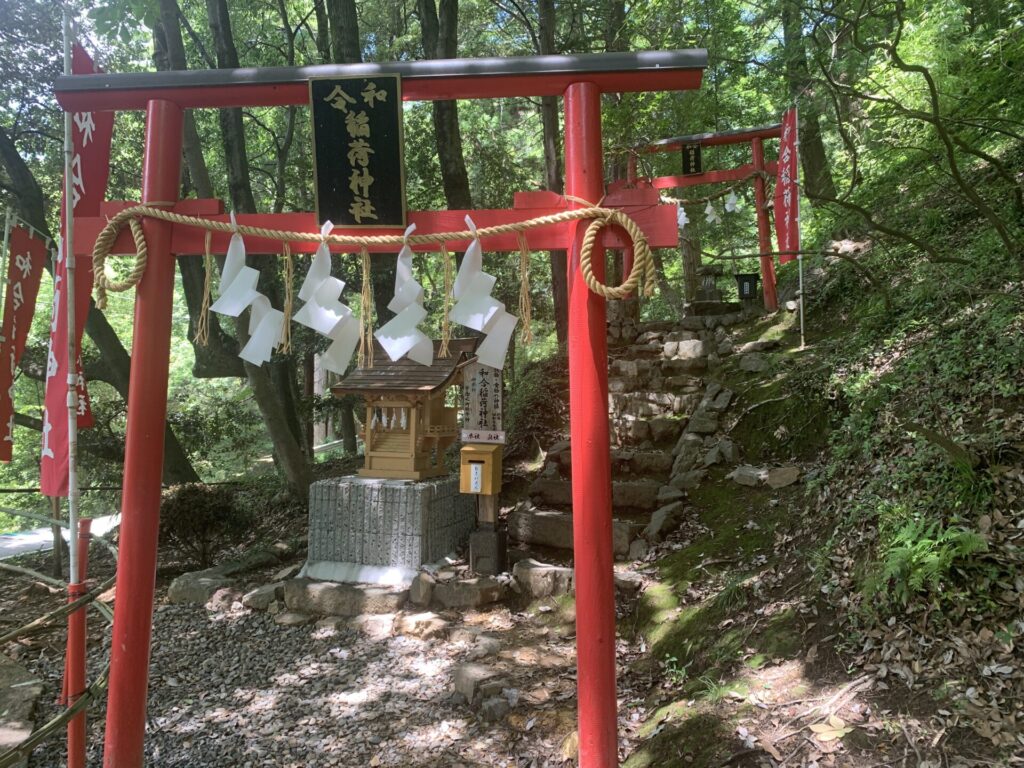
Next, I was welcomed by an Inari Shrine(稲荷神社).
It feels like the older the castle, the more spiritual and sacred elements you encounter like this.
I still have a lot more to learn.

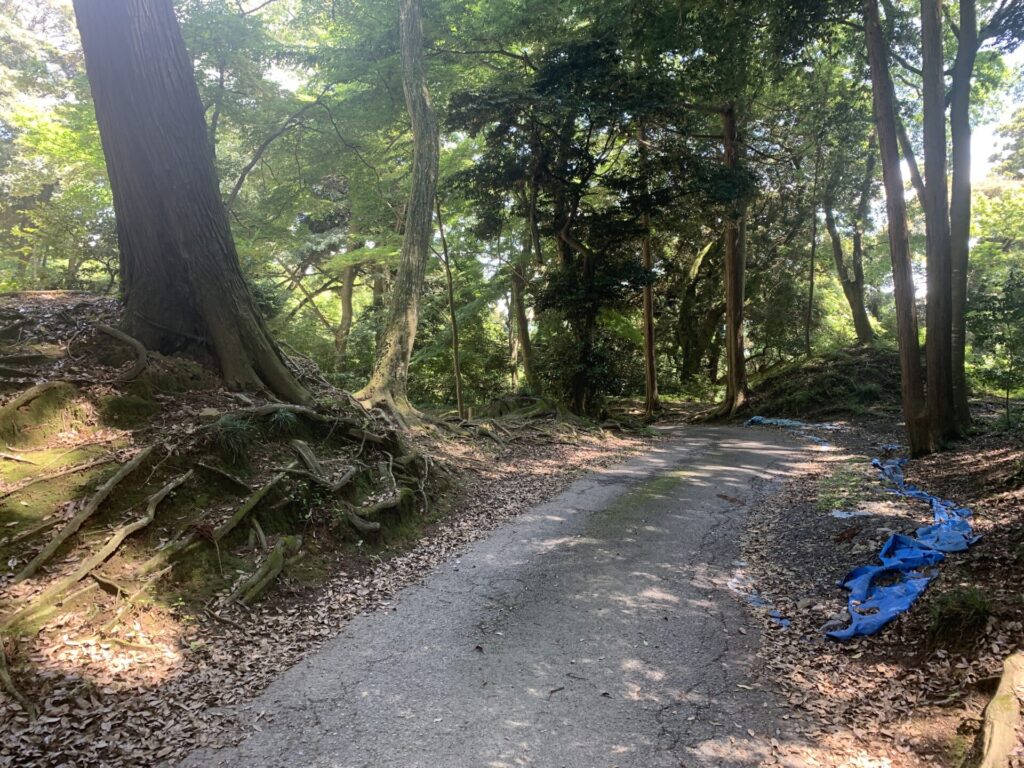
While climbing the mountain path,
a quick glance to the side reveals just how steep and rugged the terrain is.
At the same time, there’s also a narrow trail—just wide enough for a single person to pass through.
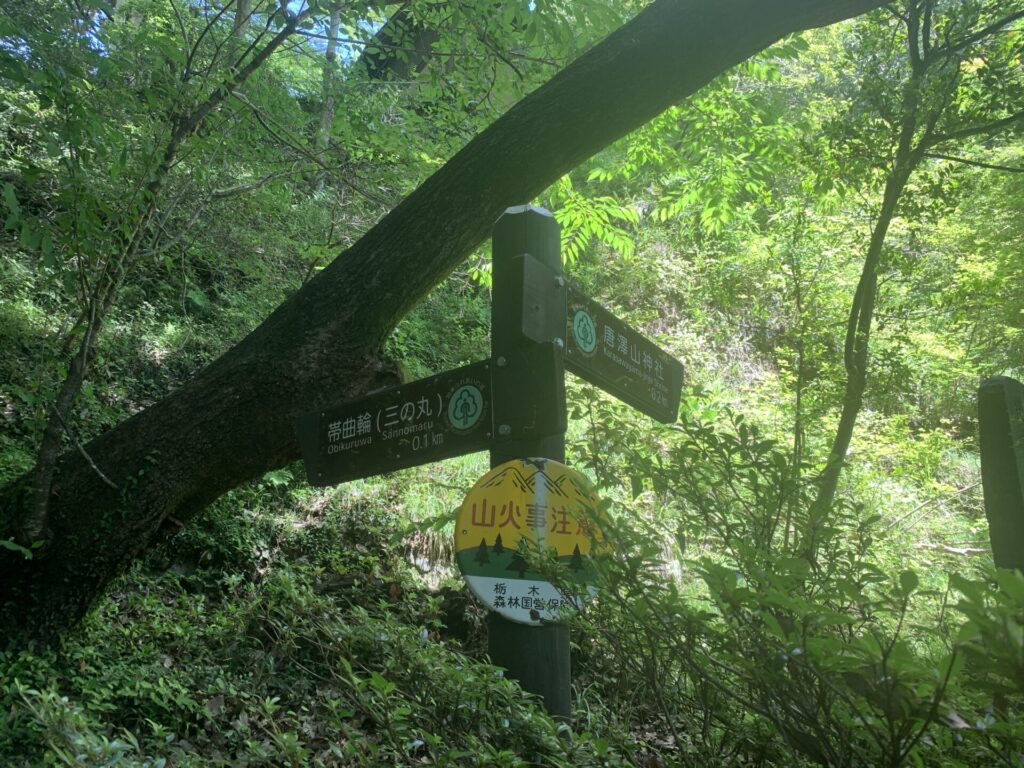
Now I arrived at a fork in the path.
First, I decided to head left and explore the Obikuruwa / Sannomaru(帯曲輪/三の丸:third enclosure)🔥
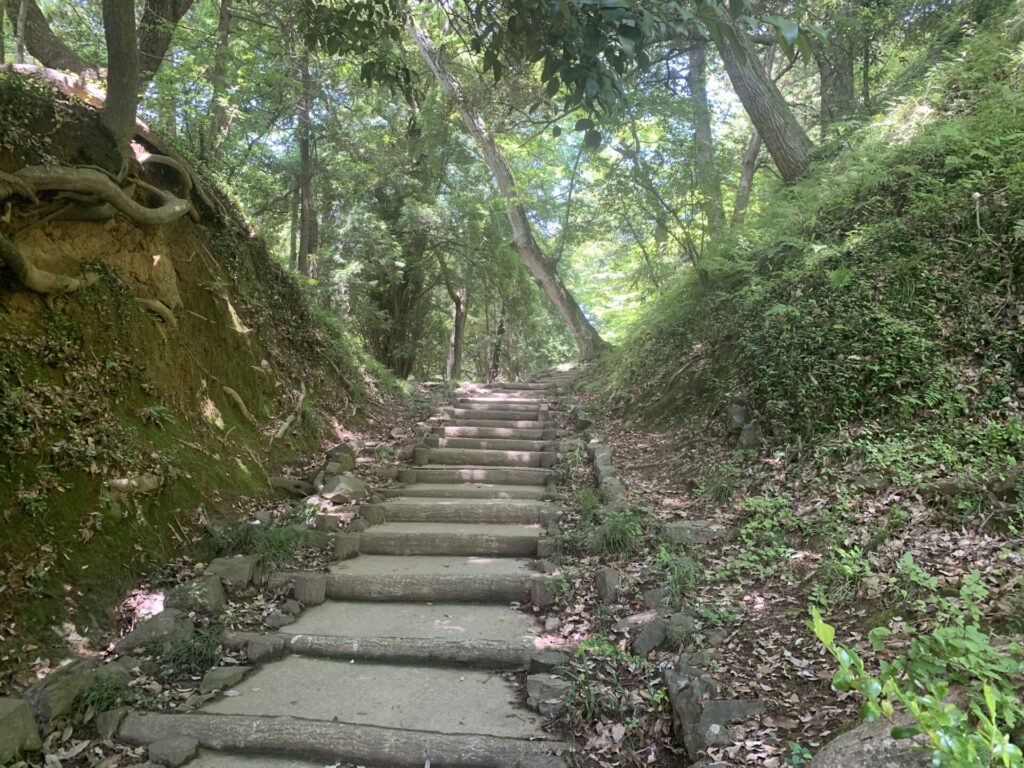
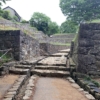
I climbed up these stone steps ✊

This is the Obikuruwa / Sannomaru(帯曲輪/三の丸:third enclosure).
An obikuruwa is a flattened area carved along the mountainside,
designed as a defensive position where soldiers could attack enemies climbing up the slopes.
With this much space, a considerable number of defenders could have gathered here to repel attackers.
Please take a look at the atmosphere of this area in the video below as well.
Looking down from here, you can really tell how elevated this spot is.
Defenders would have attacked enemy soldiers climbing up from below.
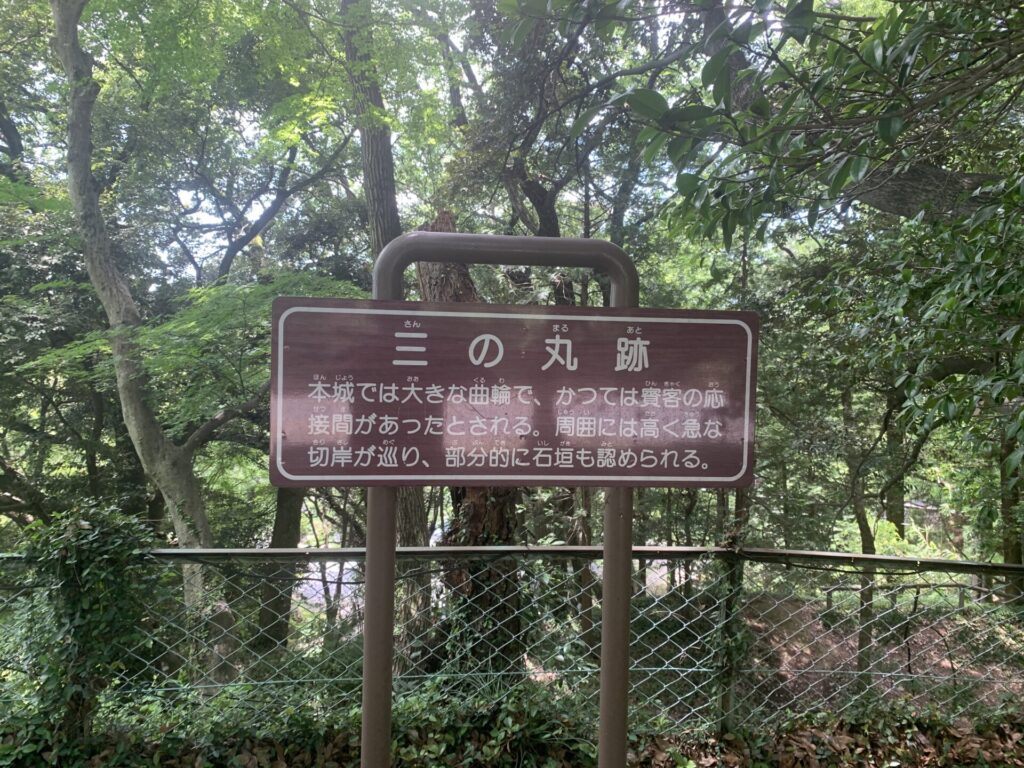
And here is the information board showing that this area once served as the Sannomaru(三の丸:third enclosure).
The surrounding slopes were protected by steep cut embankments as well,
so it must have been a very difficult place for attackers to assault.
A little further uphill from the Obikuruwa / Sannomaru(帯曲輪/三の丸:third enclosure),
there is another open area.
This is the Ninomaru(二の丸:second enclosure).
Please take a look at this area in the video as well.
The zigzag-patterned stone walls are truly impressive.
Below, you can see the path leading toward Karasawayama Shrine.
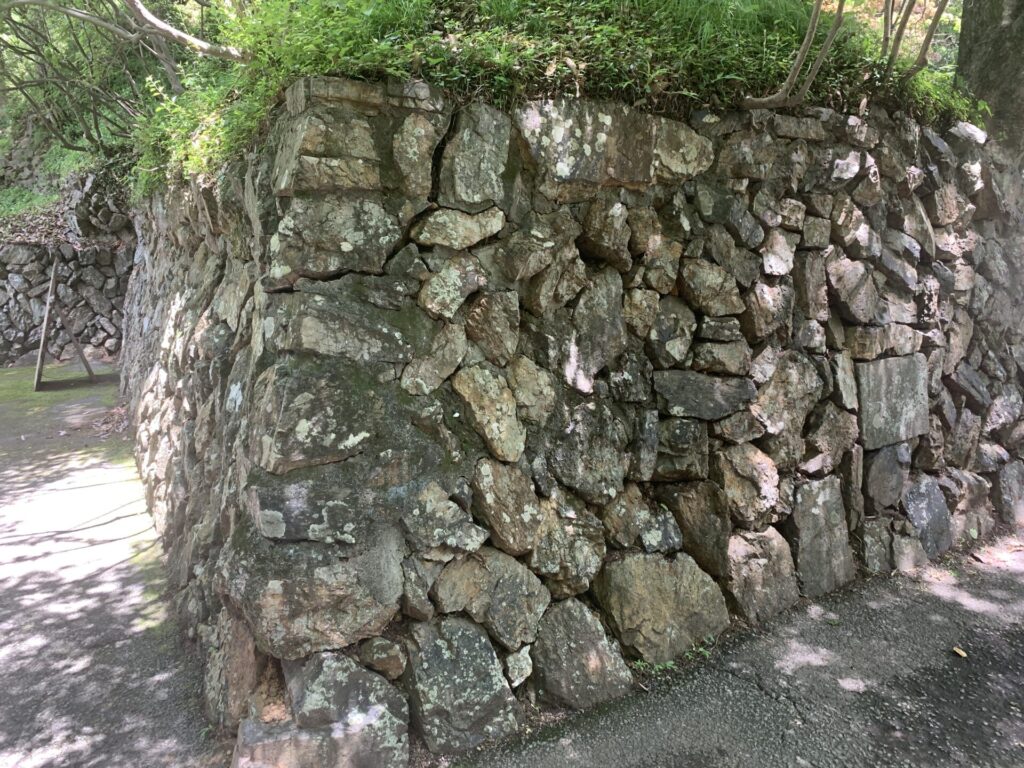
Overwhelmed by the Towering Stone Walls!!
A shrine-like building could be seen a little higher up from the Ninomaru(二の丸:second enclosure).
Next, I headed even further above.
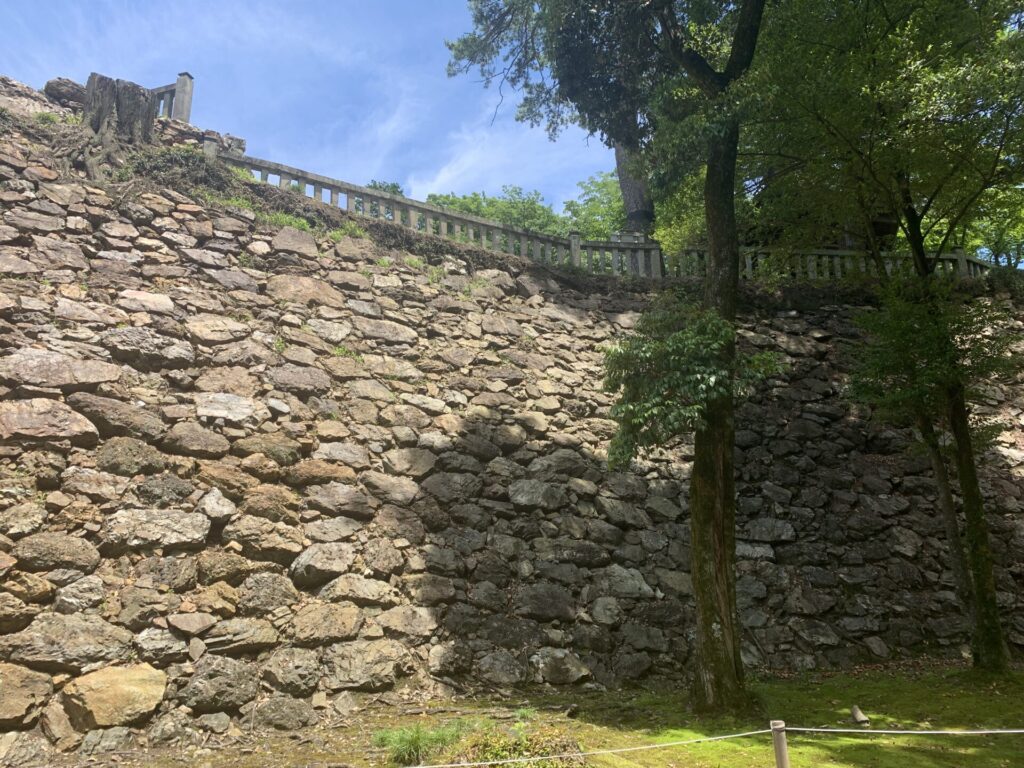
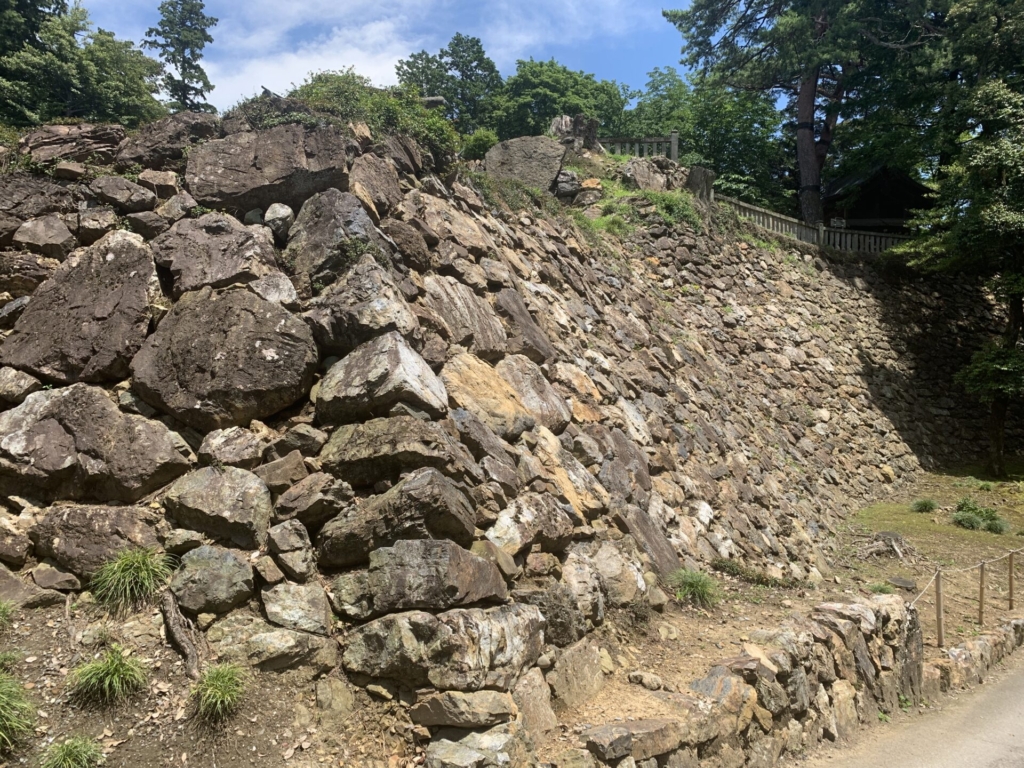
Suddenly, a massive and powerful stone wall appeared right before my eyes!!
Stone walls of this scale are said to be quite rare in the Kantō region.
Karasawayama-jo truly deserves its reputation as one of the “Seven Famous Castles of Kantō(関東七名城)”.
Please check out the video below to see these impressive stone walls up close.
The more you look at them…
the more mesmerizing these magnificent stone walls become.
Packed stones have been carefully fitted throughout the gaps as well—it’s nothing short of masterful craftsmanship.
The stone walls viewed from another angle.
Some remarkably large stones are mixed into the structure as well.
Absolutely incredible!!
The Solemn Atmosphere of Karasawayama Shrine (Main Enclosure)
With the towering stone walls beside me,
I continued climbing even higher.
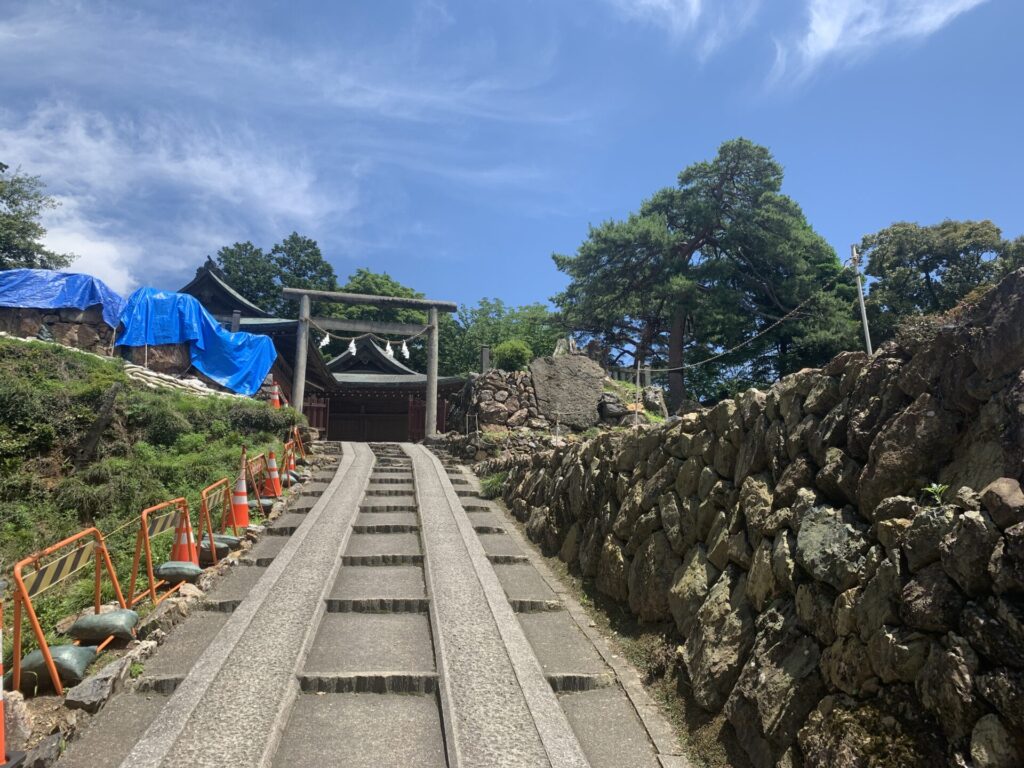
Climbing up the carefully maintained stone steps…
at last, I approached the Honmaru(本丸:main enclosure).
Once again, overwhelmed by the sheer power of the stone walls,
I continued climbing higher and higher…
The massive mirror stone visible along the way is impressive as well.
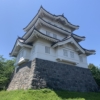
After finishing the climb up the stone steps, another magnificent shrine building came into view.
This is the main hall of Karasawayama Shrine(唐沢山神社).
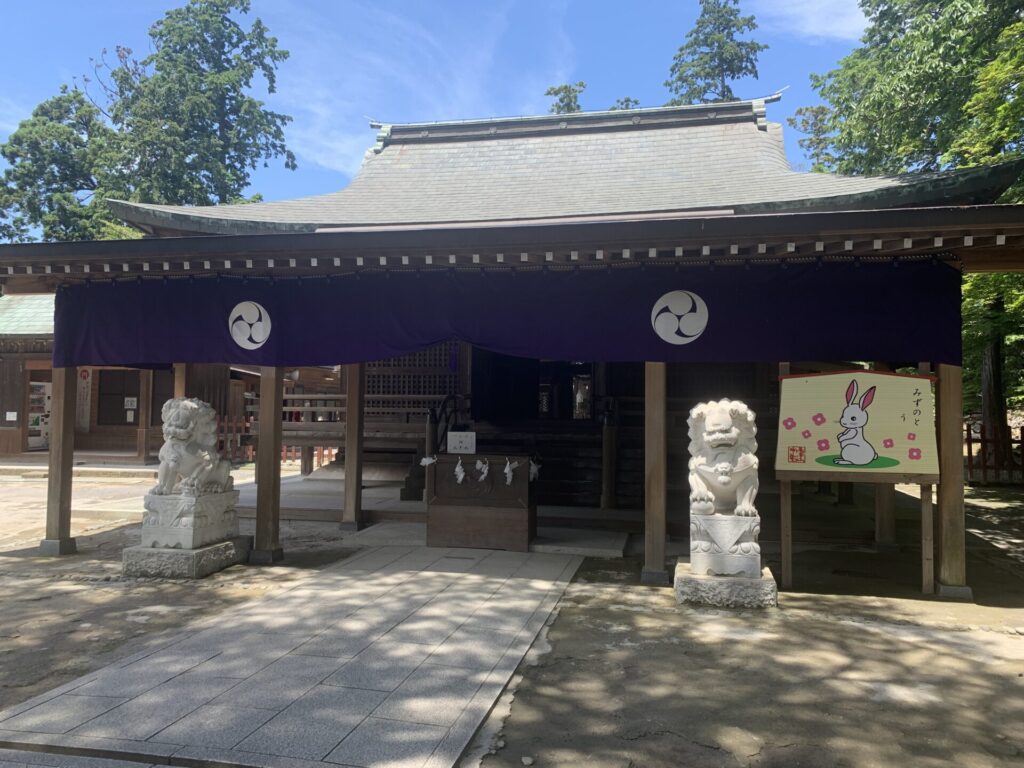
This is the main sanctuary of Karasawayama Shrine(唐沢山神社).
It has an incredibly solemn and majestic atmosphere.
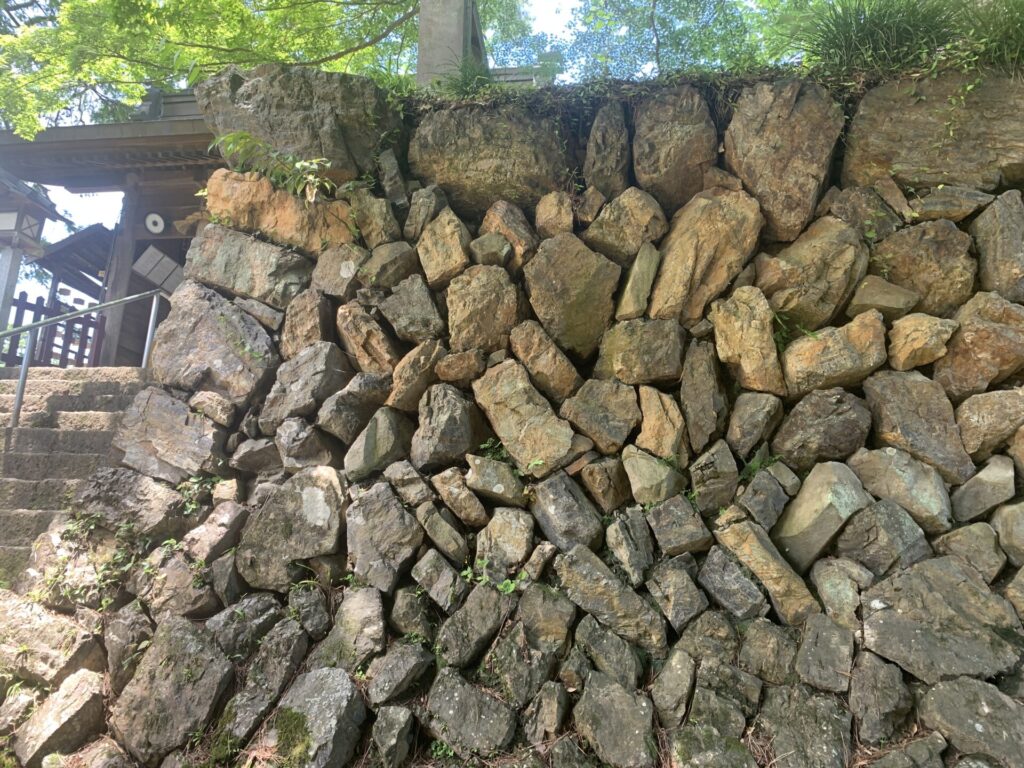
The stone walls beneath the main hall are impressive as well.
Here too, the stones are stacked in a striking zigzag pattern.
I wonder if this style of masonry was common at the time.
Next, please watch the video showing the approach to the main sanctuary from the opposite side.
Isn’t this just as captivating as the stone walls themselves?
I’ve visited many castle ruins over the years,
but this may be the first shrine I’ve seen with such an overwhelmingly solemn atmosphere.
There’s something almost mystical about it—it feels as if you’re being drawn in.
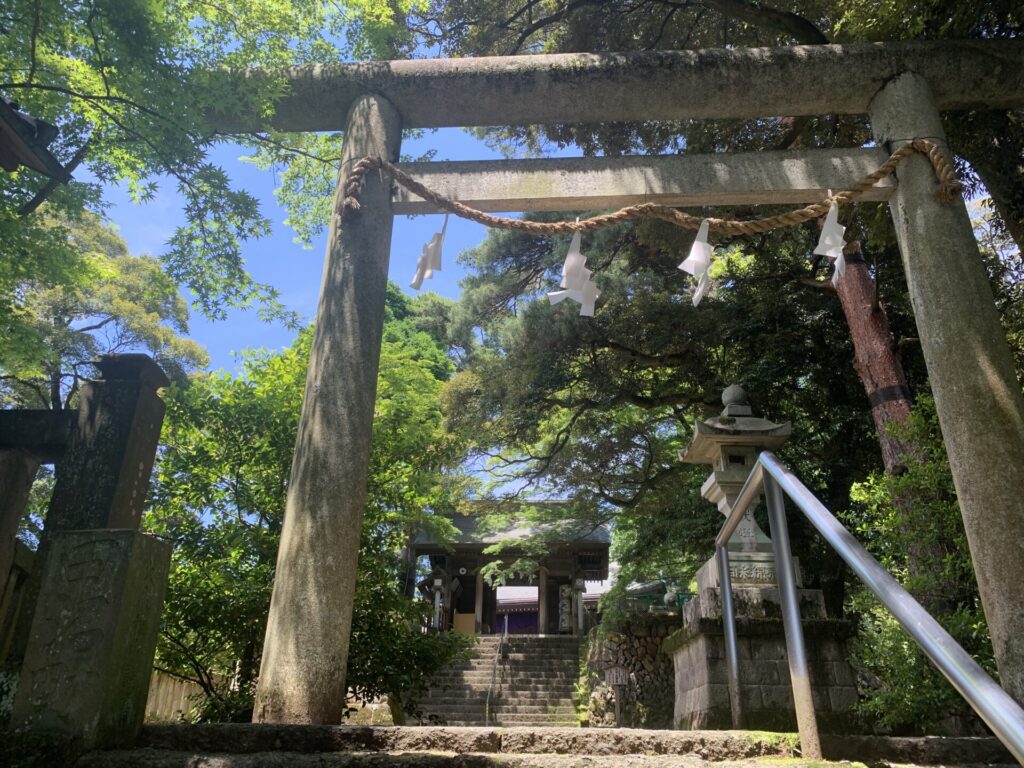
I stepped back a little farther and took another shot looking up at the torii gate.
This sense of depth and perspective is wonderful as well ✨
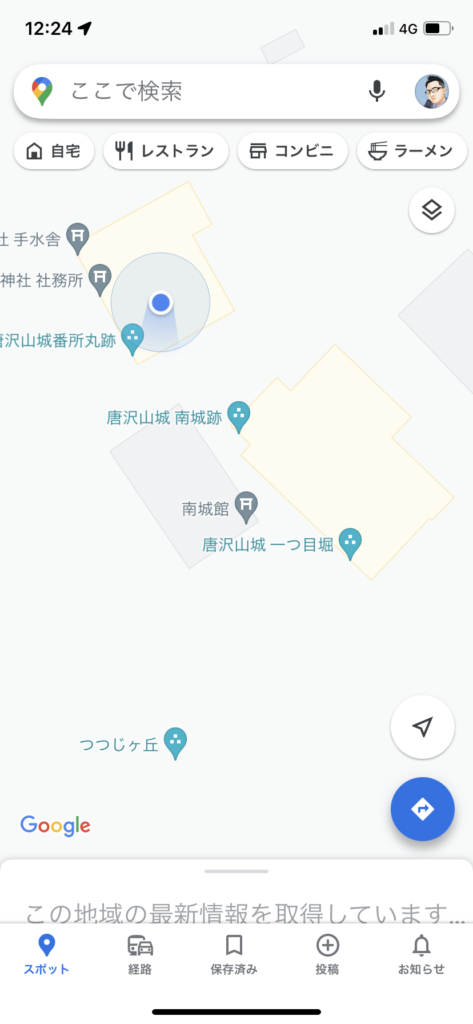
Checking Google Maps,
I noticed that there was also an area called the “South Castle” located a little downhill from the main enclosure.
So, I decided to head there next.
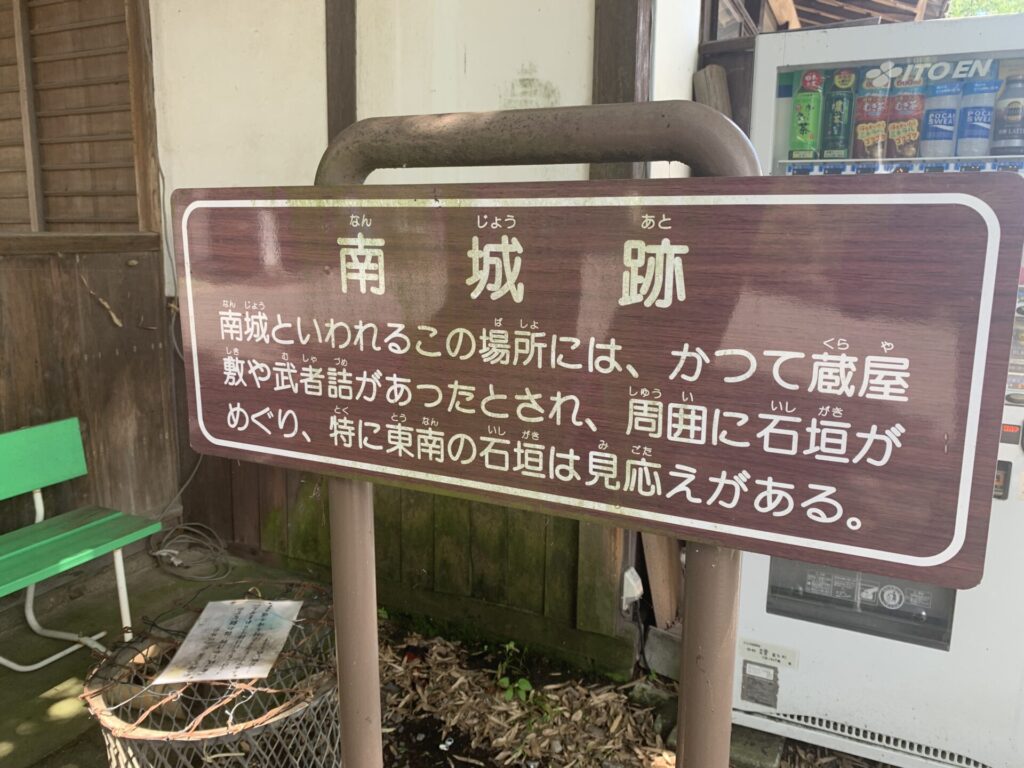
I found it after only a short walk!
Apparently, the stone walls here are also well worth seeing.
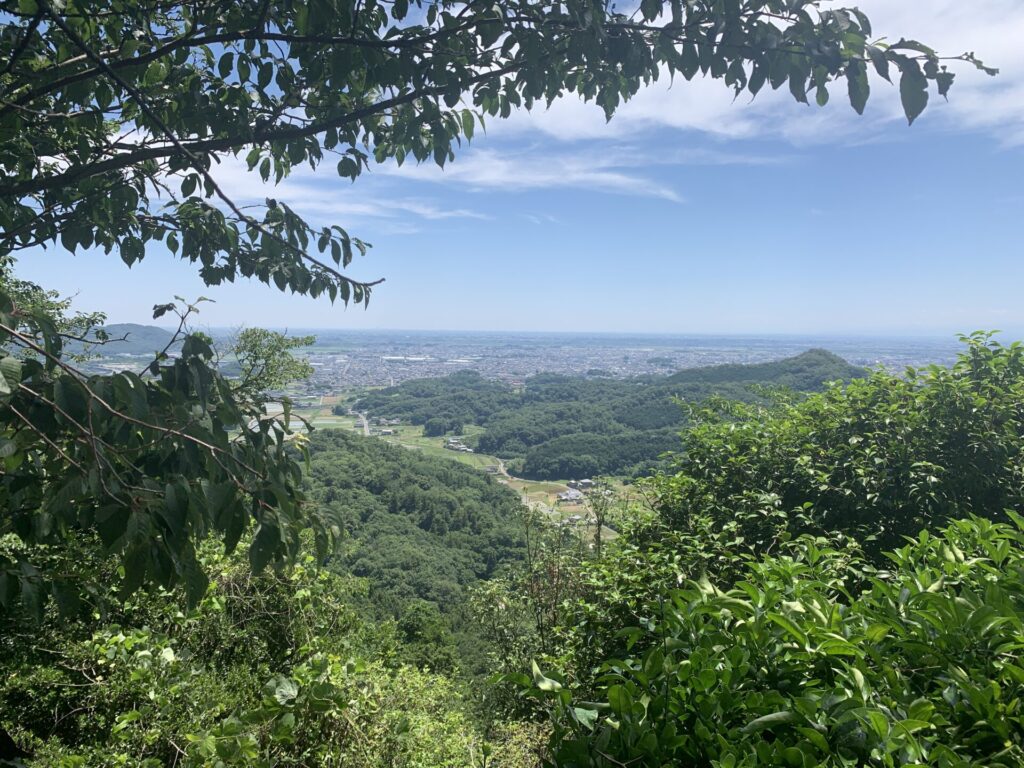
On a clear day like this, the view from here is absolutely wonderful.

And here are the stone walls of the South Castle.
These are certainly impressive as well.
From here, I descended the mountain path,
and next I headed over to explore the eastern enclosures extending from the main enclosure.
Dry Moats and Koguchi Gates Await on the Eastern Enclosures as Well!!
Now, I made my way back once again to the area below the main enclosure.
This is the area below the stone steps leading up to the main enclosure (Karasawayama Shrine).
I haven’t explored further beyond this point yet.
That’s where I’m heading next.
First, I headed toward an area known as the “Musha-zume Ruins(武者詰跡)”.
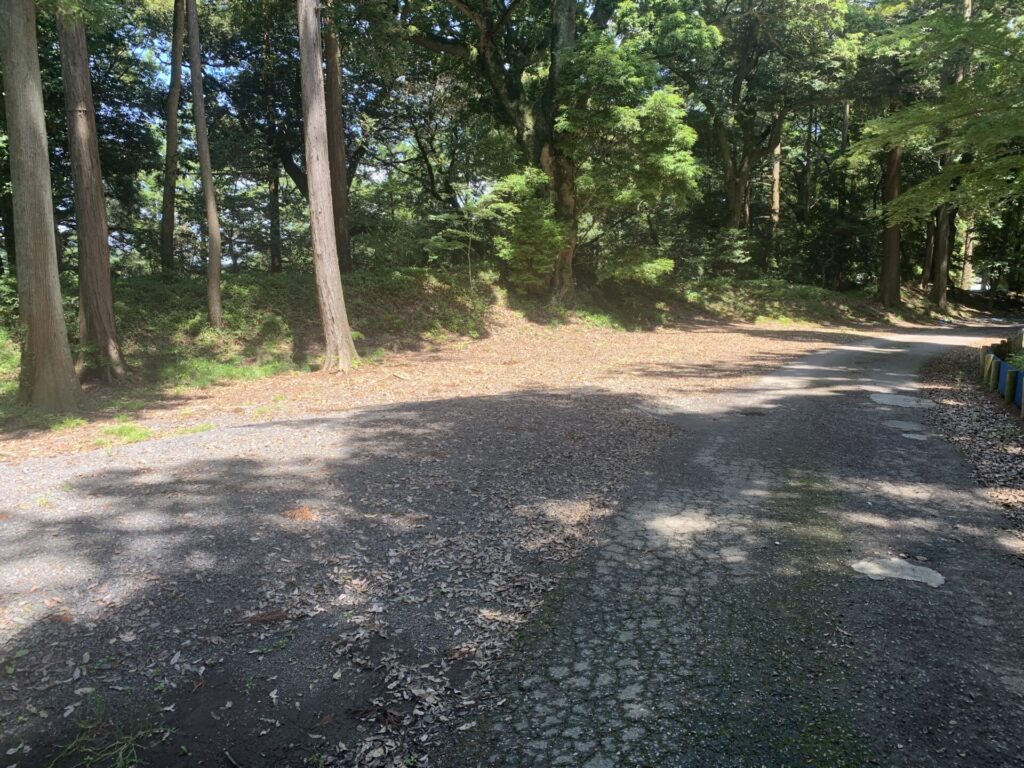
It seems this open area is the “Musha-zume Ruins(武者詰跡)”.
Perhaps large numbers of warriors once gathered and waited here long ago.
Then, I continued even deeper into the castle grounds.
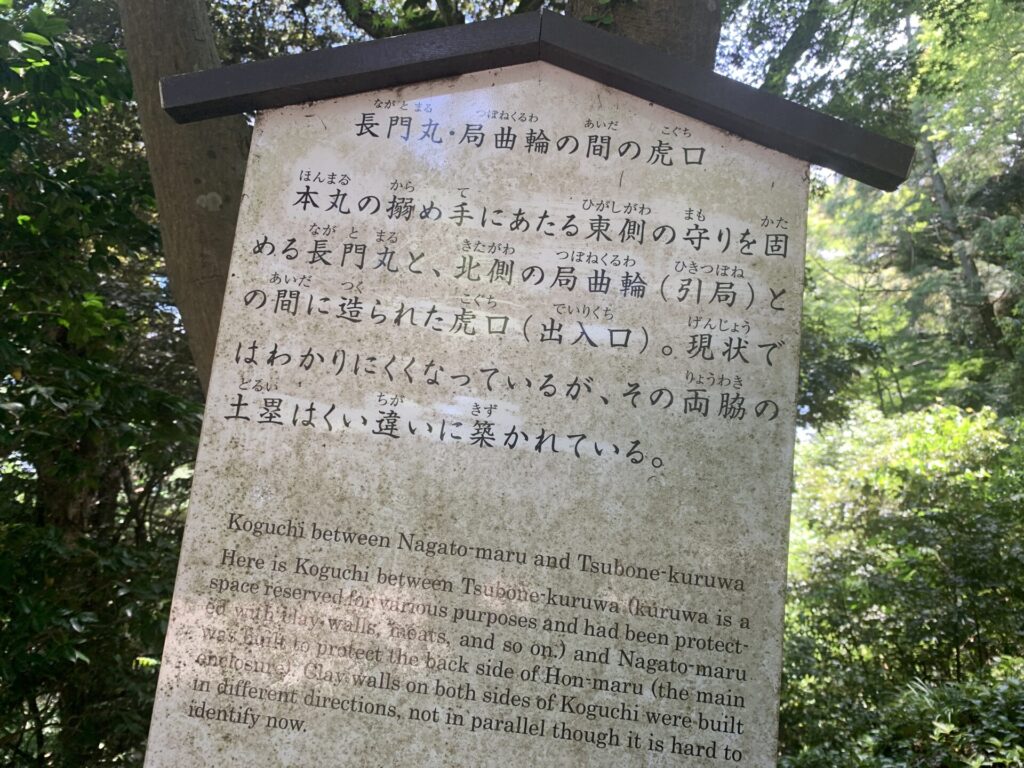
This time, I arrived at Nagato-maru(長門丸).
The Musha-zume area from earlier was probably a subsidiary enclosure connected to this section.
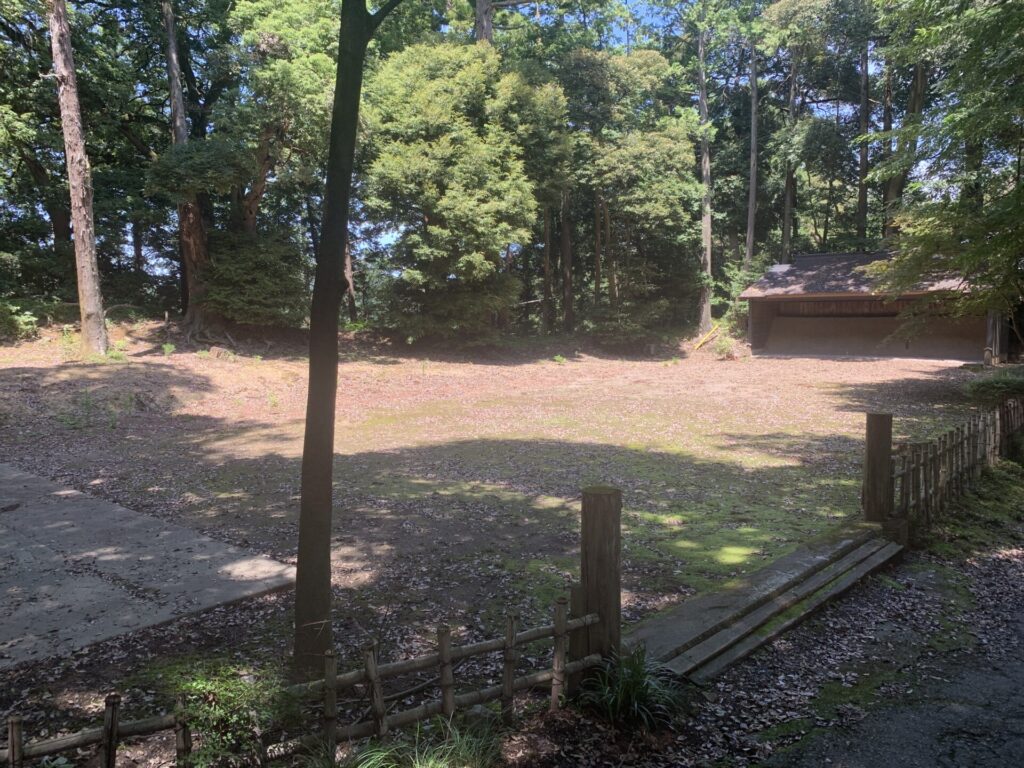
This slightly open area appears to be Nagato-maru(長門丸).
It was a bit difficult to clearly read the terrain here…
but I believe this may have been the staggered earthen embankment structure.
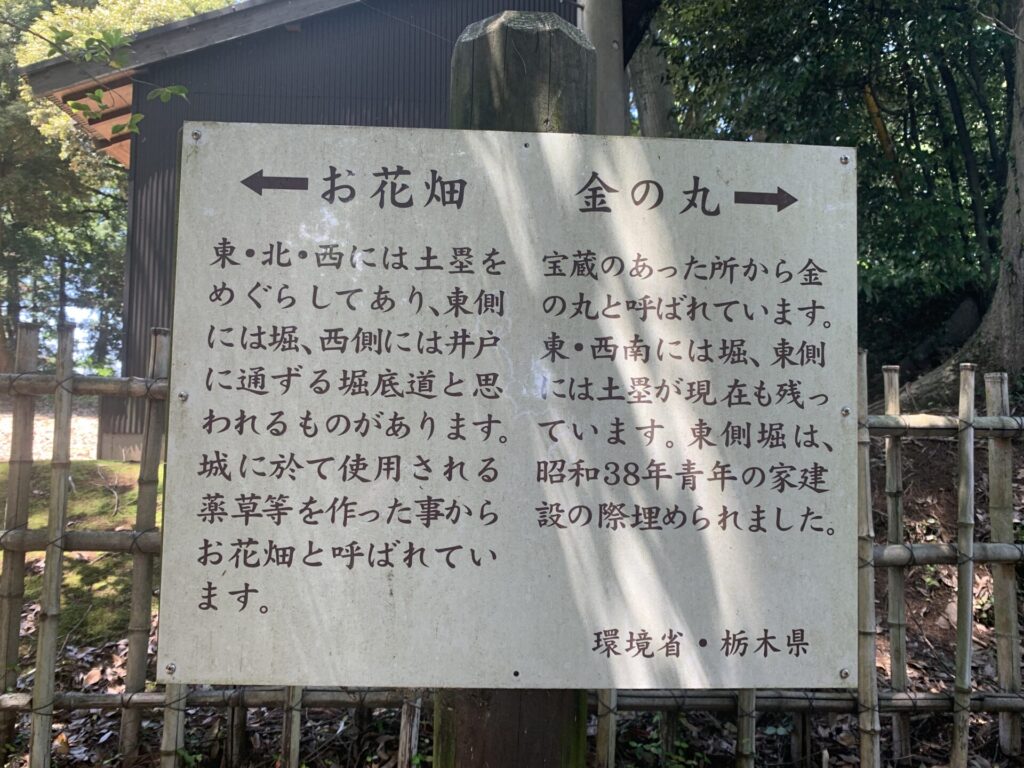
And further ahead, there appears to be another enclosure called Kane-no-maru(金の丸).
This is Kane-no-maru(金の丸).
Karasawayama-jo truly has an incredible number of enclosures and defensive structures throughout the site.
There were still more enclosures to explore.
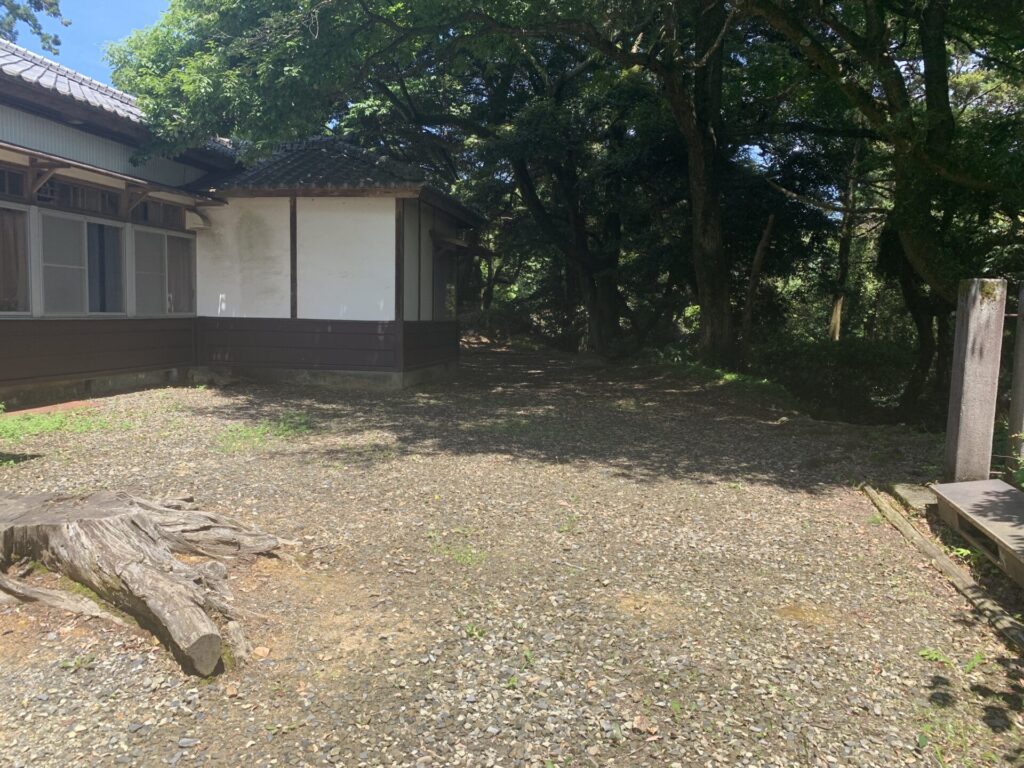
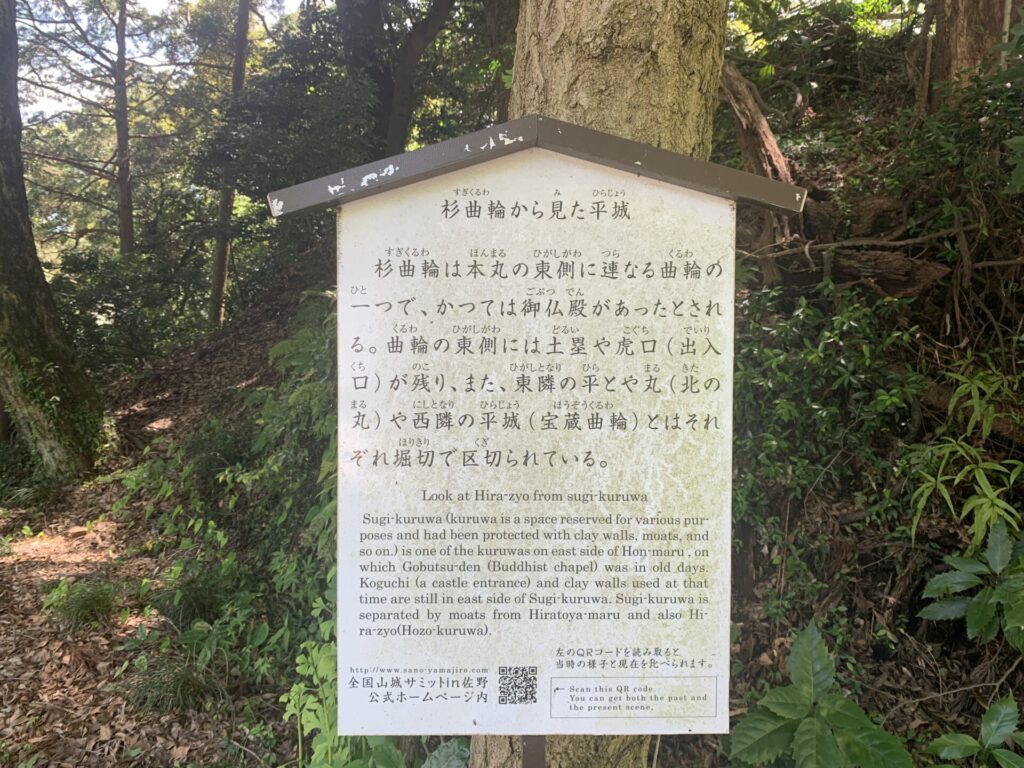
This one is called Sugi Kuruwa(杉曲輪).
This is Sugi Kuruwa(杉曲輪).
It’s fairly spacious here as well.
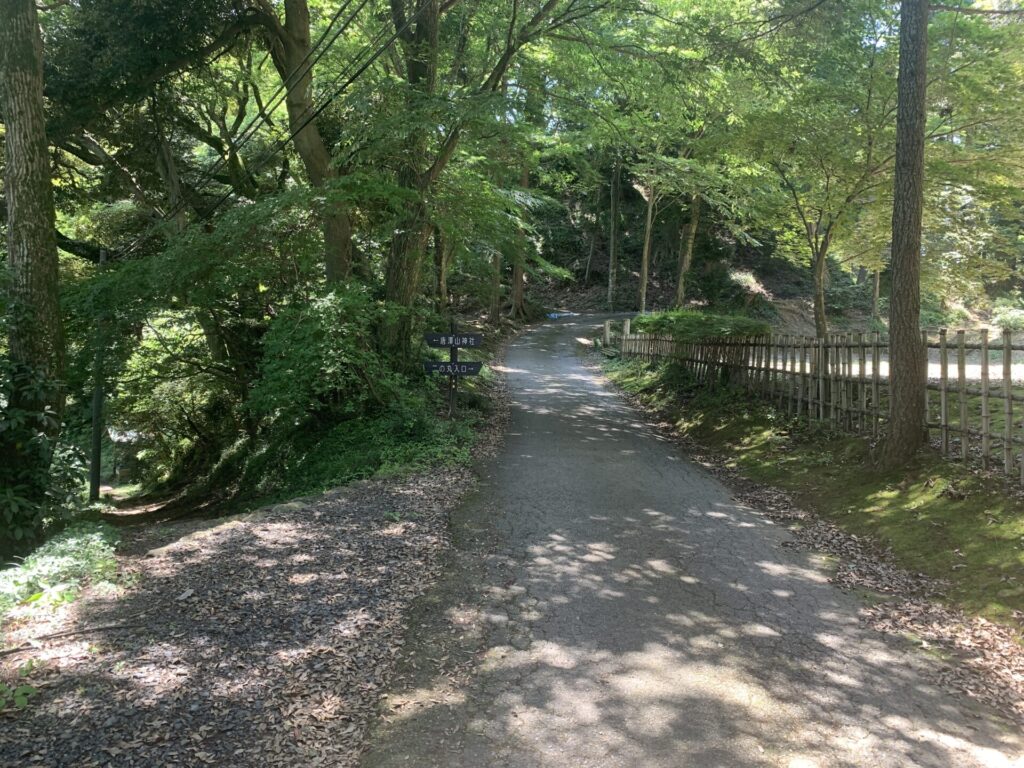
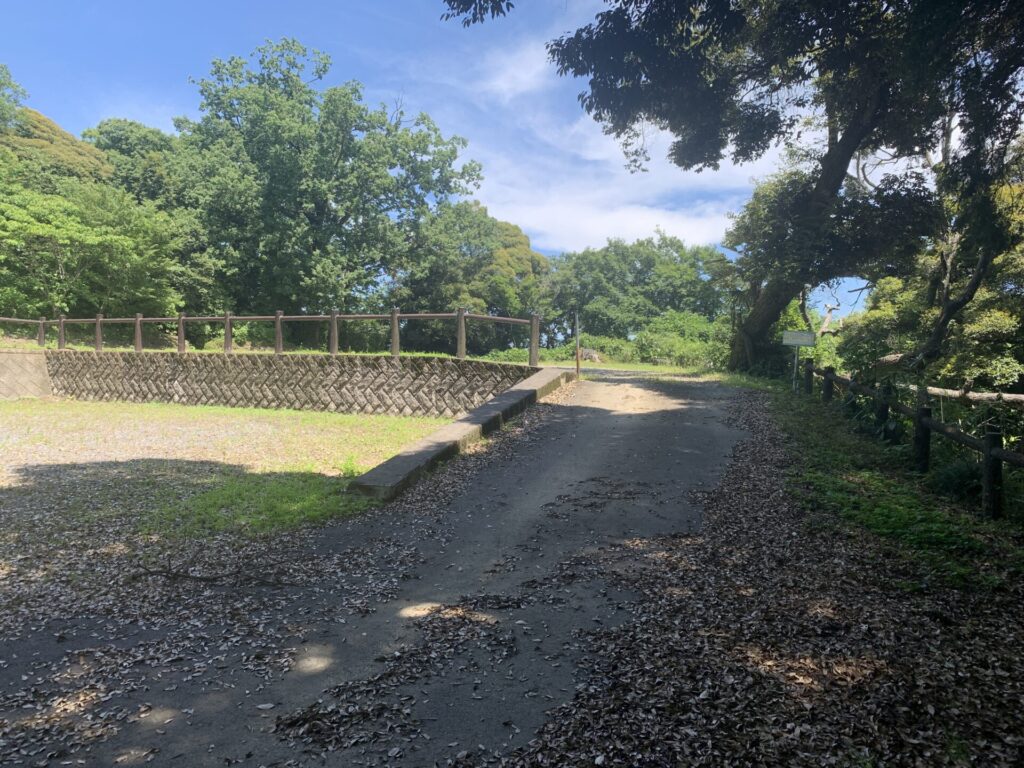
And even beyond this point, the castle grounds continue all the way to an area known as the North Castle.
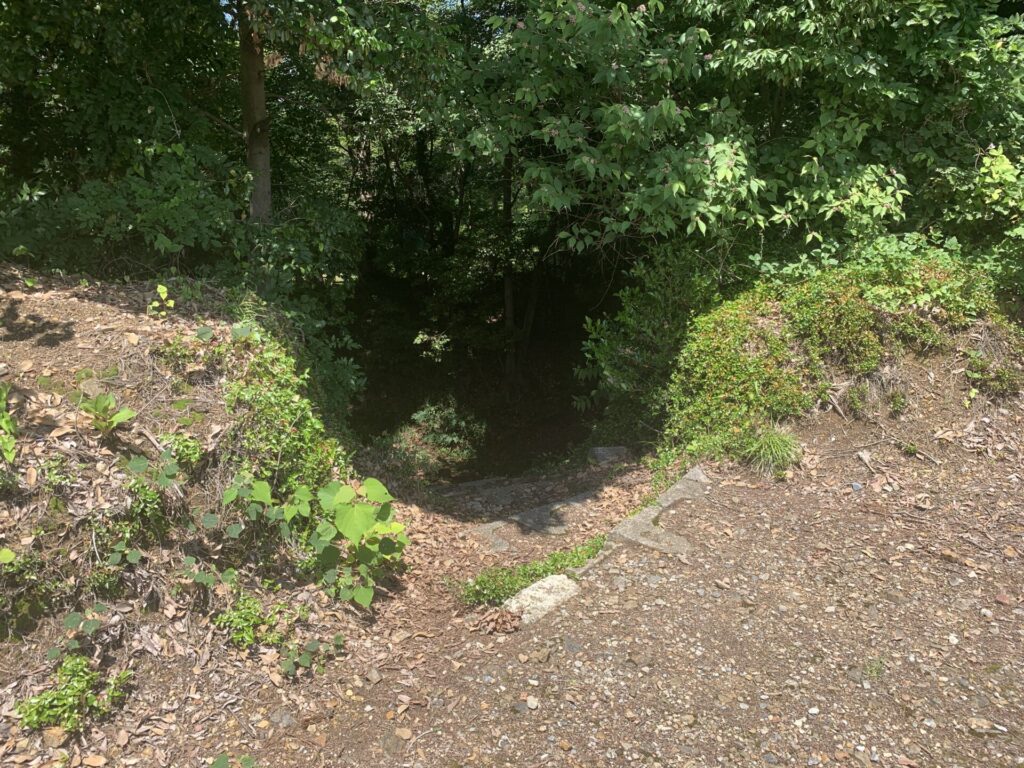
Descending deeper through a narrow stone staircase that almost resembles a koguchi gate…
And finally, please enjoy the video showing the view of the dry moat from the North Castle area.
The space between the two enclosures has been sharply cut apart by a massive dry moat!!
What did you think?
Not only does this shrine possess an incredibly solemn atmosphere,
but the sheer number of defensive structures far exceeded my expectations as well.
Karasawayama-jo truly deserves its reputation as one of the “Seven Famous Castles of Kantō(関東七名城)”.
If this castle caught your interest, I highly recommend visiting it for yourself someday.
See you next time!!
👇You can also check out my other articles on the “Seven Famous Castles of Kantō(関東七名城)” below👇