
Motosakura-jo (Sakura city, Chiba)|The Chiba Clan was Descendants of Heike
- 1. I was immediately welcomed by the Chiba clan’s arrow shield (yatate) at the entrance.
- 2. Now, it’s time to climb toward the main enclosure (shukaku)!
- 3. Now, let’s head to the inner hill—Myōken Kuruwa!
- 4. Now, let’s pass through the koguchi and make our way up to the main castle hill !!
- 5. Learning About the Origins of the Chiba Clan
I was immediately welcomed by the Chiba clan’s arrow shield (yatate) at the entrance.
Hello, I’m Shin.
On May 12, 2023, I visited Motosakura-jo, located in Sakura City, Chiba Prefecture. 🚙

◉ Castle Type
Flat land Castle ( Hirayamajiro )
◉ Cultural Heritage Highlights
◉ Defensive Features & Fortifications
◉ Exploration Difficulty
🔰 Easy Castles
◉ Estimated Time to walk around
: about 1 hour
◉ Parking
Approximately 10 parking spaces available in front of the local history museum.
About a 25-minute walk from Ōsakura Station on the Keisei Main Line
(approximately 10 minutes by taxi)🚃
Motosakura-jo served as the later stronghold of the Sengoku-period daimyo, the Chiba clan.
When I visited, I was genuinely surprised—
it turned out to be a much larger hirayama-style castle than I had expected.
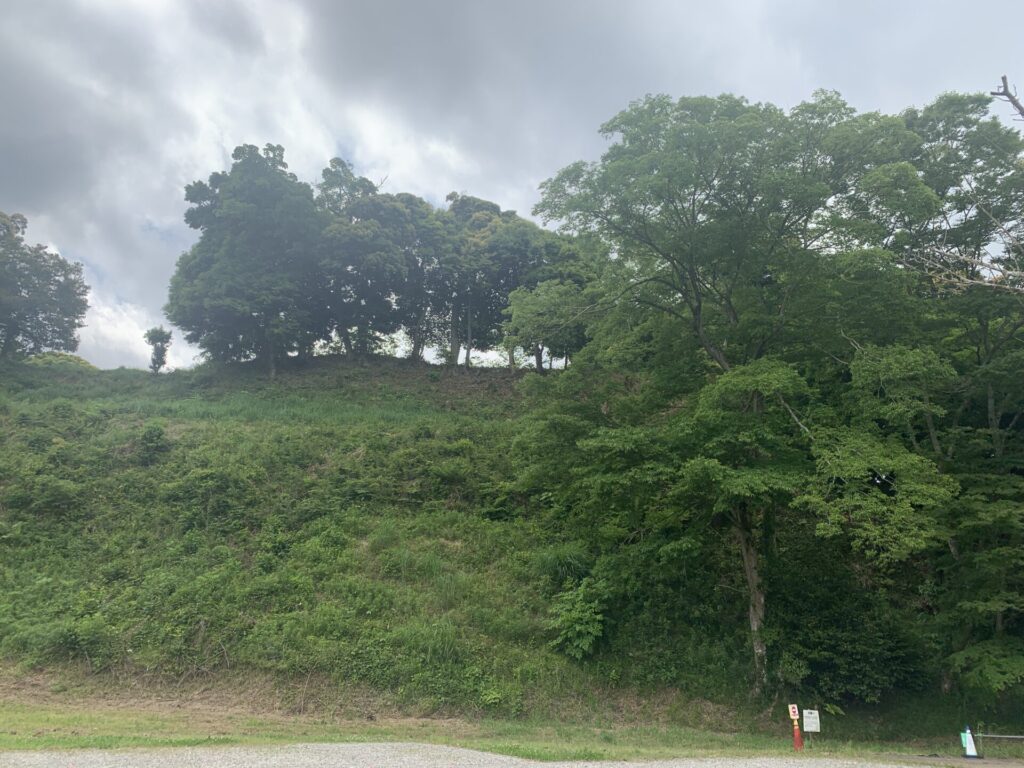
Here is a photo taken from the parking area.
The castle site stands atop a fairly large hill, giving us an immediate sense of its scale.
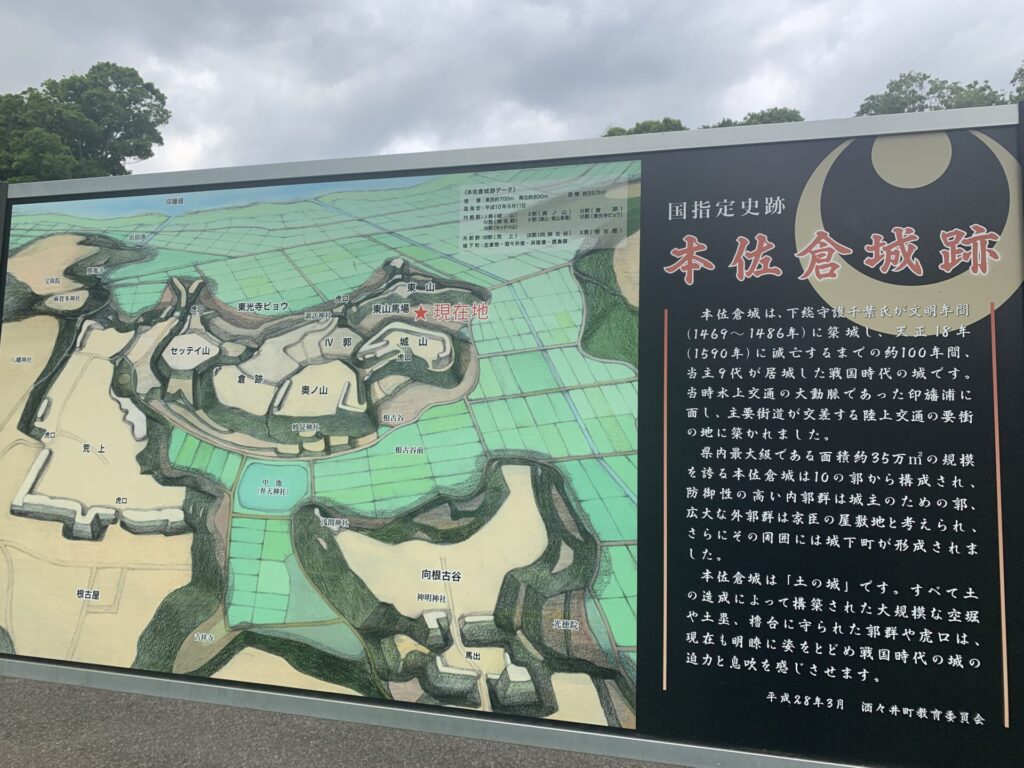
Here is the layout map (Nawabarizu:縄張り図) of Motosakura-jo.
Unfortunately, I was not able to visit the areas labeled Nekoya(根古屋) and Umadashi(馬出)at the lower section of the site.
Even so, just by looking at the map, you can clearly see how extensive the castle complex once was.
Incidentally, the term Nekoya(根古屋) is believed to derive from “nekoya(寝小屋)” (literally “sleeping quarters”), referring to the lodging area at the foot of the castle where soldiers stayed on standby.
From there, they prepared for potential enemy attacks—functioning, in a sense, like a forward operating base.
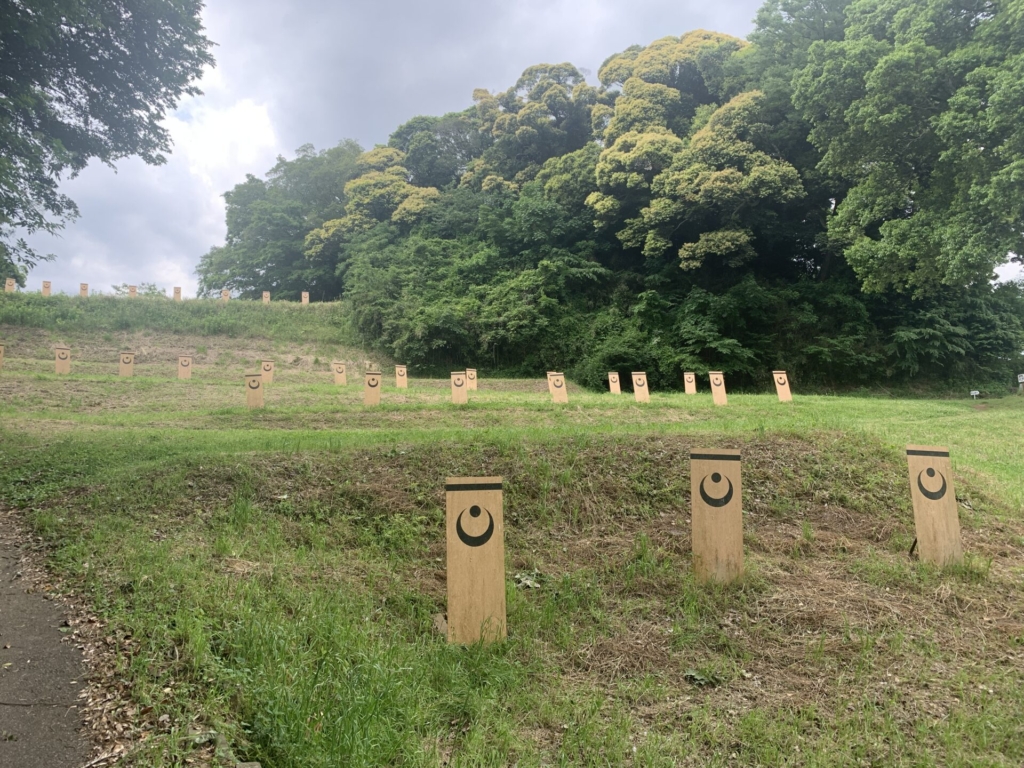
After climbing a short slope from the parking area where the information board is located, I was immediately greeted by rows of Yatate (矢盾:arrow shields) bearing the Chiba clan’s family crest.
An impressive sight, to say the least.
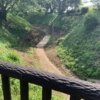
Here, take a moment to watch a short video capturing the surrounding view.
Next, let’s head toward Higashiyama, the hill that appeared at the end of the video.
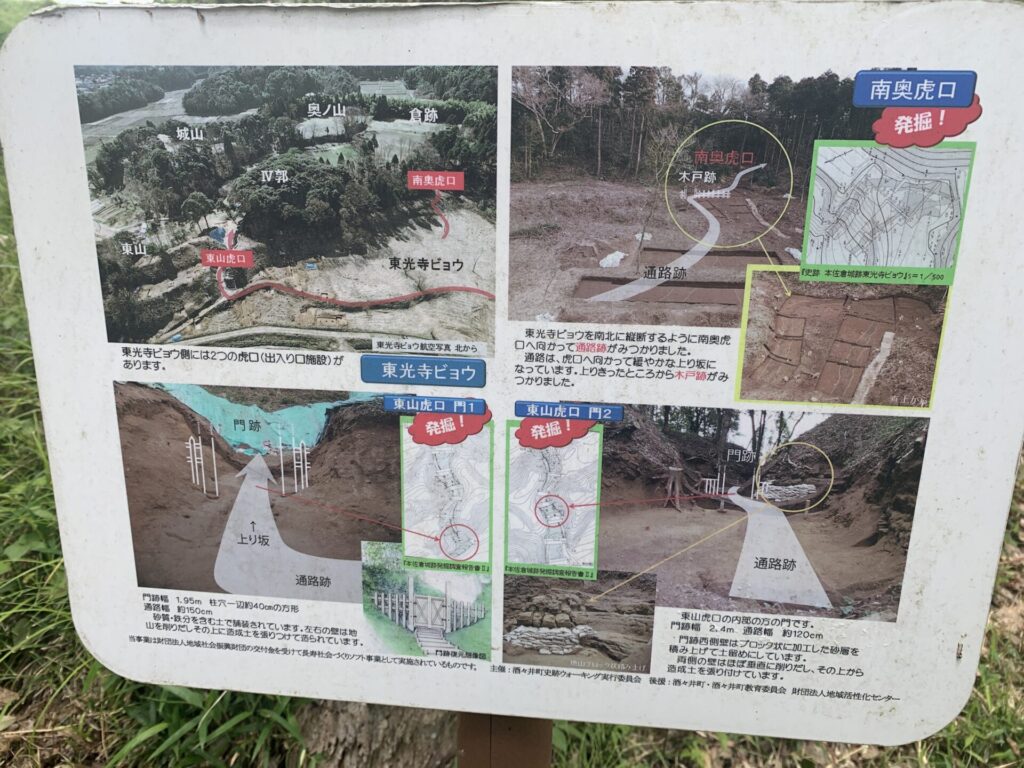
Throughout the Motosakura-jo ruins, you’ll find informative signboards explaining various defensive features.
This is incredibly helpful for visitors.
It appears that Higashiyama, which we’re about to climb, also once had a koguchi (虎口:fortified entrance).
For a detailed explanation of koguchi, please see the article below.

Here is Higashiyama(東山).
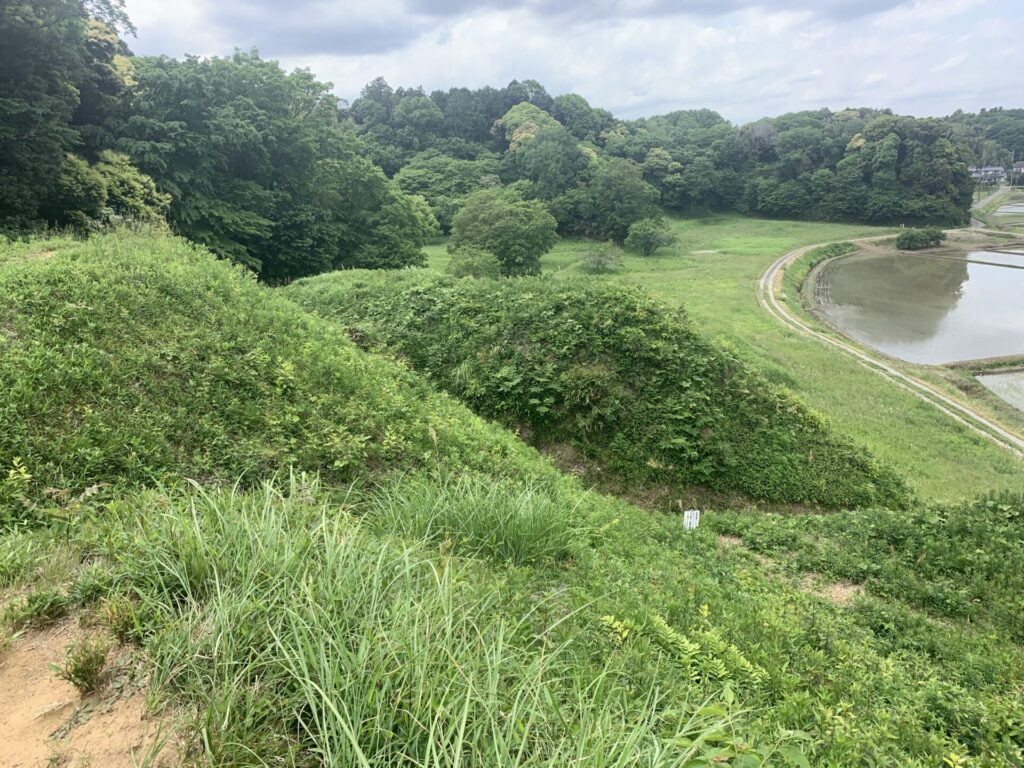
After climbing to the top of Higashiyama and looking down,
you can see a narrow opening between the small hill (earthen rampart) in front of you.
That opening is the koguchi(虎口)—a fortified entrance designed to control and restrict enemy’s access.
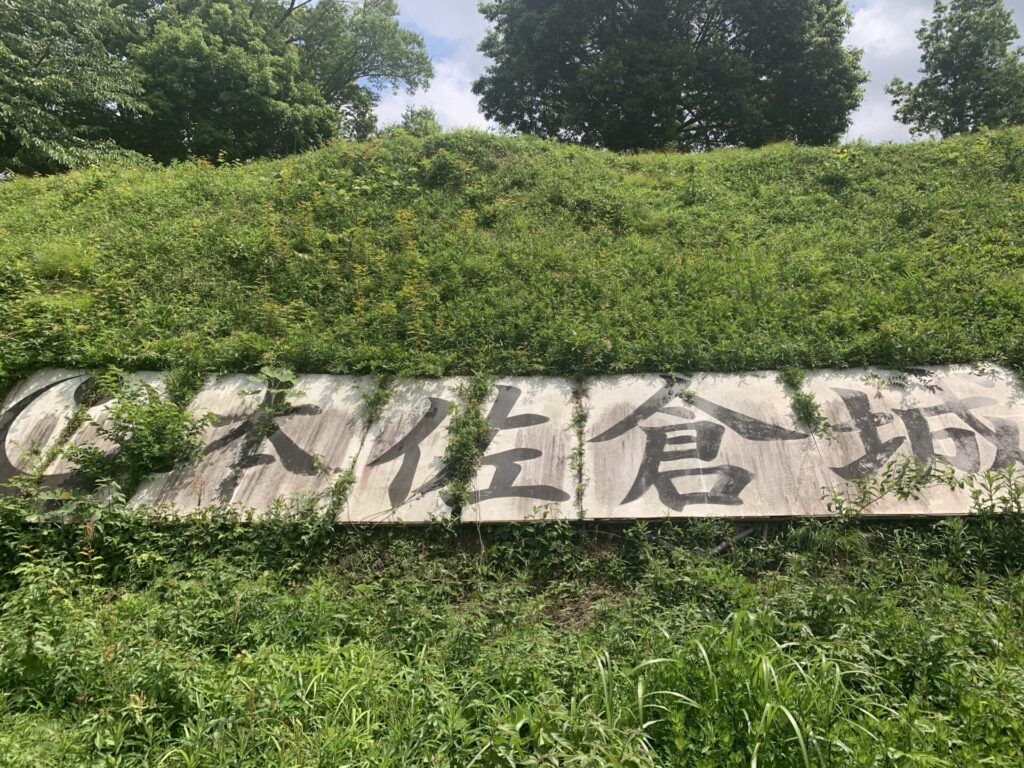
When I descended Higashiyama from the opposite side, I came across a sign reading “Motosakura-jo”.
That was unexpected.
It looks quite weathered—I wonder when it was installed.
After that, I climbed Higashiyama once again and filmed the view from the top.
What do you think?
Can you get a sense of the overall layout from this vantage point?
Next, let’s take a closer look at the koguchi on Higashiyama.
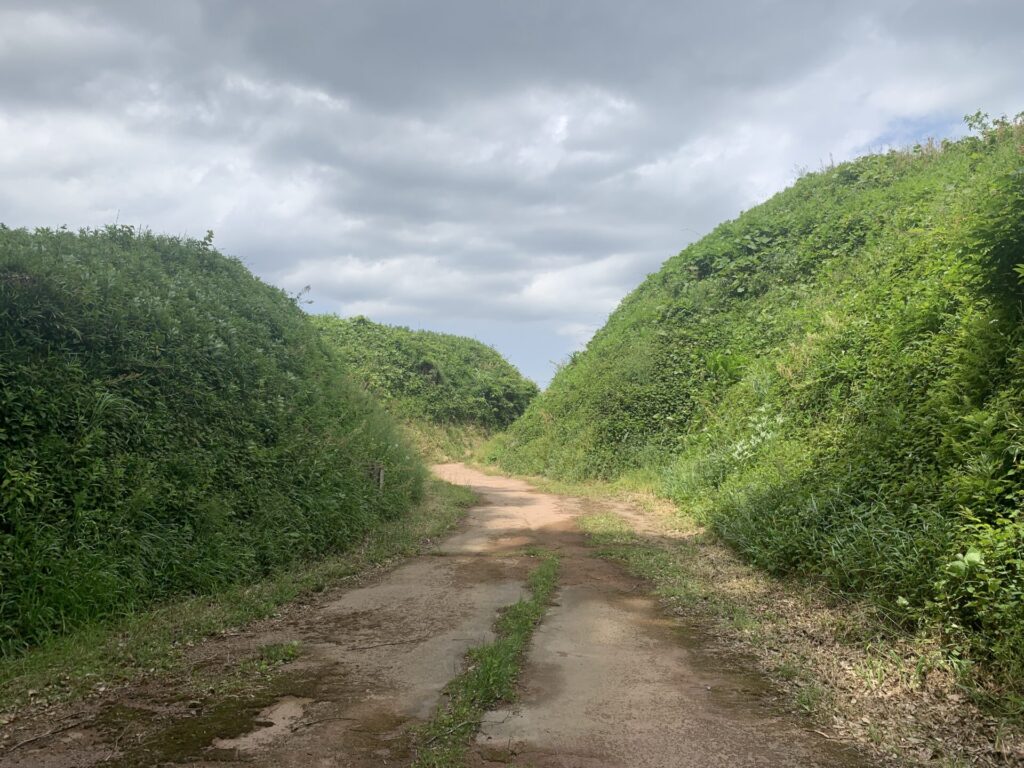
This is the koguchi(虎口) located on Higashiyama.
You can see that the path bends slightly deeper inside the entrance.
From the top of Higashiyama, defenders would have been able to strike down at enemy troops attempting to advance through this narrow approach.
Can you imagine the angle from which the castle soldiers would have confronted the attackers climbing upward?
Now, it’s time to climb toward the main enclosure (shukaku)!
Having examined the defensive features of Higashiyama,
next we’ll climb toward the main enclosure—the central stronghold of the castle.
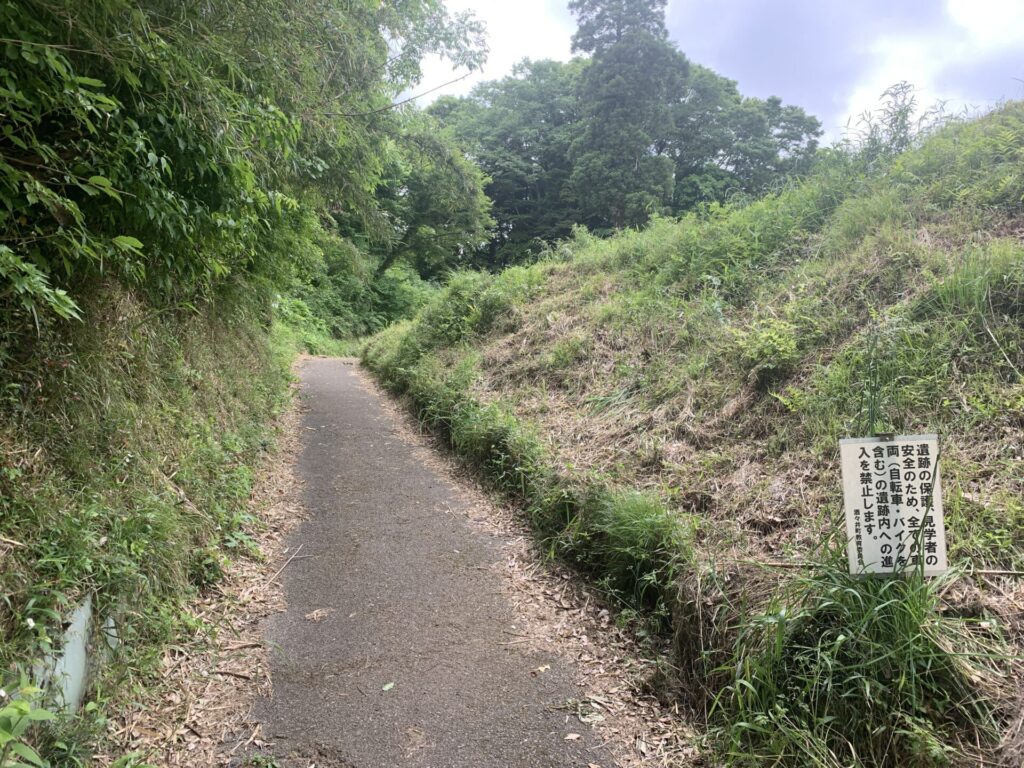
It seems that this is the path leading up.
This trail begins just beside the rows of arrow shields we saw earlier.
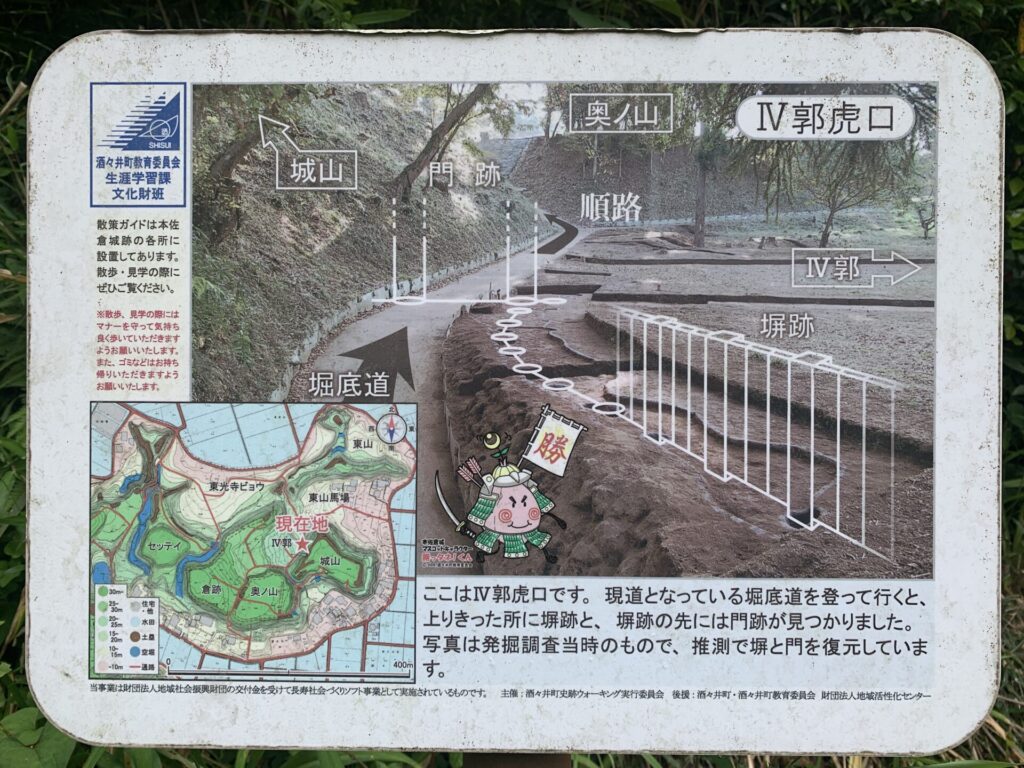
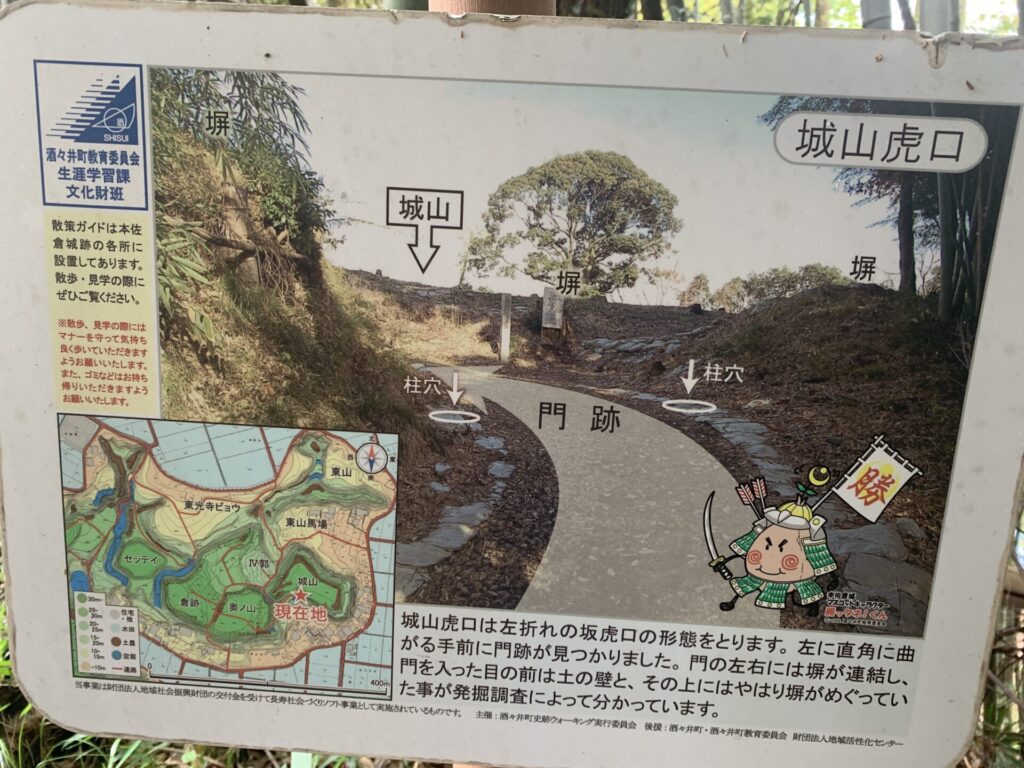
There is another informational signboard here.
It appears that the path we are currently climbing was also designed as a koguchi(虎口), or fortified entrance.
Indeed, the trail curves and bends ahead, clearly intended to slow the advance of attacking forces.
Even without such design, climbing uphill would already reduce an enemy’s speed.
Now, please watch a short video showing the ascent, with the rows of arrow shields visible behind us as we make our way up the slope.
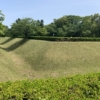
As we continue further up the path,
a large horikiri (堀切:dry moat cutting across the ridge) comes into view.
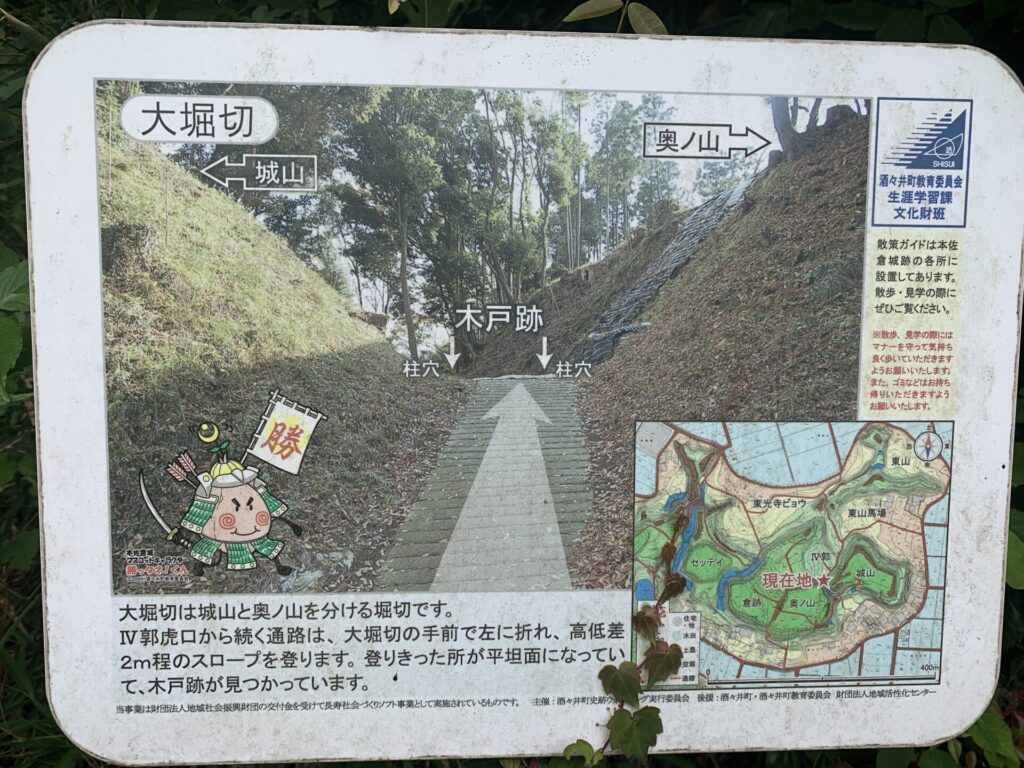
There is another informational signboard here as well.
According to it, the mountain to the right is the inner hill, while the one to the left is the main castle hill.
Now, let’s proceed upward along this large horikiri(堀切) toward the inner section of the castle.

After walking a short distance along the large horikiri, we reached the junction between the main castle hill and the inner hill.
First, let’s head toward the inner hill.
Now, let’s head to the inner hill—Myōken Kuruwa!
Now, which should we explore first—the main castle hill or the inner hill?
I decided to save the main hill for later and begin by climbing up toward the inner hill instead.
It appears that once we reach the top of this climb, we’ll arrive at the inner hill.

There is another informational signboard here.
It seems that the inner hill is also known as Myōken Kuruwa(妙見郭).
In any case, both the inner hill and the main castle hill form paired enclosures.
A castle structured in this way is known as a renkaku-style hirayama castle(連郭式平山城)—a layout in which multiple enclosures are arranged in a connected sequence across the terrain.
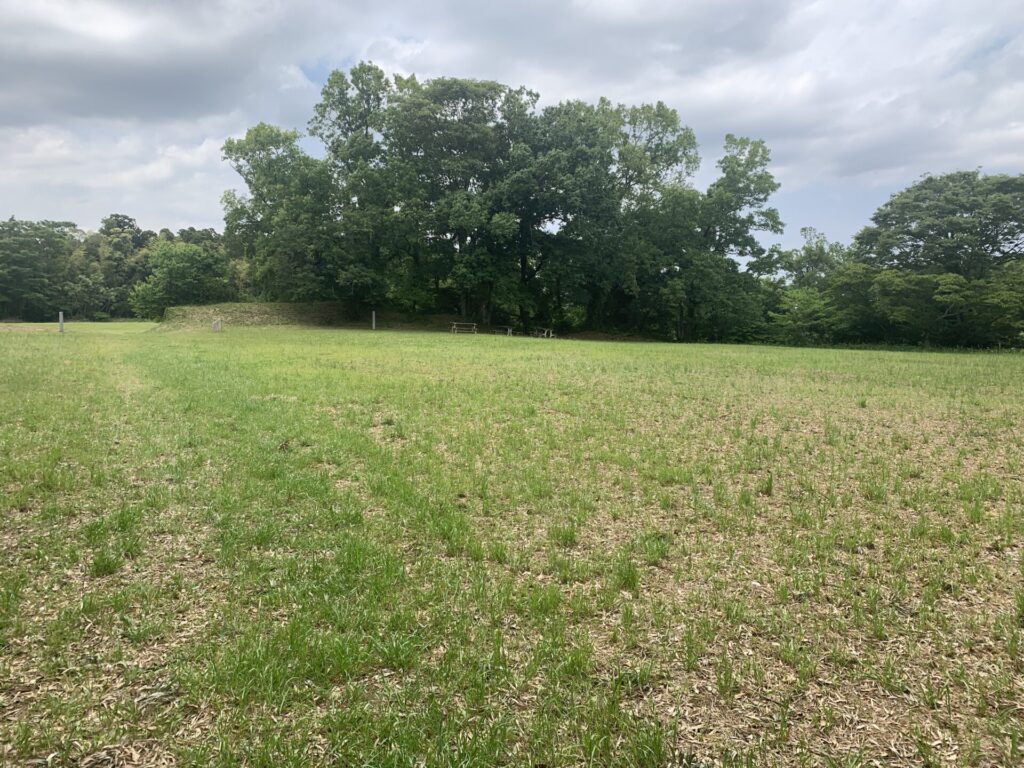
This is what the inner hill—Myōken Kuruwa(妙見郭)—looks like in its entirety.
It’s quite spacious.
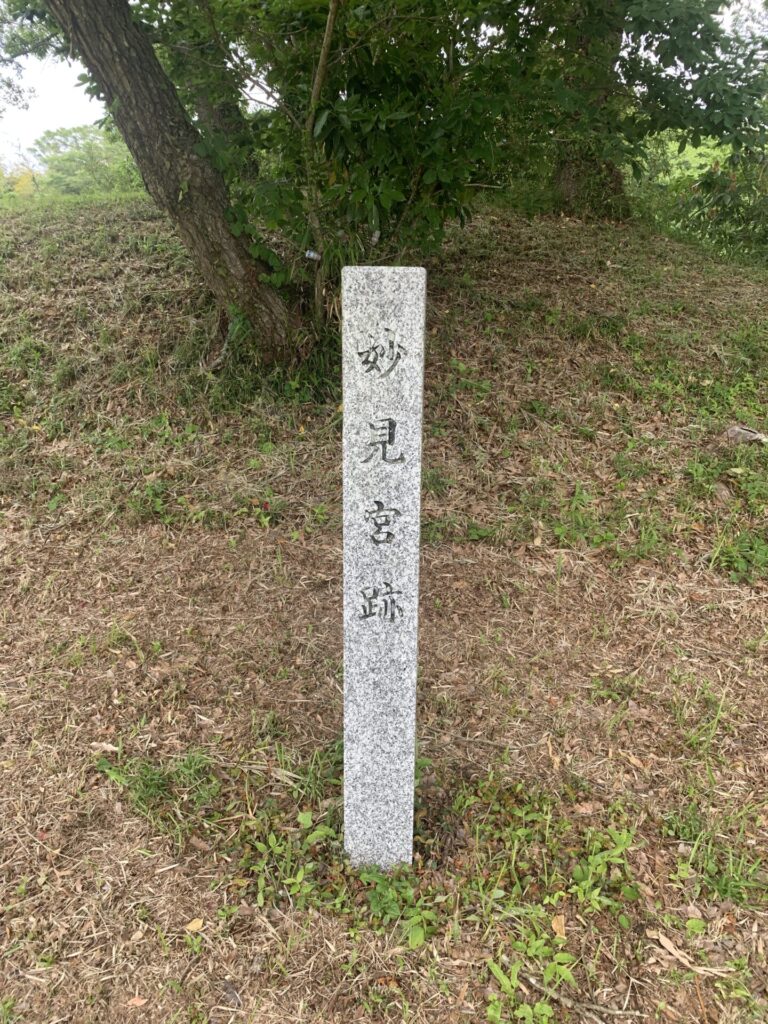
As I walked further in, I came across this stone monument.
It appears that Myōken was an important guardian deity for the Chiba clan.
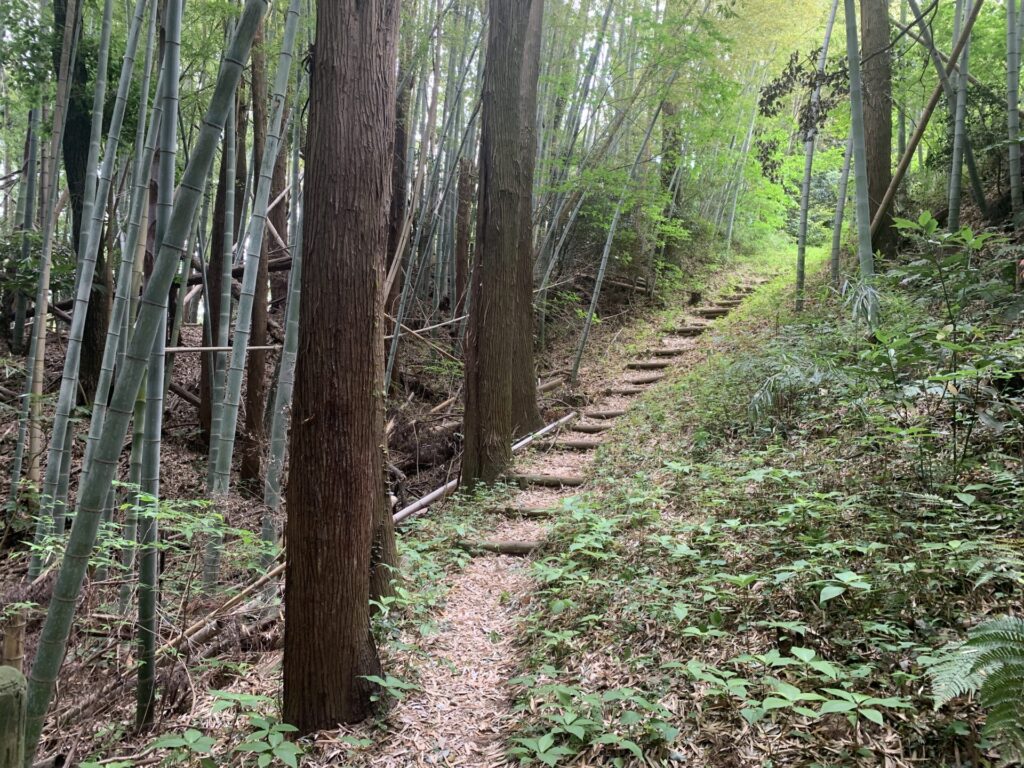
Now, let’s pass through the koguchi and make our way up to the main castle hill !!
After taking a full look around the inner hill,
it’s time to head toward its counterpart—the main castle hill.
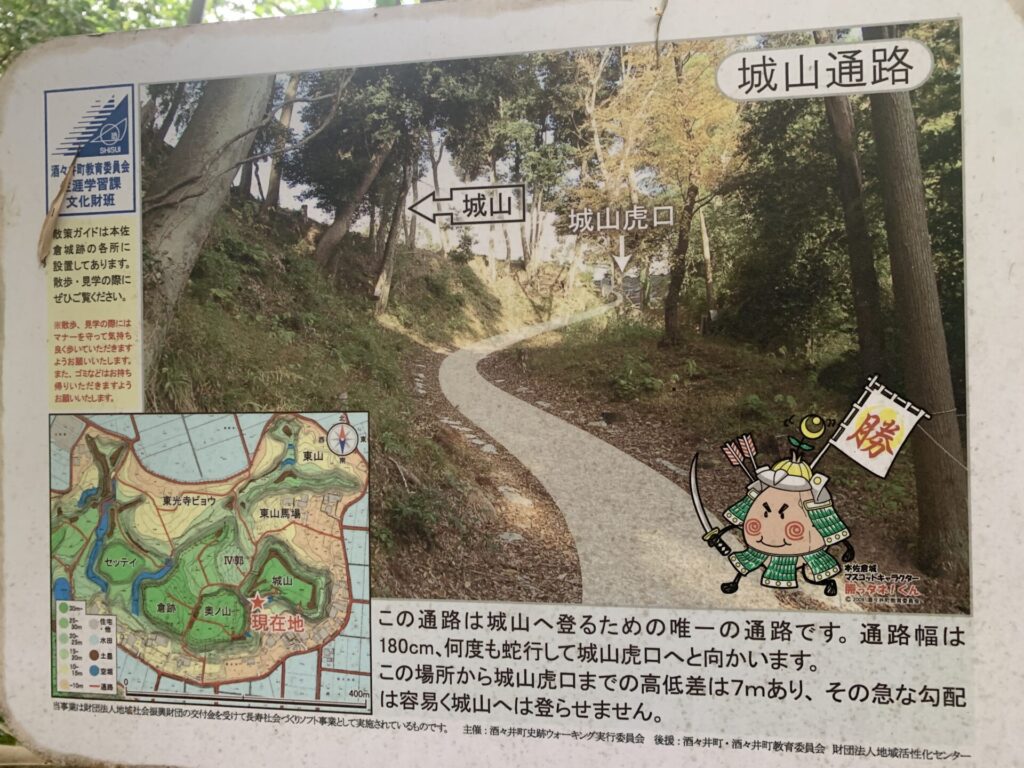
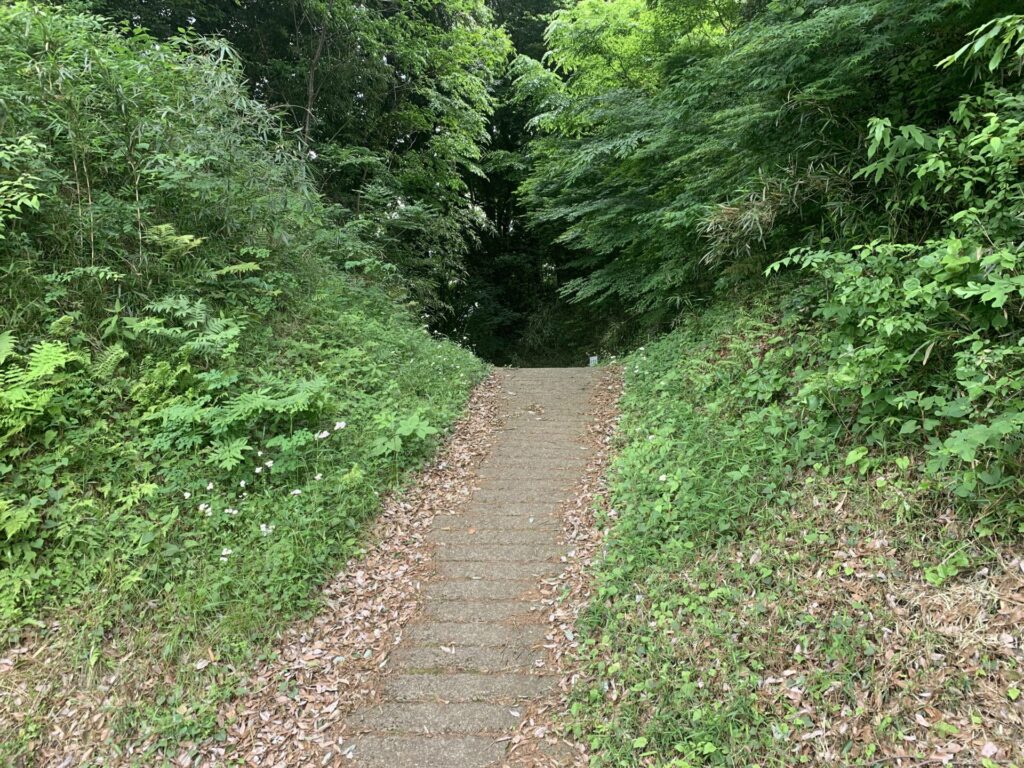
As described on this informational signboard,
climbing this steep, winding slope—with a height difference of about seven meters—must have been an extremely difficult task for attacking forces.
Here is a short video showing the ascent.
At first glance, the slope may not appear particularly steep,
but it left me more out of breath than I expected.
Climbing while trying to avoid attacks from defenders positioned above would certainly not have been easy.
Even as a hirayama-style castle, Motosakura-jo was clearly designed with numerous defensive measures throughout the site.
It’s easy to imagine just how formidable this stronghold must have been.
It appears that a gate once stood here in the past.
That certainly makes sense.
Without some form of defensive structure to slow down advancing enemies, the defenders themselves would have struggled to hold their ground.

This is the spot where the gate once stood.
If such a narrow passage had been blocked by a gate, advancing troops would have struggled to push forward.
Next, please watch a short video showing the earthen ramparts and the remains of the moats as seen from the top of the main castle hill.
The elevation difference is not very dramatic, so it may be difficult at first glance to recognize them as earthen ramparts.
However, there were indeed traces that appear to be remains of dorui (土塁:earthen rampart).
The plateau atop the main castle hill is also quite spacious, and the informational signs help explain what kinds of buildings once stood in each area.
Learning About the Origins of the Chiba Clan
Although I was not able to examine every corner of Motosakura-jo,
I felt more than satisfied with the visit.
Before leaving, I casually decided to stop by the small local history museum near the parking area, just to take a quick look.
However, it turned out to be an unexpectedly valuable experience, where I learned a great deal about the Chiba clan and their historical background.


The museum itself is not very large,
but an elderly staff member—perhaps serving as a guide—kindly took the time to explain the history of the Chiba clan and Motosakura-jo in great detail.
As seen in the photo above, a large aerial-style map is displayed on the floor inside the museum.
The area labeled “Kashima-juku”(鹿島宿) on the map corresponds to the present location of Sakura-jo.
I also learned that when Sakura-jo was later constructed, the original castle here came to be known as Motosakura-jo (“Original Sakura-jo”) to distinguish it from the newer stronghold.
Sakura-jo is particularly famous for its large and well-developed umadashi (outer defensive enclosures).
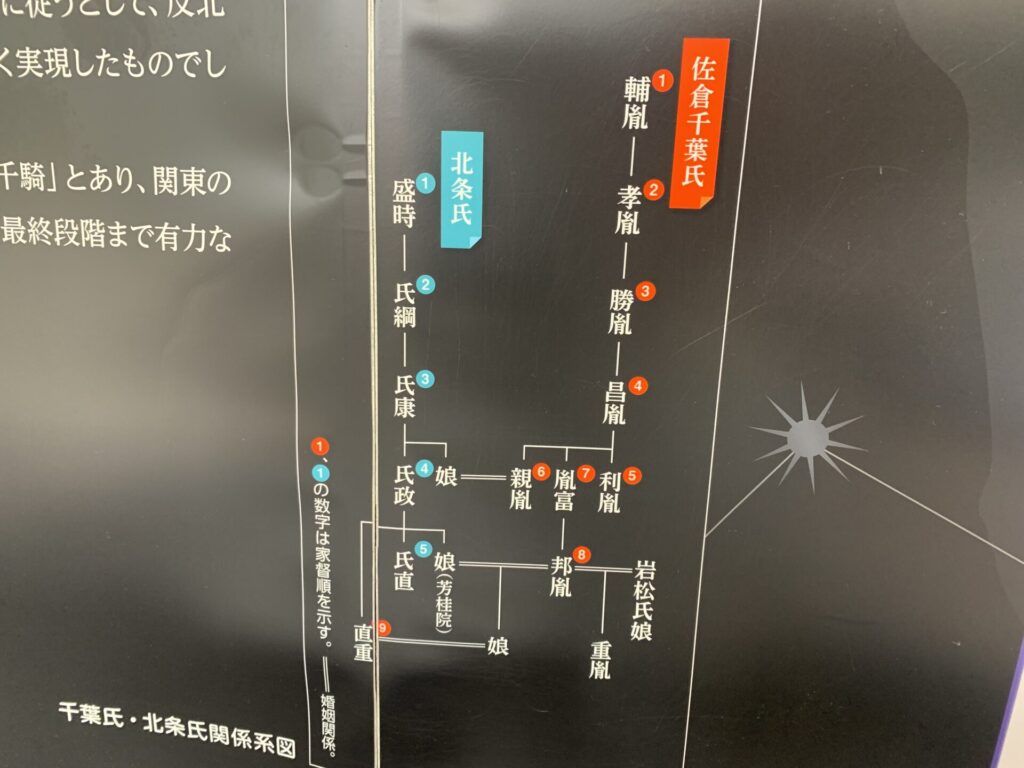
A genealogical chart of the Chiba clan was also displayed inside the museum.
Even a quick look at it makes clear how closely the clan was connected to the powerful Hōjō family, one of the dominant forces in the Kantō region.
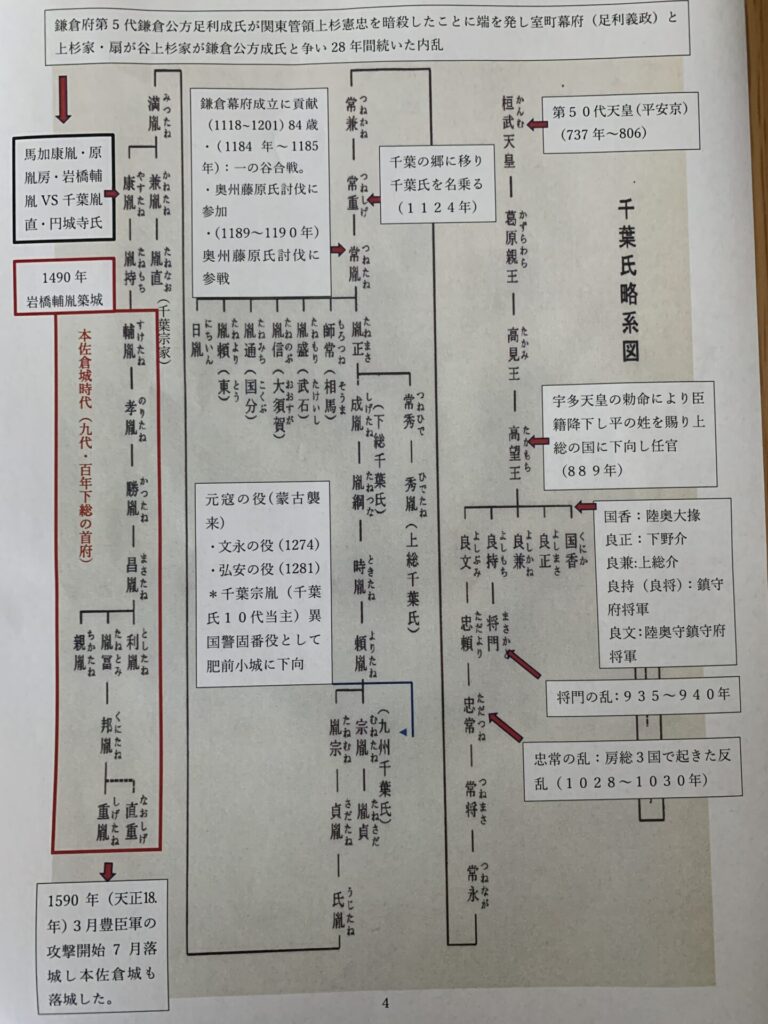
This was handed to me by the elderly guide at the museum.
It is a simplified genealogical chart of the Chiba clan—and remarkably, their lineage traces back to Emperor Kanmu through the Taira (Heike) clan.
The name of Taira no Masakado also appears in the chart, which suddenly made sense to me.
I had often noticed references to Taira no Masakado at various castle sites throughout Chiba Prefecture—now I understand why his name appears so prominently in the region’s history.
Since I kept asking questions with genuine enthusiasm,
the elderly guide seemed delighted and continued explaining one topic after another.
At the end, he even said, “You’re quite the dedicated student!” 😅
Perhaps not many visitors listen that intently.
A proud moment for a true Sengoku enthusiast. 😊
Learning more about the history of the Chiba clan was certainly a highlight of this visit.
But what surprised me most was just how large and strategically designed Motosakura-jo turned out to be.
Then again, it makes perfect sense—it served as the residence of the Chiba clan for many years.
Once again, I was reminded why castle exploration is so rewarding.
Until next time. 🏯